2.19 Installing and Removing the VGA (Video) Debug Cable
The S7200AP Video Debug Cable Option is a VGA video cable that connects to the internal header on the
S7200AP board and can be routed through the Riser 1 bracket on the rear node panel when used with the
HNS7200AP product. The cable is intended for debug use when deploying S7200AP-based systems and is
not intended for normal product operation. Refer to the S7200AP Family Configuration Guide &
Spares/Accessories List for ordering details.
2.19.1 Installing Video Debug Cable
1. Power off the compute module and disconnect the power cable(s).
2. Remove the air duct. See section 2.3.1
.
3. Remove the Slot 1 Riser and the PCIe* adapter if there is one installed See section 2.8.2 .
4. Remove the video cable from the package
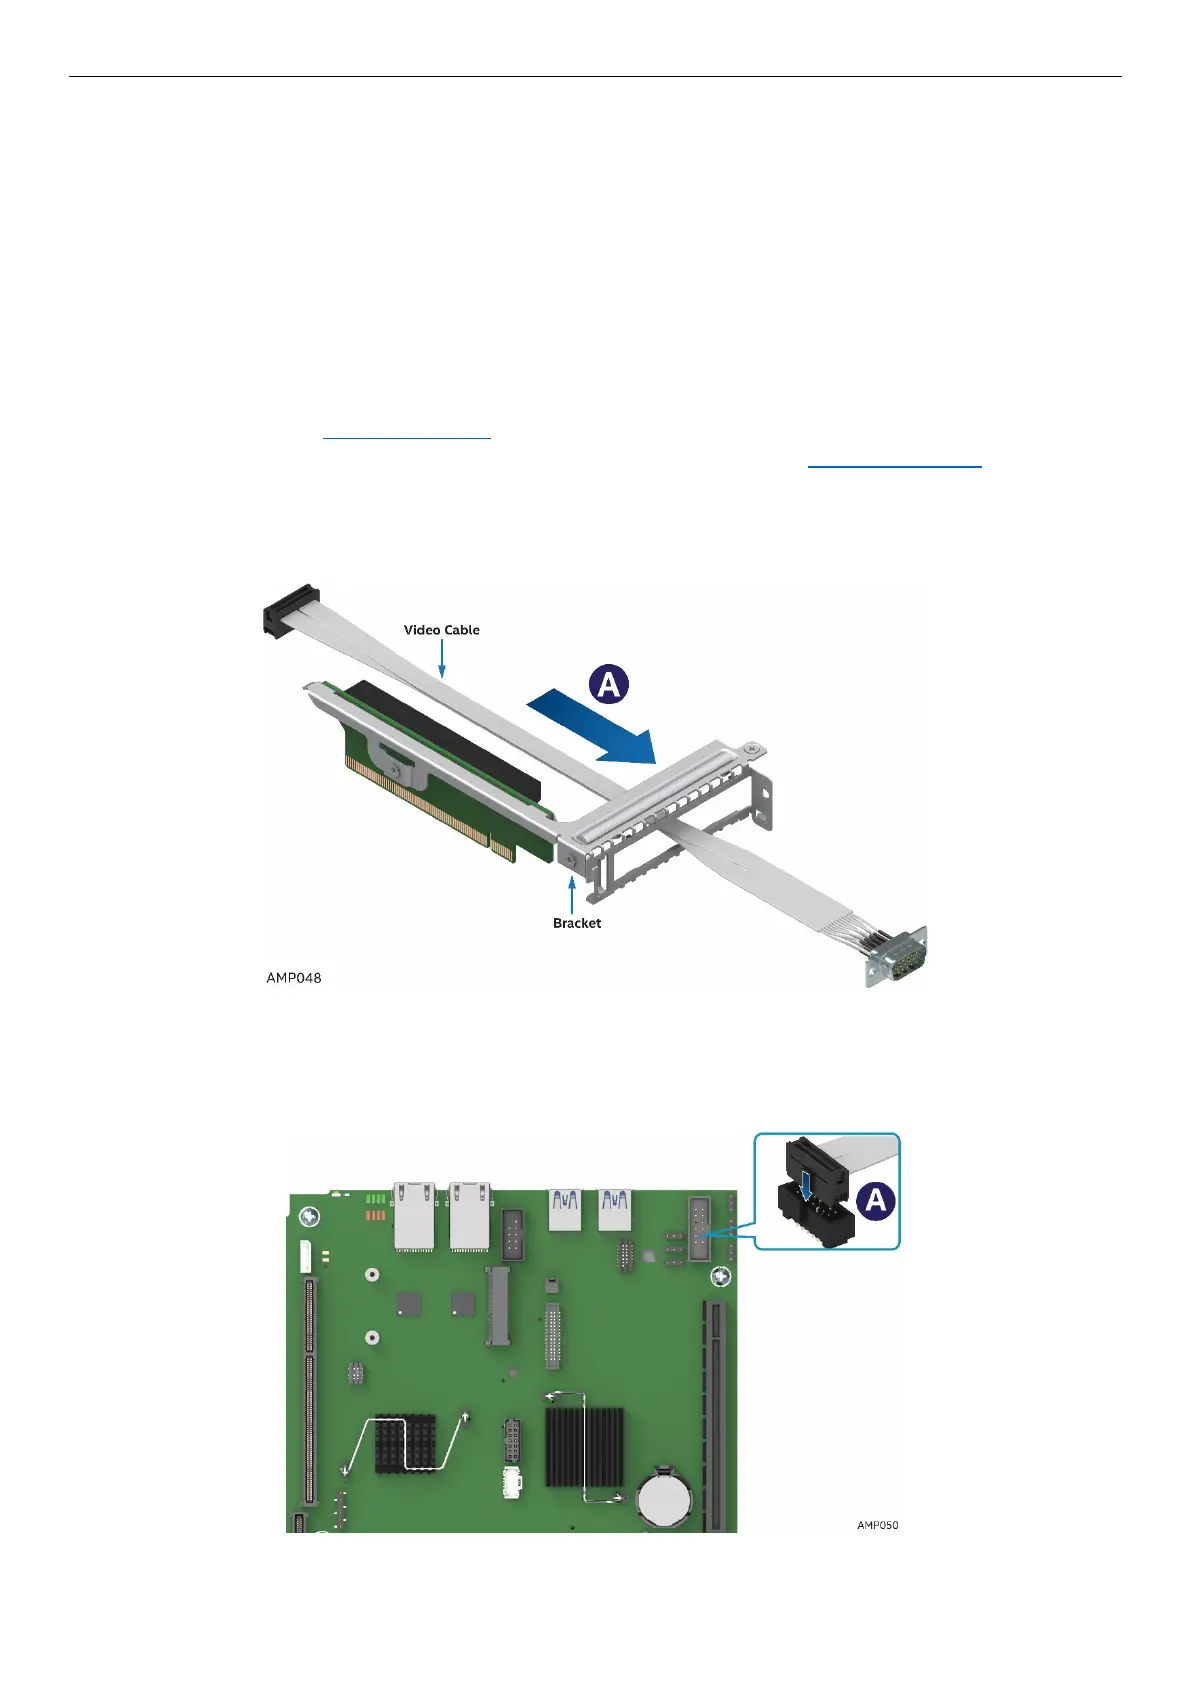
5. Route the video cable through Riser 1 bracket as shown in Figure 86
Figure 87. Video Cable Routing
6. Plug in the cable into the correct board header (J1B1) prior to installing Riser 1 back into the slot. The
connector is keyed, so ensure that the orientation is correct (See A).
Figure 88. Connecting video cable to board VGA connector