1. Place the antistatic bag or the antistatic mat on a flat, stable surface.
2. Attach the ESD grounding strap to your bare wrist, and connect the strap to the ESD
point on the chassis.
3. Using a Phillips screwdriver, loosen the locking screw (three or four turns).
4. Grasp the handle on the fan module and squeeze the outside of the handle to release
the module.
WARNING: To avoid injury, do not touch the fan with your hands or any
tools as you slide the fan module out of the chassis—the fan might still
be running.
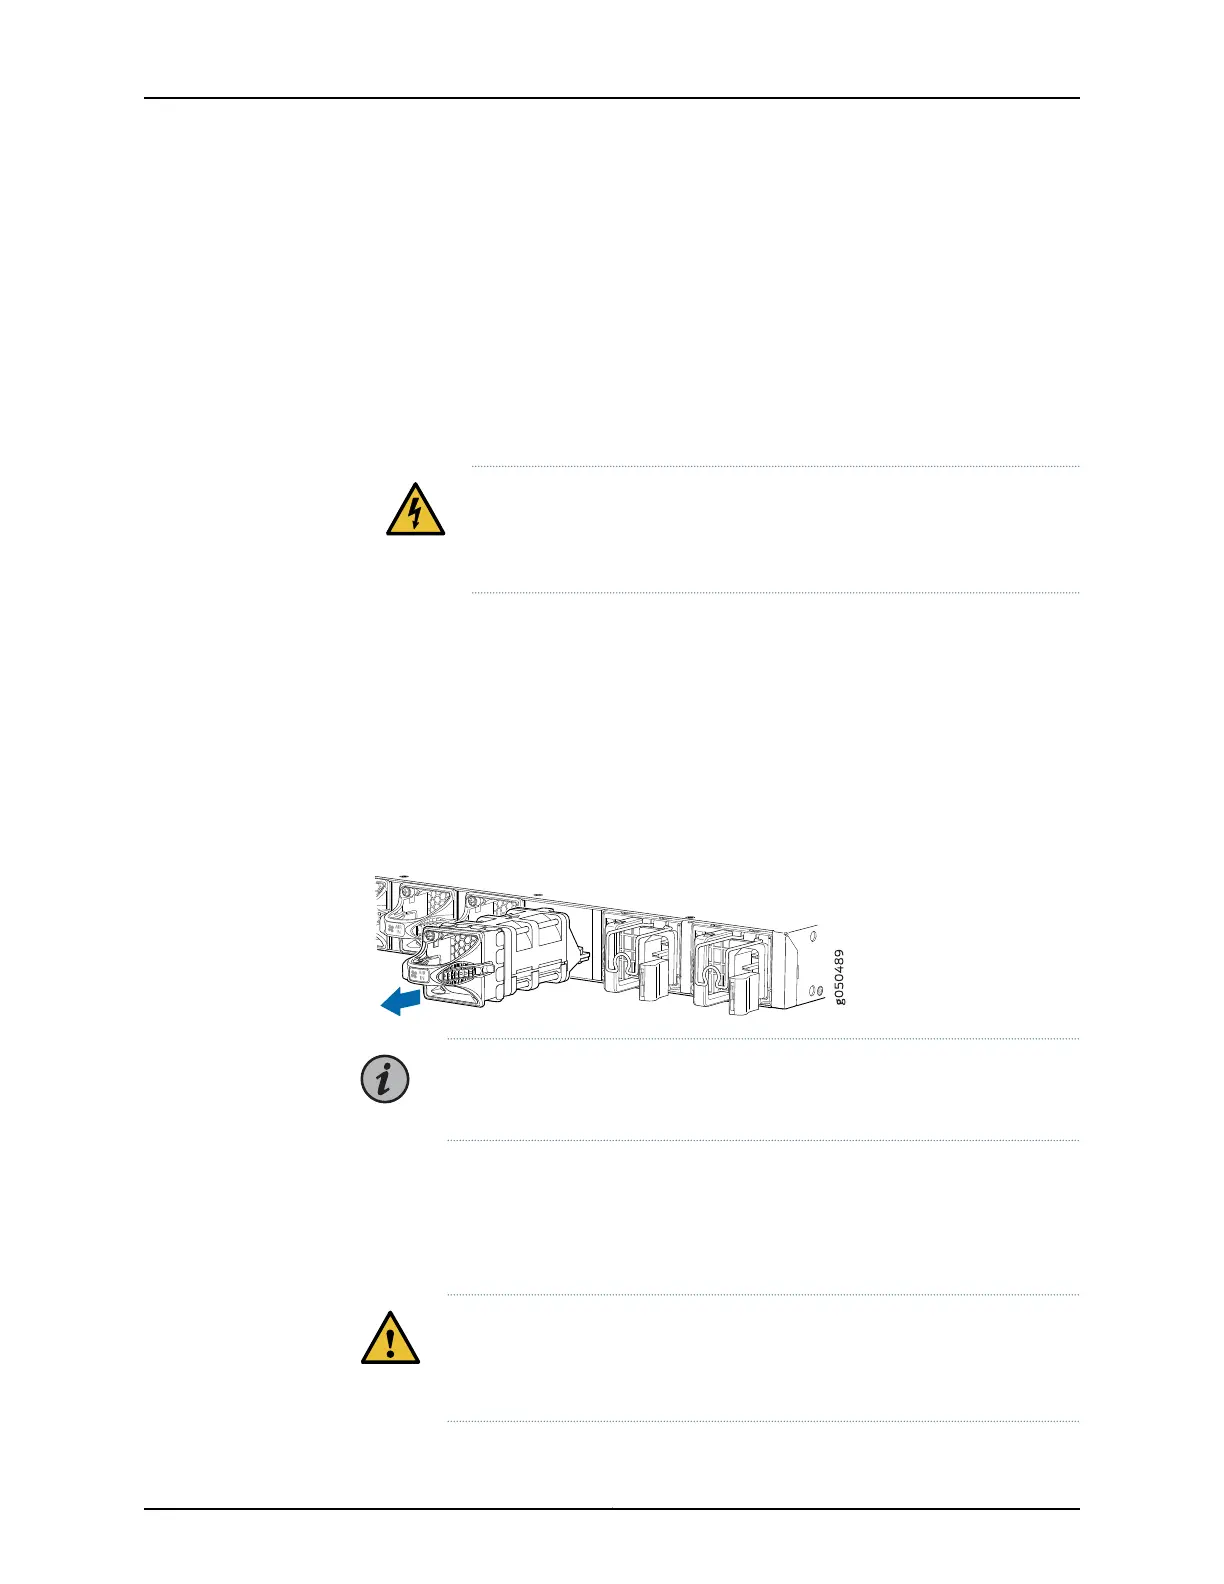
5. Pull firmly to slide the fan module halfway out of the chassis.
6. When the fan stops spinning, slide the fan module completely out of the chassis.
7. Place the fan module in the antistatic bag or on the antistatic mat placed on a flat,
stable surface.
Figure 35: Removing a Fan Module from a QFX5110
NOTE: When a fan module is removed, the CLI message “Fan/Blower is
Absent” is logged in the system log, and the system raises a minor alarm.
Installing a Fan Module in a QFX5110
The fan modules in a QFX5110 are hot-removable and hot-insertable field-replaceable
units (FRUs): you can remove and replace them without powering off the switch or
disrupting switch functions.
CAUTION: Replace a failedfanmodule with a newfanmodule within 1 minute
of removal to prevent chassis overheating. Before removing the fan module,
ensure you have a replacement fan module at hand.
Copyright © 2019, Juniper Networks, Inc.108
QFX5110 Switch Hardware Guide

 Loading...


