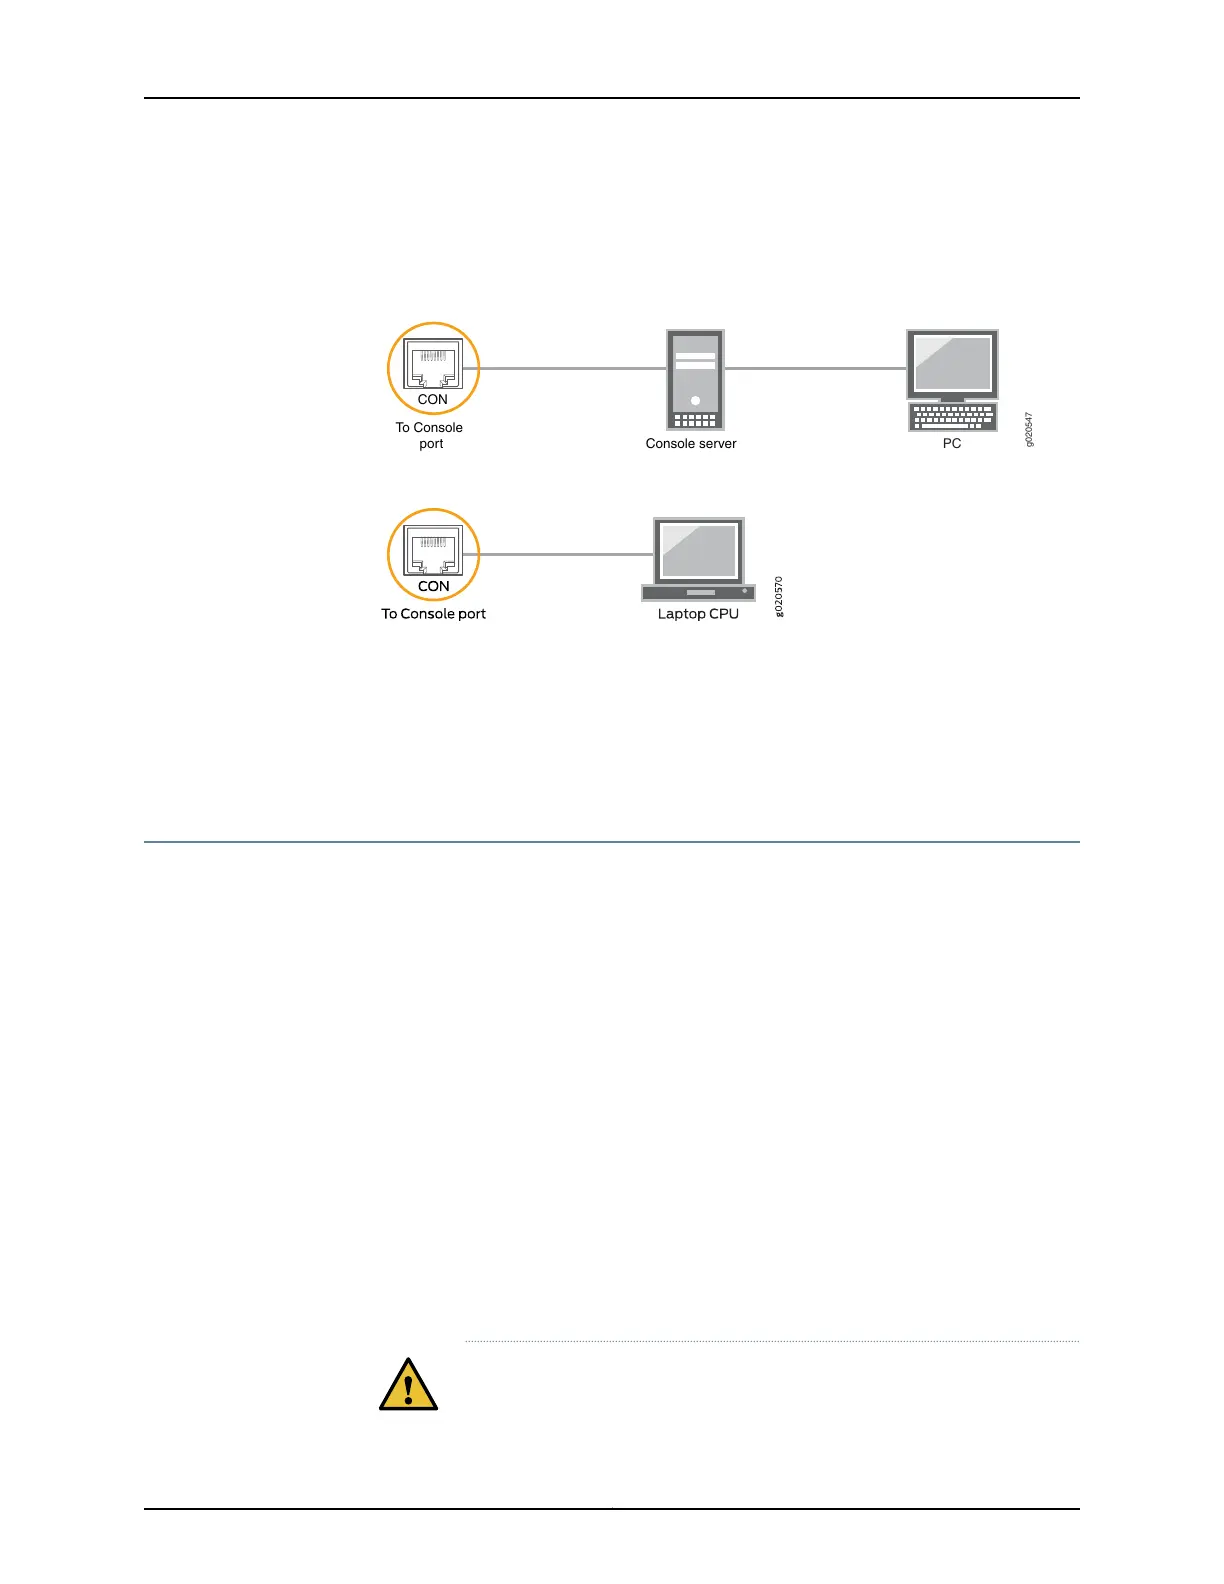
2. Connect the other end of the Ethernet cable to the console server (see
Figure 26 on page 95) or management console (see Figure 27 on page 95).
Figure 26: Connecting a Device to a Management Console Through a Console Server
g020547
CON
To Console
port Console server
PC
Figure 27: Connecting a Device Directly to a Management Console
Related
Documentation
General Safety Guidelines and Warnings on page 138•
• Grounded Equipment Warning on page 148
• Connecting the QFX5110 to Power on page 95
Connecting the QFX5110 to Power
•
Connecting AC Power to a QFX5110 on page 95
•
Connecting DC Power to a QFX5110 on page 97
Connecting AC Power to a QFX5110
The QFX5110is shipped with two 650 W power supplies pre-installed. Each power supply
is a hot-removable and hot-insertable field-replaceable unit (FRU) when the second
power supply is installed and running. You can install replacement power supplies in the
two slots next to the fan modules without powering off the switch or disrupting switch
functions.
Ensure that you have a power cord appropriate for your geographical location available
to connect AC power to the switch.
Before you begin connecting AC power to the switch:
•
Ensure that you have taken the necessary precautions to prevent electrostatic discharge
(ESD) damage (see “Prevention of Electrostatic Discharge Damage” on page 158).
•
Ensure that you have connected the switch chassis to earth ground.
CAUTION: Before you connect power to the switch, a licensed electrician
must attacha cablelug to the grounding and power cables that you supply.
95Copyright © 2019, Juniper Networks, Inc.
Chapter 3: Initial Installation and Configuration

 Loading...


