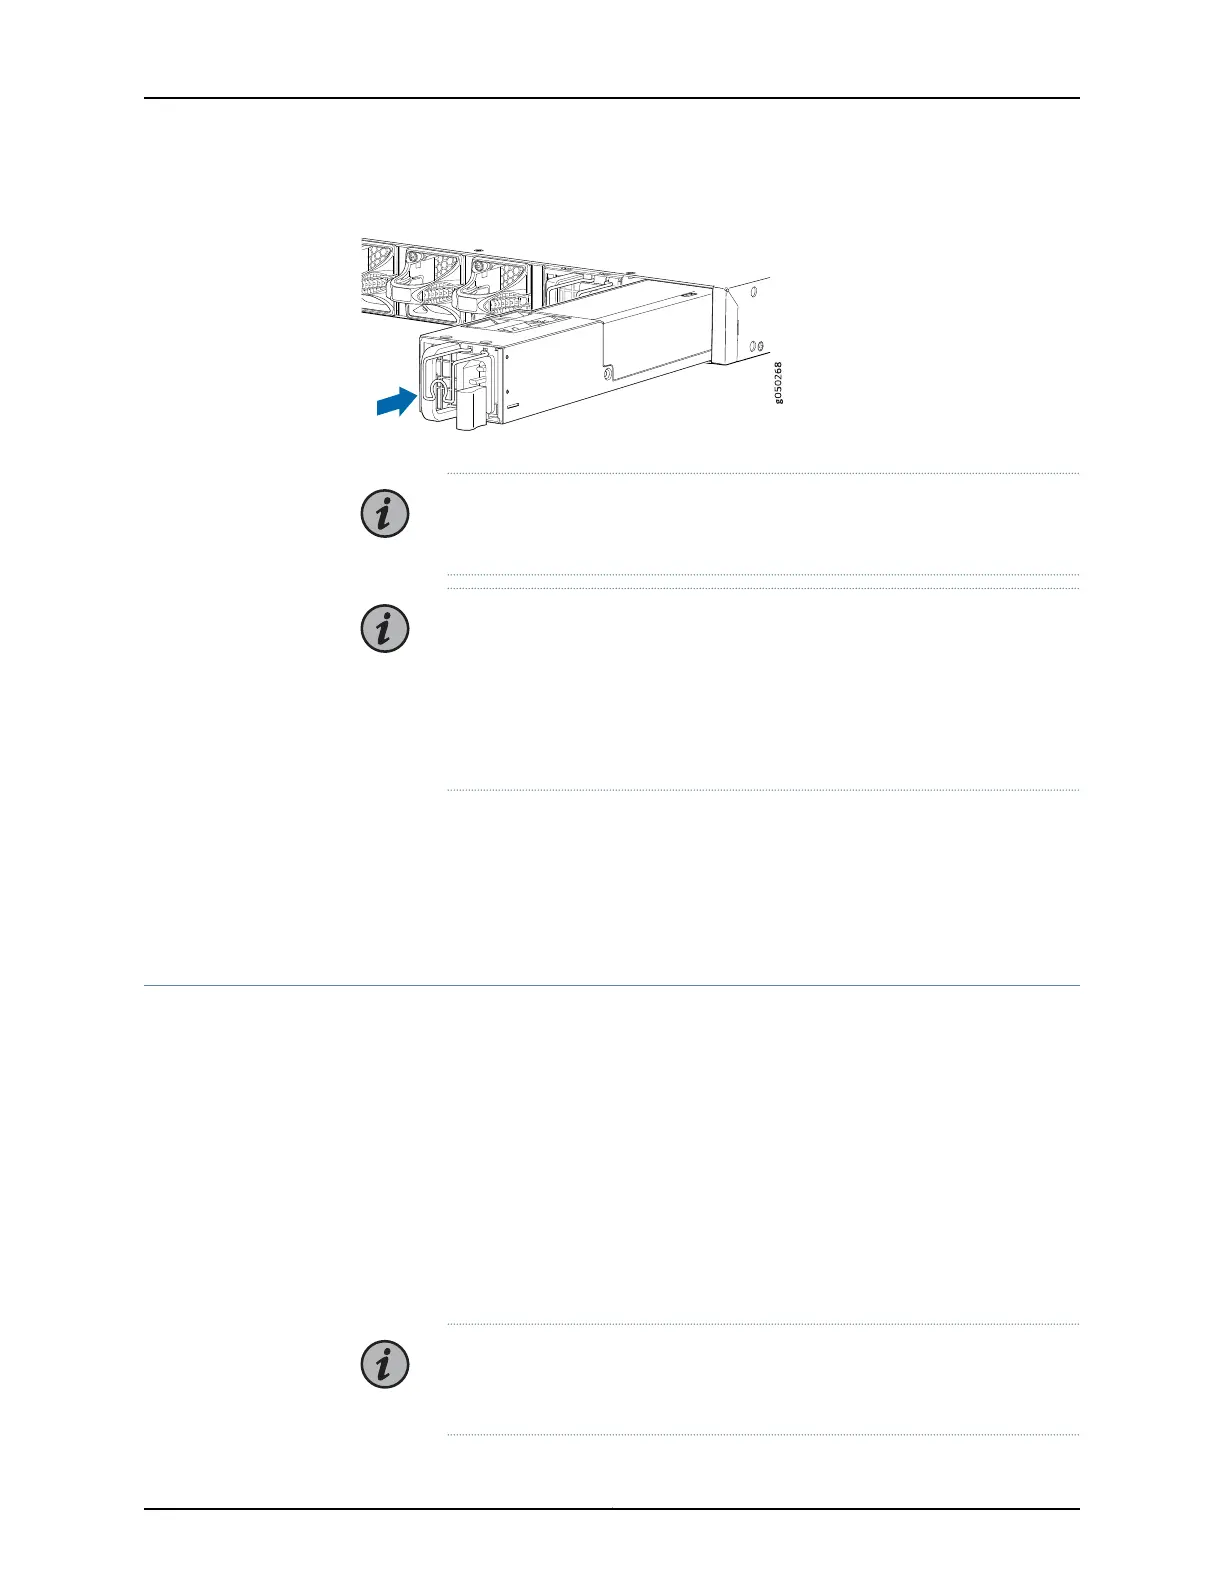
Figure 39: Installing a Power Supply in a QFX5110-48S
QFX5100-48S
RUNNING JUN OS
NOTE: Each power supply must be connected to a dedicated power source
outlet.
NOTE: If you have a Juniper Care service contract, register any addition,
change, or upgrade of hardware components at
https://www.juniper.net/customers/support/tools/updateinstallbase/. Failure
to do so can result in significant delays if you need replacement parts. This
note does not apply if you replace existing components with the same type
of component.
Related
Documentation
QFX5110 Power System on page 45•
• Connecting the QFX5110 to Power on page 95
• QFX5110 Field-Replaceable Units on page 25
Removing and Installing Transceivers and Fiber-Optic Cables on QFX5110
•
Removing a Transceiver on page 113
•
Installing a Transceiver on page 116
•
Disconnecting a Fiber-Optic Cable on page 118
•
Connecting a Fiber-Optic Cable on page 119
•
Maintaining Fiber-Optic Cables on page 119
Removing a Transceiver
The transceivers for Juniper Networks devices are hot-removable and hot-insertable
field-replaceable units (FRUs). You can remove and replace them without powering off
the device or disrupting device functions.
NOTE: After you remove a transceiver or when you change the media-type
configuration, wait for 6 seconds for the interface to display the operational
commands.
113Copyright © 2019, Juniper Networks, Inc.
Chapter 4: Maintaining Components

 Loading...


