• A pair of side mounng brackets that aach to the chassis—provided with the rack mount kit.
• A pair of mounng front and rear rails that aach to the rack posts—provided with the rack mount
kit.
To mount the device on a four-post rack with threaded holes:
1. Review the General Safety Guidelines and Warnings.
2. Wrap and fasten one end of the electrostac discharge (ESD) cable grounding strap around your bare
wrist, and connect the other end to a site ESD point.
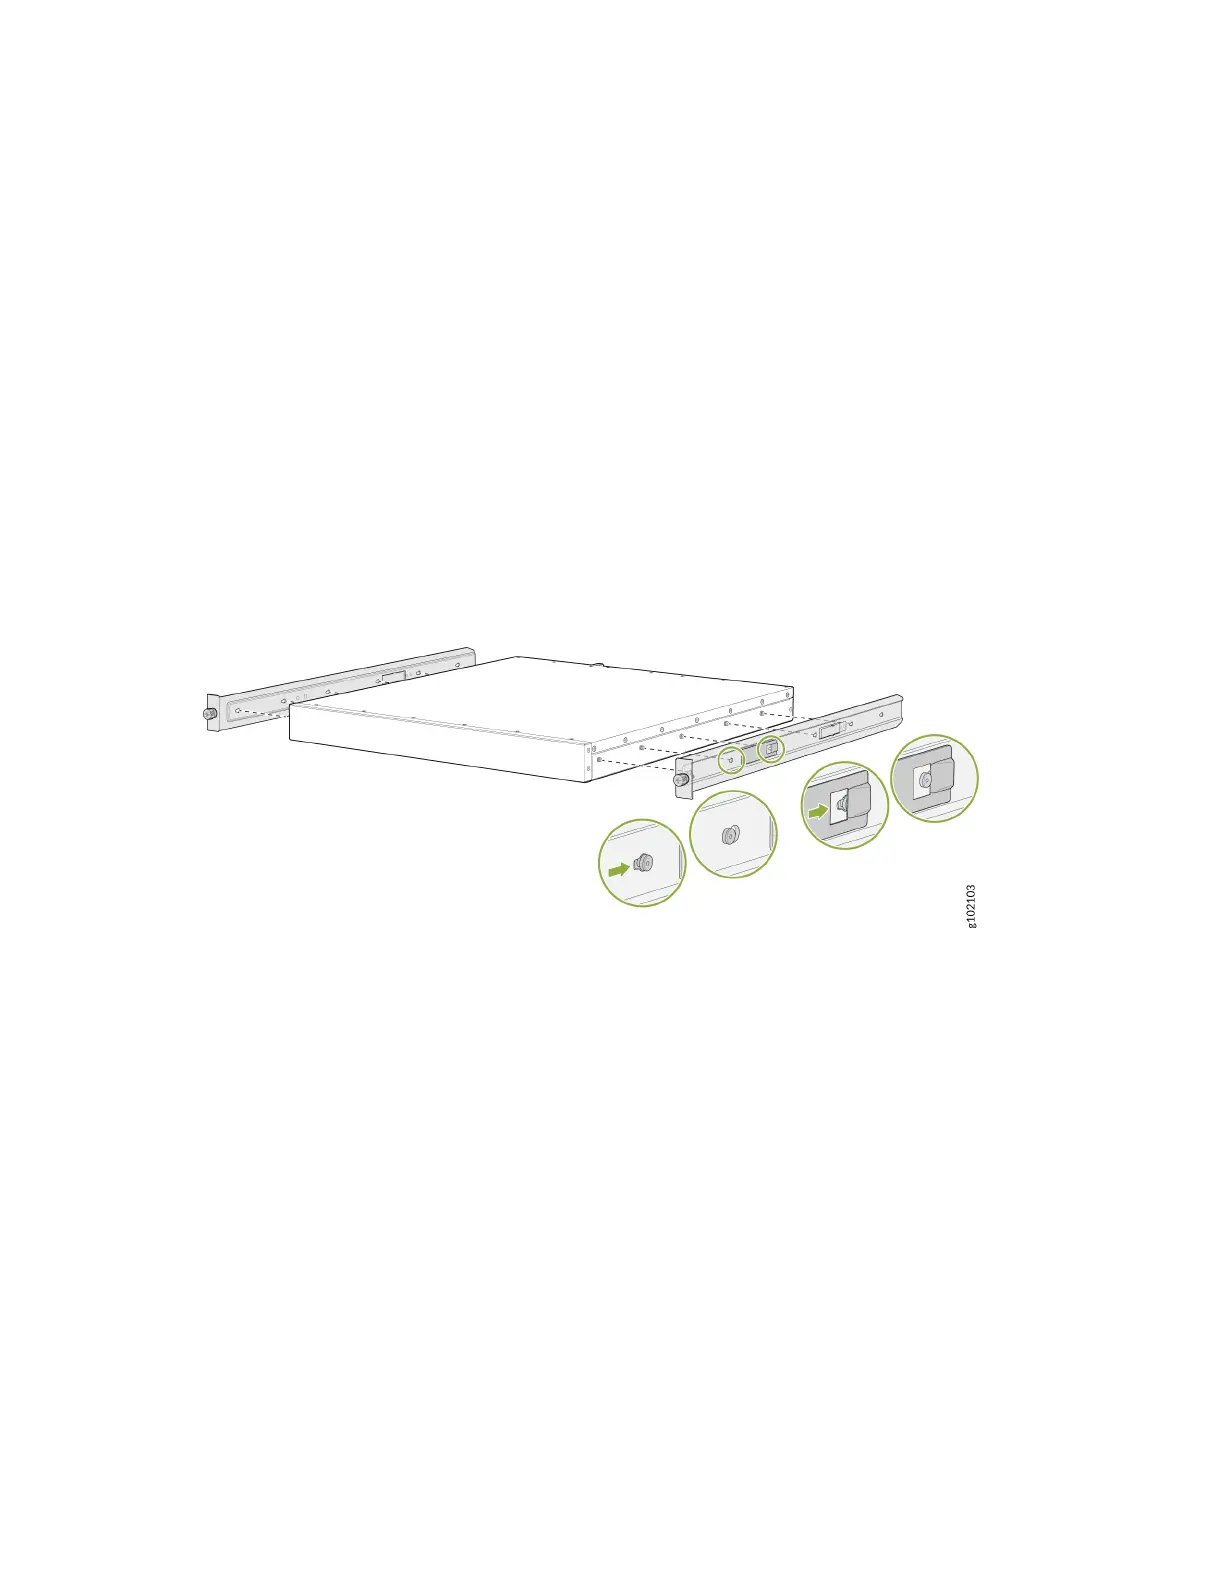
3. To aach the side mounng brackets to the chassis, align the keyholes on the mounng brackets
over the shoulder screws on the chassis. Slide the mounng brackets toward the rear of the chassis.
Figure 22: Aach the Side Mounng Brackets
4. Assemble the mounng rails:
a. Remove the guide blocks from the front mounng rails by loosening the screws and washers.
Preserve the guide blocks, screws, and washers for later use.
50