page 46 Mounting axes
4. Screw the four clamps delivered with the tilting table into the threaded holes to
fix the DSA100 at the table.
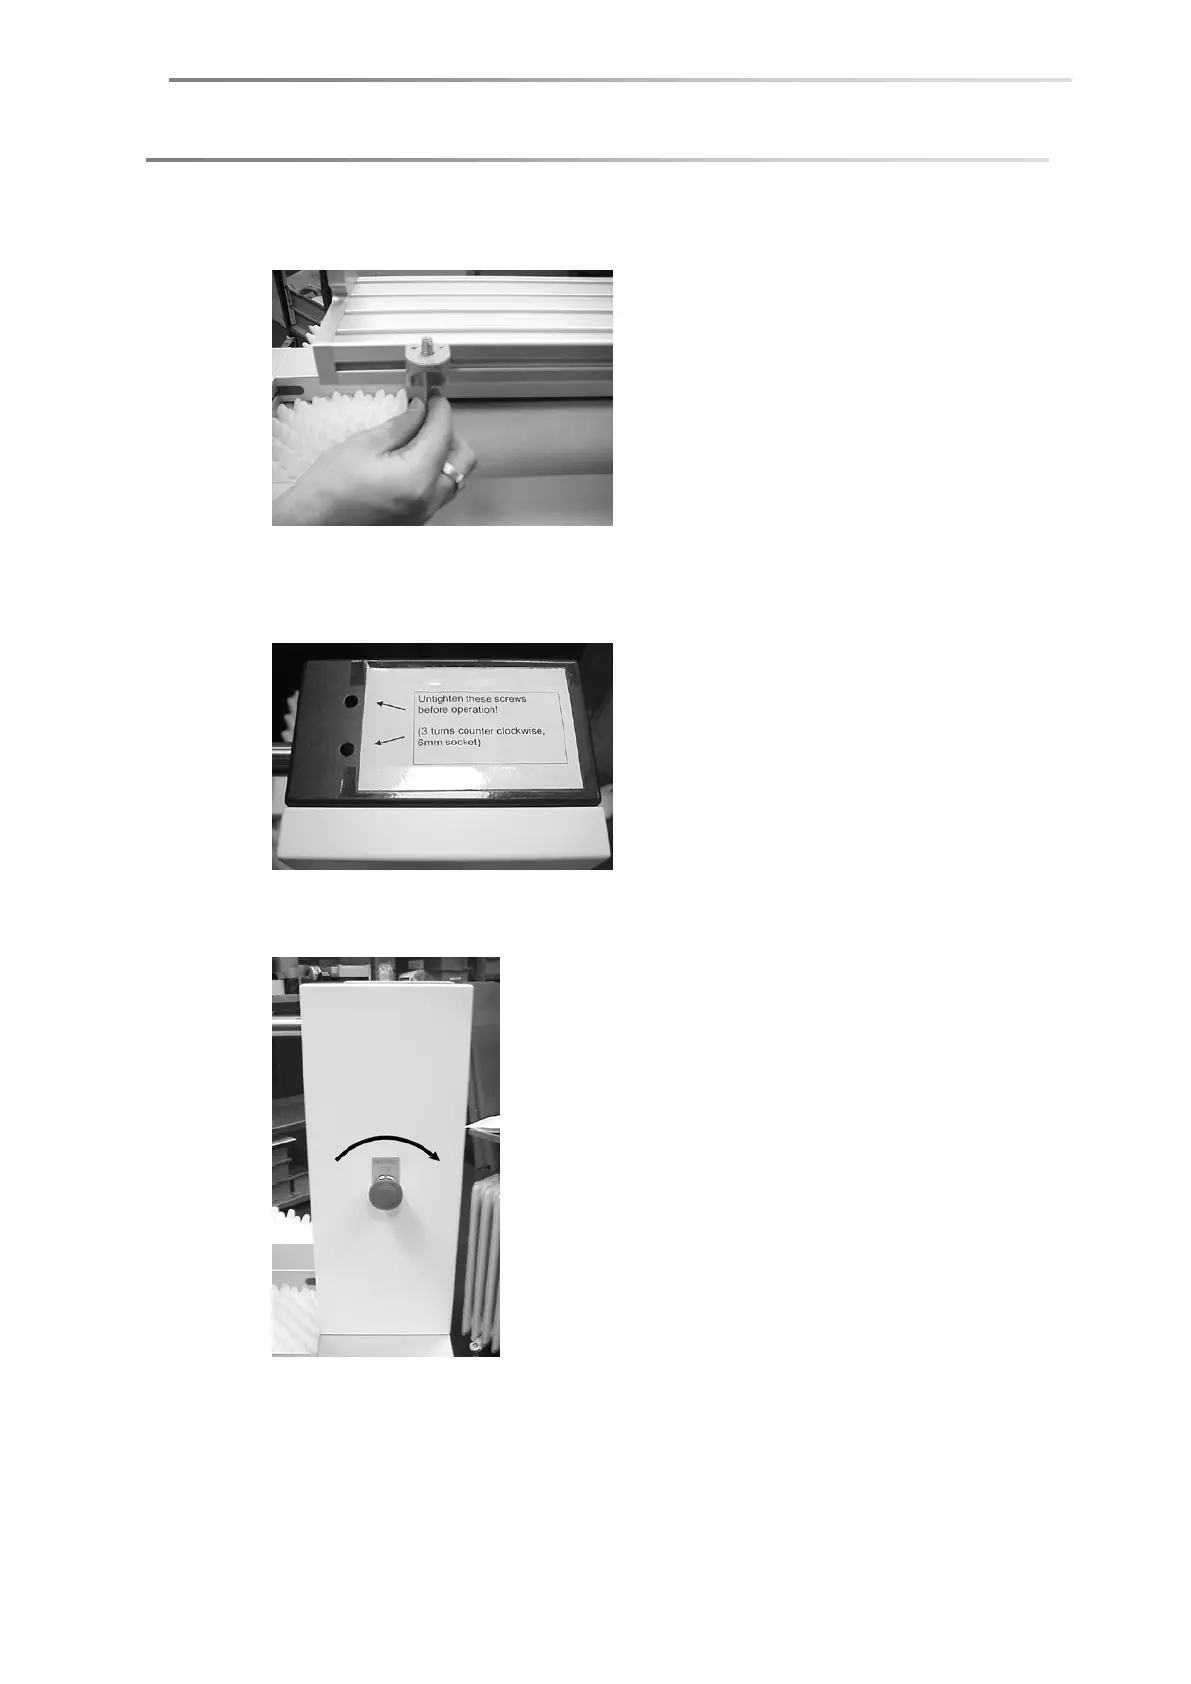
5. For save transport the tilting table is fixed with four fixing screws. Loosen these
screws (three turns counter clockwise) as described on the signs at the tilting
table.
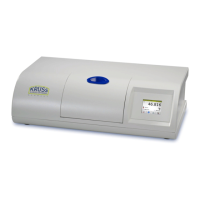
6. The Emergency Stop button is pressed after delivery. Turn the button clockwise
to release it.
7. Connect the port on the rear side of the tilting table with one of the ports AXIS
1, 3 or 4 at the rear panel of the DSA100. Port AXIS 2 is reserved for the y-axis.
SPAC S PA C S PAC SPAC