105
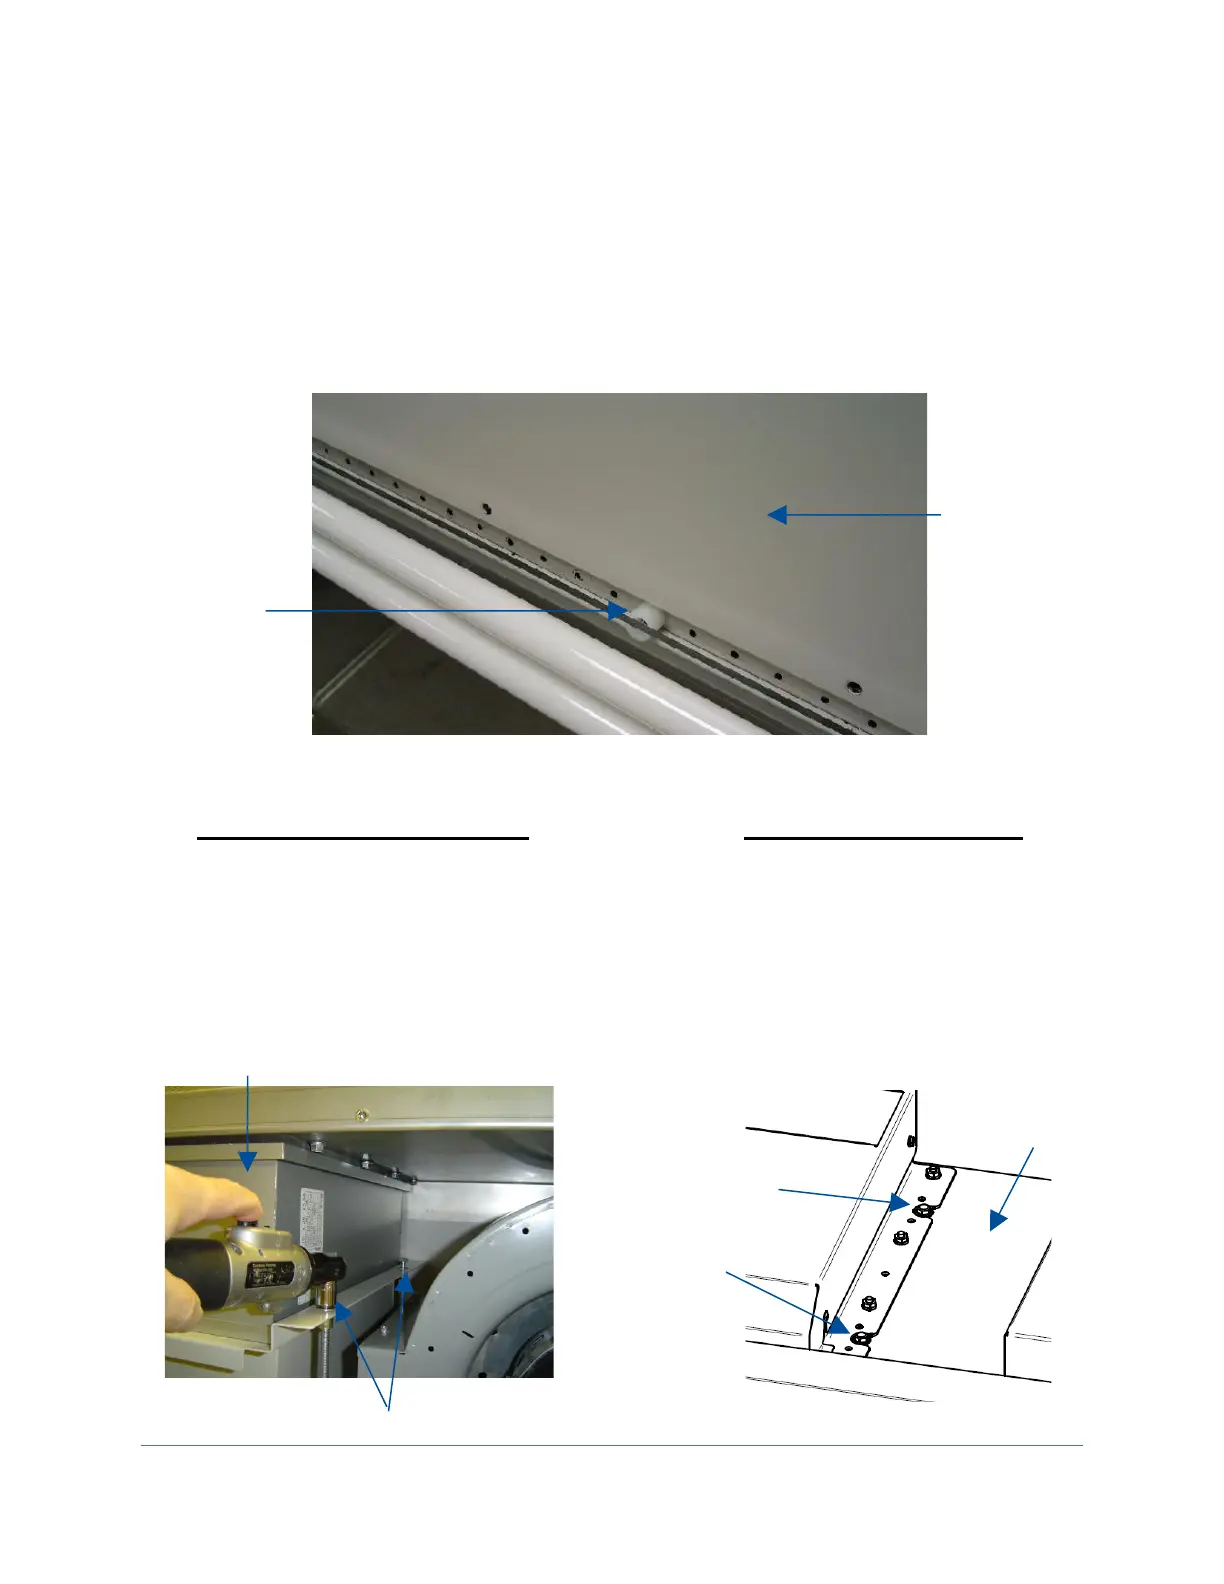
5. Remove the last two screws. The blower/plenum cover will rest on the center
sash support (Figure 12-8) after the final screws are removed. Gently break the
gasket seal on the cover by starting in one corner. Use a flat screwdriver if
necessary, taking care not to damage the gasket or panel by prying too hard in
one area. Once the gasket seal is free, slide the cover to the left or right, and
bend it slightly to free one end by getting it past the corner post. Lift the
blower/plenum cover off.
6. Using a 1/2-inch socket, loosen
the 4 bolts at each corner of the
exhaust filter tray (Fig. 12-9), until
filter drops 1/2 inch (13 mm).
6. Using a 1/2-inch socket, loosen the
4 bolts on top of the cabinet liner
(Fig. 12-10), until filter drops 1/2
inch (13 mm).
For 4, 5, 6 foot width models: