98
Removal of External Dress Panels
To access the HEPA filters, LED lamps, sash sensors, the LCD display, and other
service areas, the front panel and side panels will be removed. This section describes
removal of the external dress panels.
Dress Panel
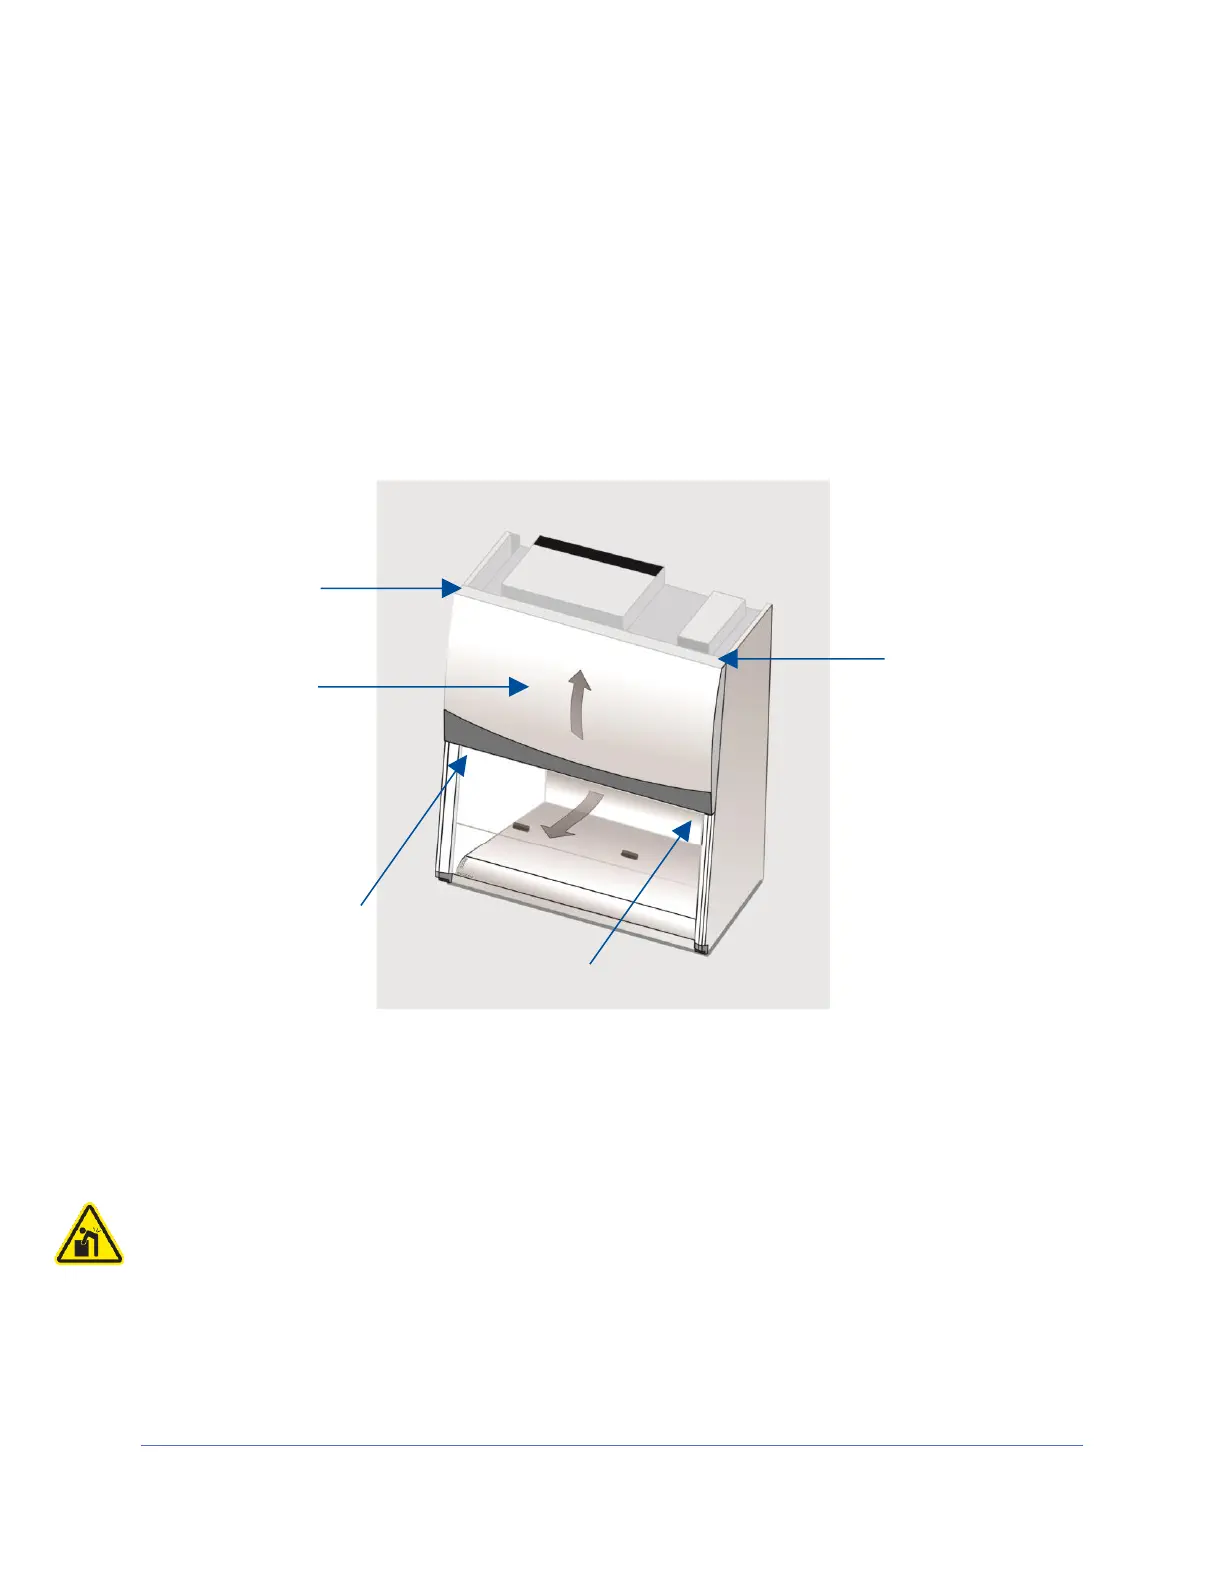
1. Locate and remove the two Phillips screws that secure the front dress Panel as
shown in Figure 12-1.
2. Swing the bottom edge of the dress panel out (away from biosafety cabinet) to
clear the LED lamps underneath. Then lift the entire dress panel up to clear the
two white posts on the top right and left corners of the dress panel. The two
posts protrude down from the top flange of the dress panel.
The dress panel is heavy, and awkward to maneuver, use two persons to lift the
dress panel.
Reinstallation Notes:
1. Make sure the two white posts are fully engaged into the top of each corner post
before replacing the two screws at the bottom corners of the dress panel.