110
Type B2
Follow these instructions carefully, and in the order documented.
HEPA filters can be awkward to handle, and quite heavy for larger models. Use safe
lifting techniques when removing and replacing the filters. Always use two persons to
remove and replace each HEPA filter.
1. Thoroughly and properly decontaminate the biosafety cabinet.
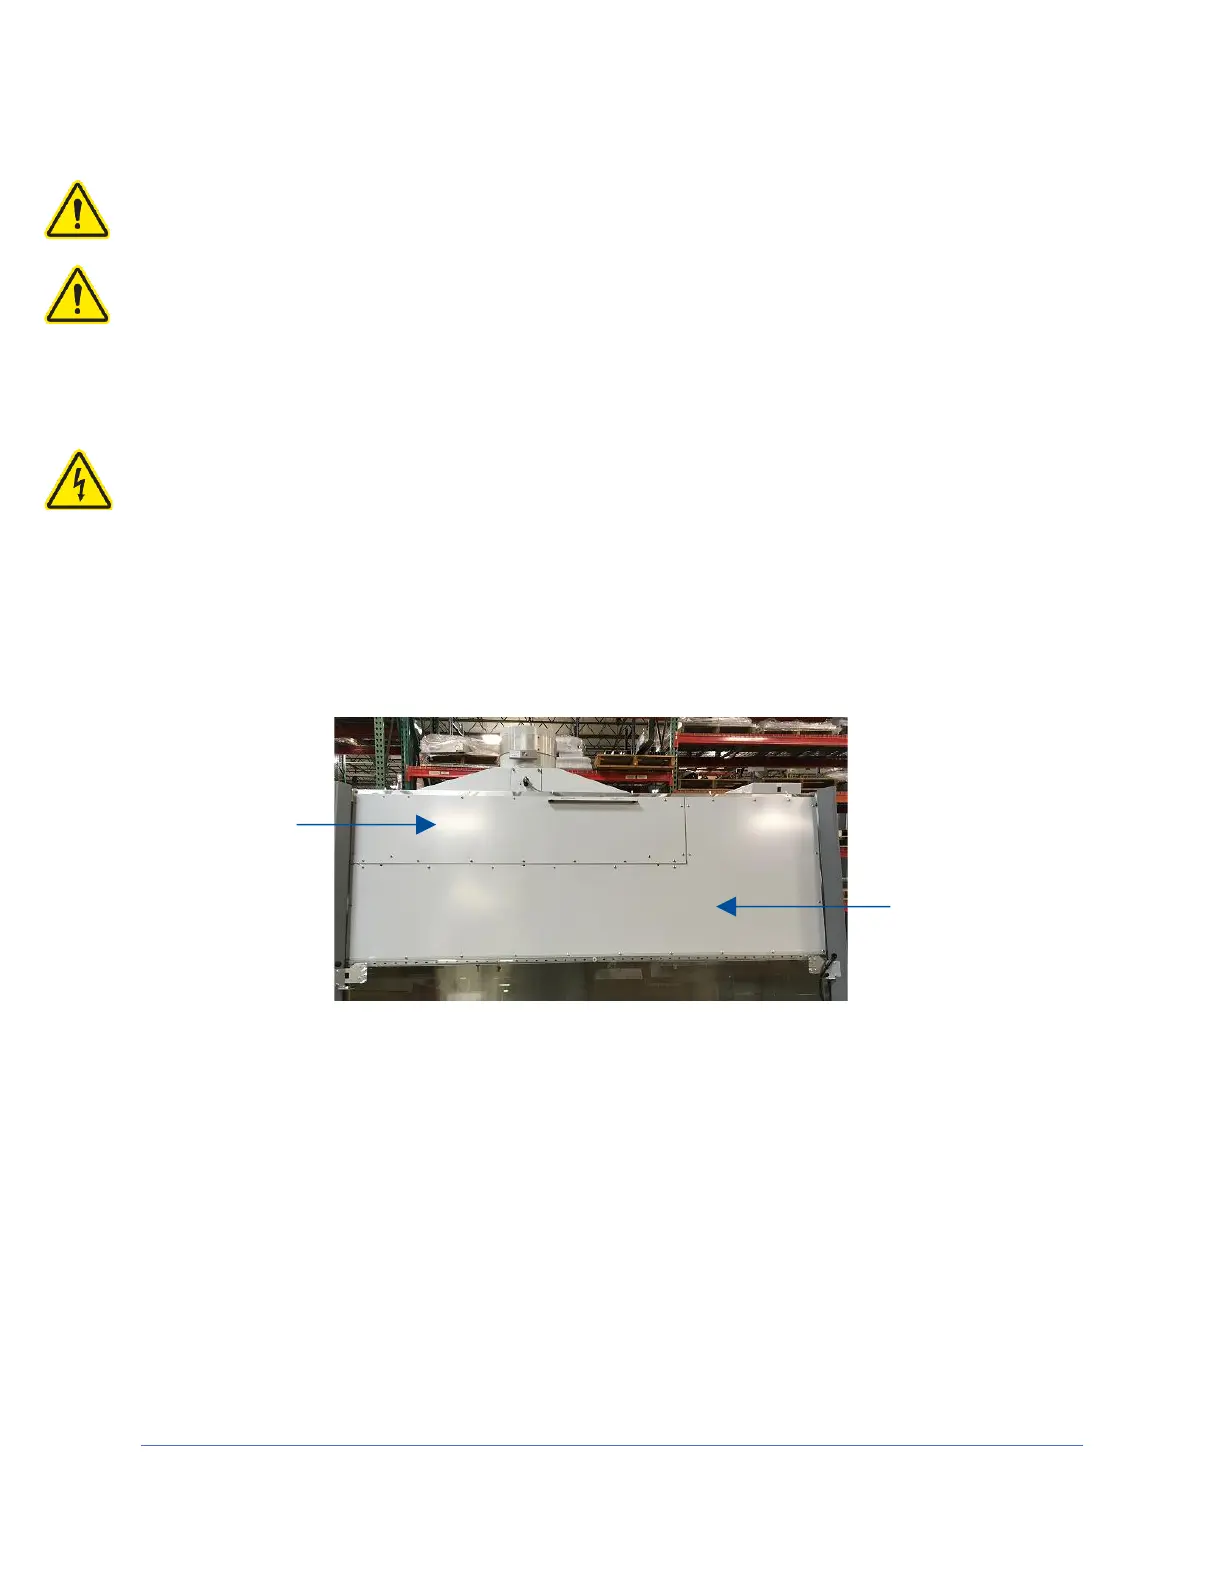
2. Remove the front dress panel as described earlier in this section under Removal
of External Dress Panels. Unplug the power cord to this biosafety cabinet.
3. Remove all of the Phillips screws around the perimeter of the exhaust filter cover.
Gently break the gasket seal on the cover by starting in one corner. Use a flat
screwdriver if necessary, taking care not to damage the gasket or panel by prying
too hard in one area. Remove the exhaust filter cover. See Figure 12-16.
4. To remove the exhaust HEPA filter, use a 1/2-inch socket to loosen the 4 bolts
on top of the cabinet liner (Figure 12-17) until filter drops 1/2 inch to 3/4 inch (19
mm). Do not remove these 4 bolts, just loosen them to lower the exhaust filter.
5. Slide the exhaust HEPA filter straight out of the biosafety cabinet.