166
Kit Catalog Numbers
Installation Procedure
NOTE: Before beginning this installation, Turn the unit on, press the [MENU] button, select
the Tools option, then Information. This will bring up the current settings screen. Record the
motor(s) average RPMs once the unit operation stabilizes. Type A2-12 inch and C1 models
will have two different (supply and exhaust) motor RPMs to record.
Exercise caution when removing or installing the exhaust filter cover, to prevent damaging
the Exhaust HEPA filter.
1. Turn off the Biosafety Cabinet.
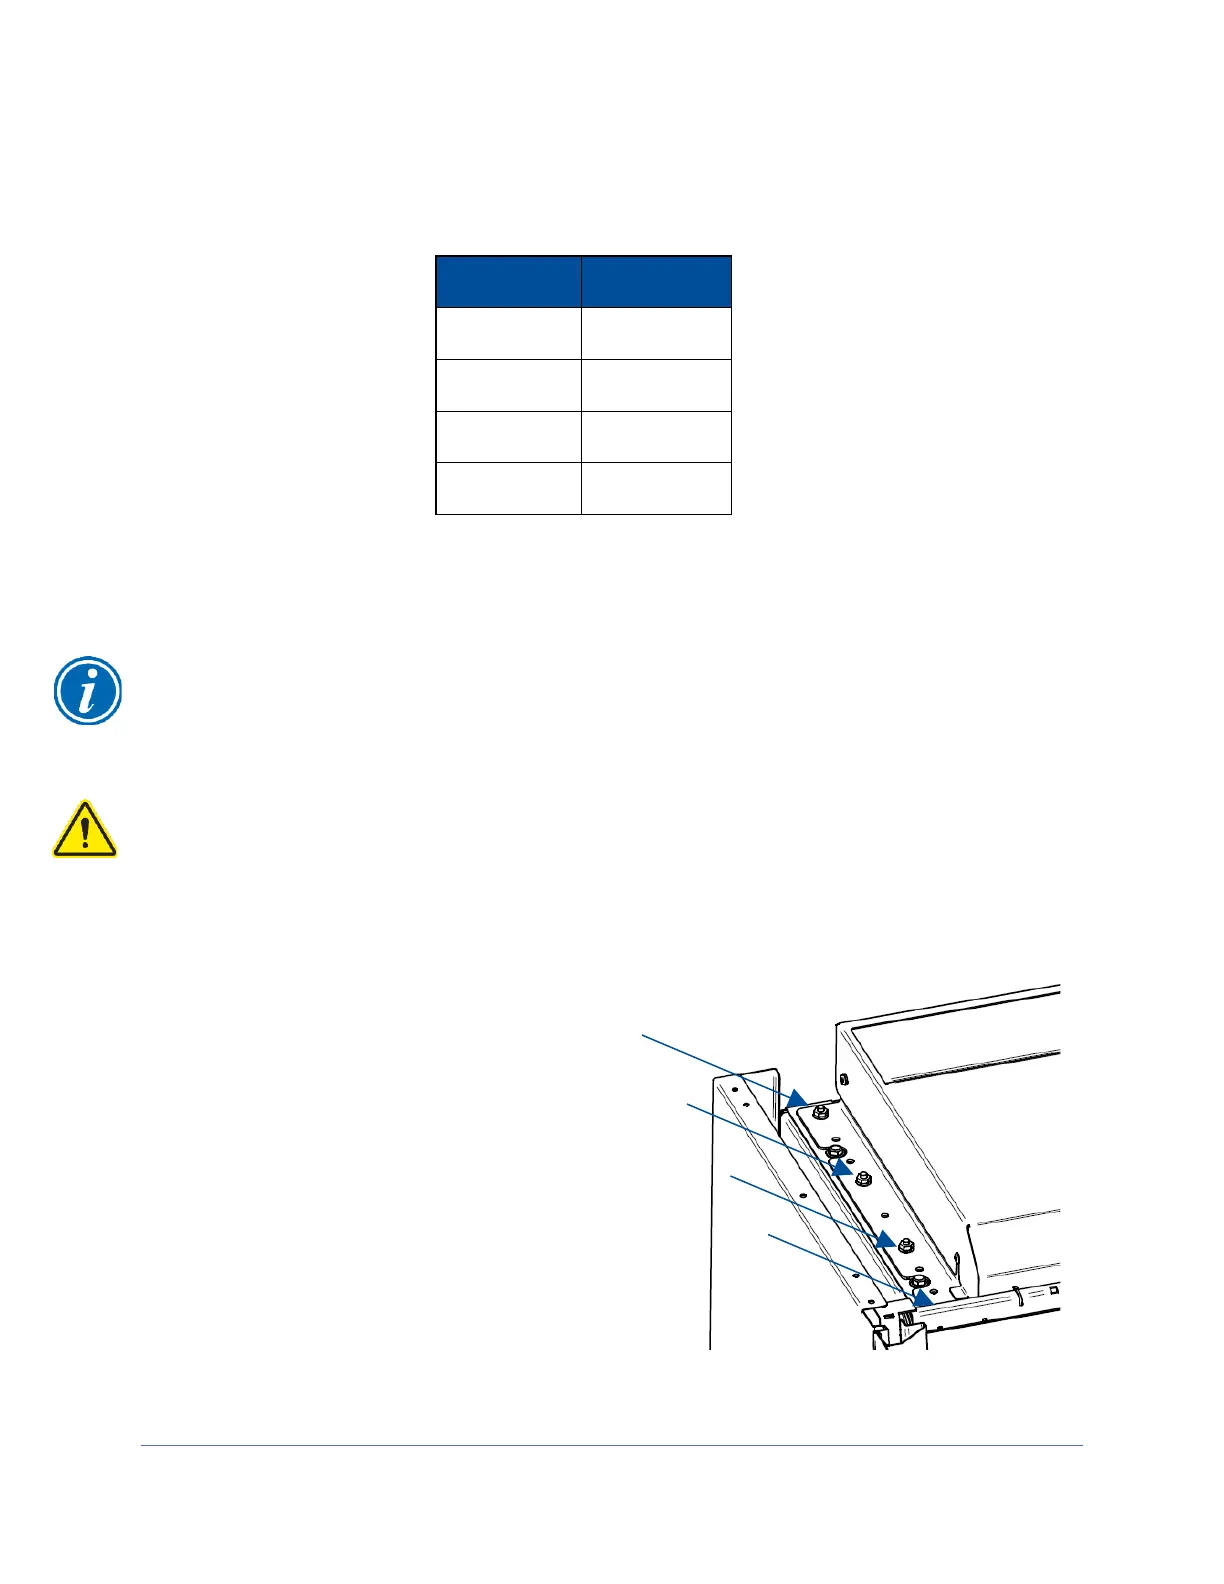
2. Locate and remove the four acorn
nuts and lockwashers that secure
each side of the exhaust cover
and the angle bracket to the top of
the unit (8 nuts & washers total).
3. Lift the cover and angles straight
up off of the top of the cabinet.
Keep the nuts and washers; you
may also want to retain the cover
and angles for the future, if the
cabinet will be disconnected from
the exhaust system.