EasyManuals Logo

Labconco Logic+ A2 User Manual

Labconco Logic+ A2
201 pages
To Next Page IconTo Next Page
To Previous Page IconTo Previous Page
Page #167 background imageLoading...
Page #167 background image
167
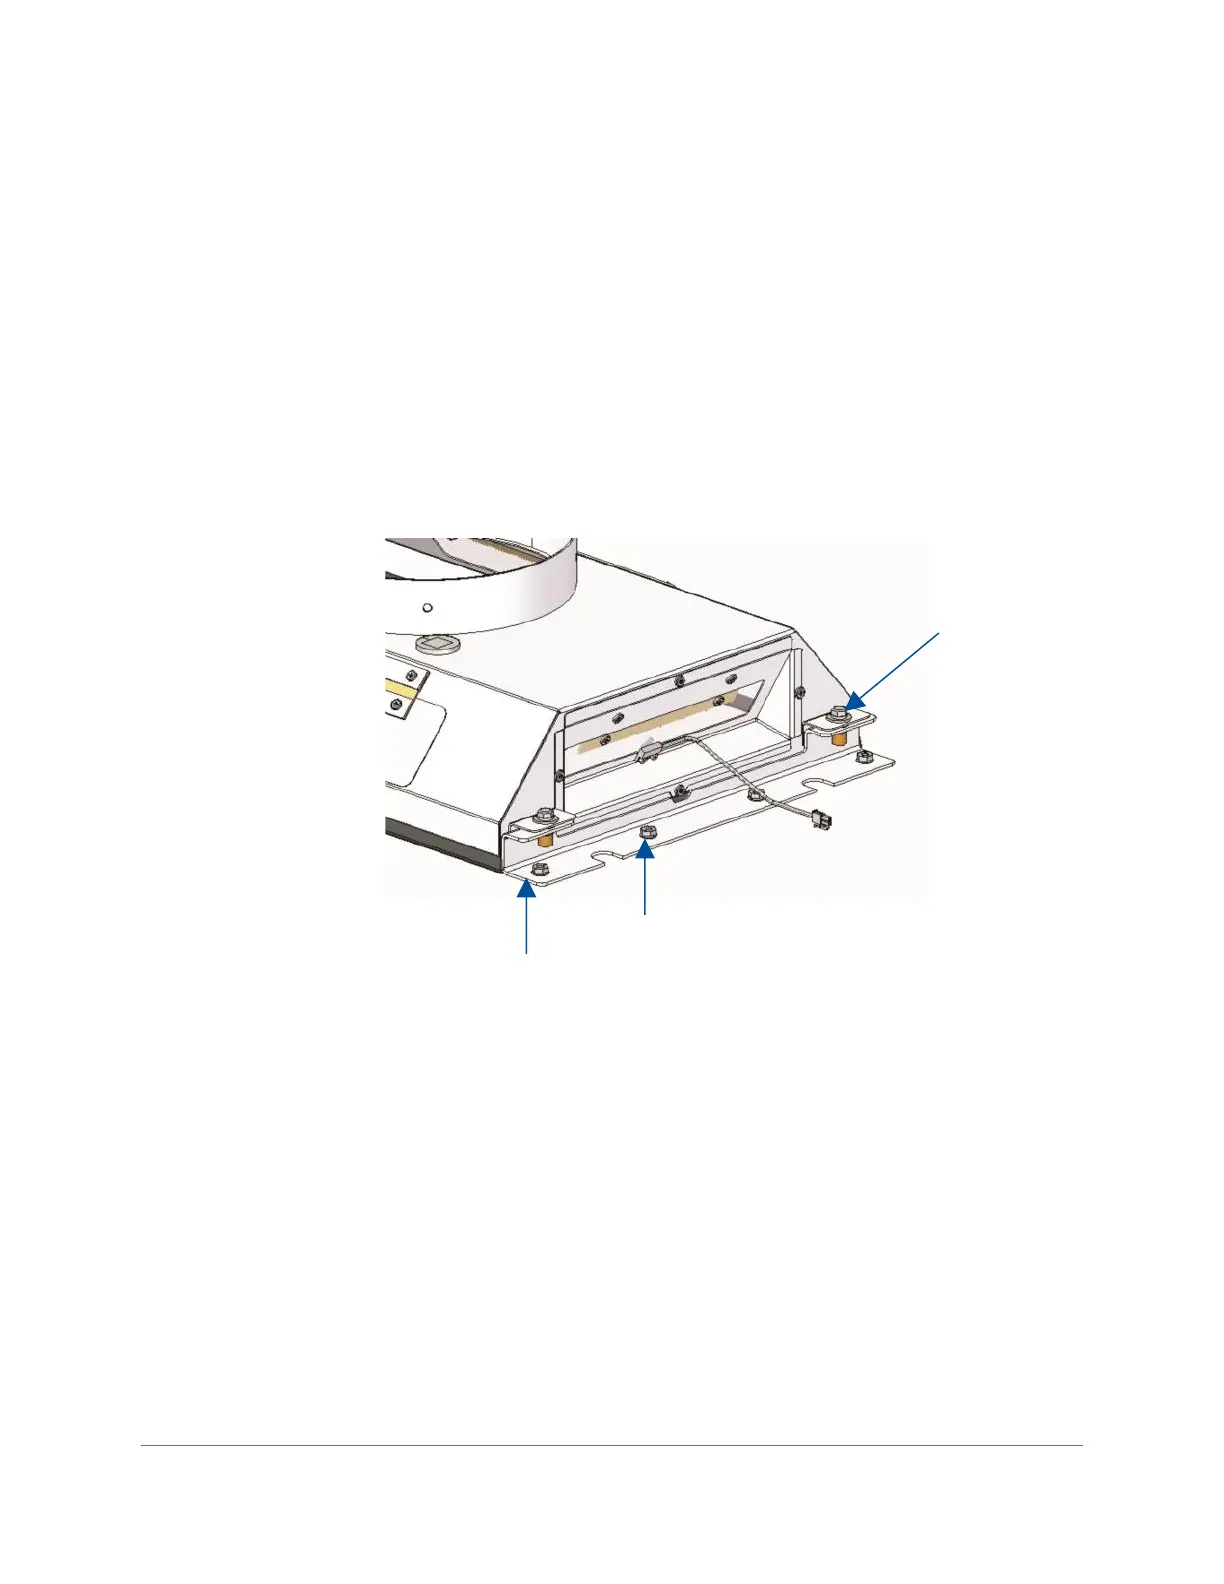
4. Install the replacement brackets as shown, with the lockwashers, and tighten the
acorn nuts. Reference Figure 17-4.
5. Carefully place the canopy between the brackets. Ensure the canopy fits on the
inside of the two mounting brackets as shown. Line up the holes in the canopy
connection with the threaded holes in the mounting bracket flanges. Reference
Figure 17-4.
6. Install the four canopy bolts, washers and lockwashers supplied with the canopy
connection kit into the mounting bracket threaded holes, and tighten them to
secure the canopy as shown. Reference Figure 17-4.
Figure 17-4
Acorn Nuts
Replacement
Mounting Bracket
(same opp. Side)
Canopy Bolts,
Washers, and
Lockwashers

Table of Contents

Questions and Answers:

Question and Answer IconNeed help?

Do you have a question about the Labconco Logic+ A2 and is the answer not in the manual?

Labconco Logic+ A2 Specifications

General IconGeneral
BrandLabconco
ModelLogic+ A2
CategoryLaboratory Equipment
LanguageEnglish

Related product manuals