48
3. Using the average downflow velocity measured during airflow certification, use
[UP] or [DOWN] to adjust the Nominal Downflow Value to match this measured
velocity. The Nominal Downflow Value will flash, and it will be displayed in feet
per minute (FPM) or meters per second (M/S) based on the desired units
selected in the Settings submenu. Once set, press [OK/MUTE].
Note: Type C1 models with an airflow sensor will only display Inflow on the Home Screen.
Type B2
To access the Airflow Sensor Calibration screen(s), follow the steps in Adjusting the
Blower Speed and Setting the Filter Life Gauge previously shown in this section, until on
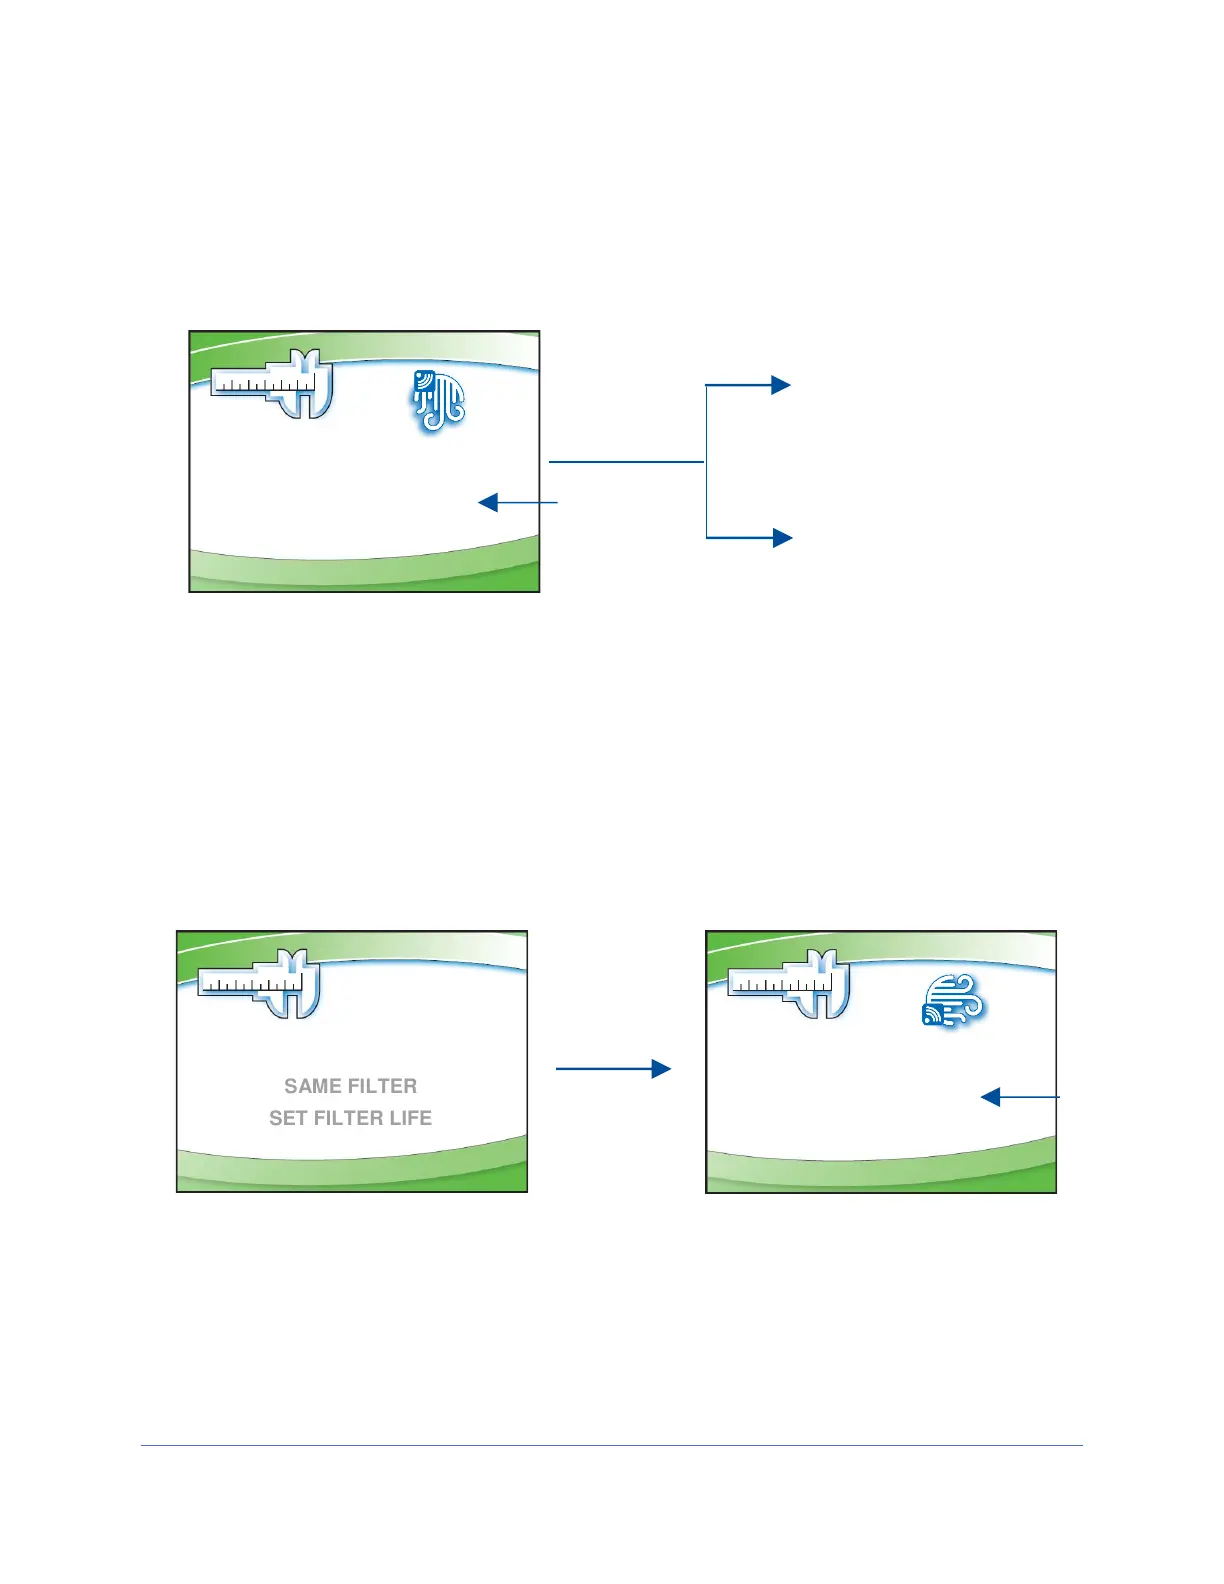
the Filter Life Selection screen. Then follow these instructions:
1. On the Filter Life Selection screen, press [OK/MUTE].
2. Using the average inflow velocity measured during airflow certification, use [UP]
or [DOWN] to adjust the Nominal Inflow Value to match this measured velocity.
The Nominal Inflow Value will flash, and it will be displayed in feet per minute
(FPM) or meters per second (M/S) based on the desired units selected in the
Settings submenu. Once set, press [OK/MUTE].