116
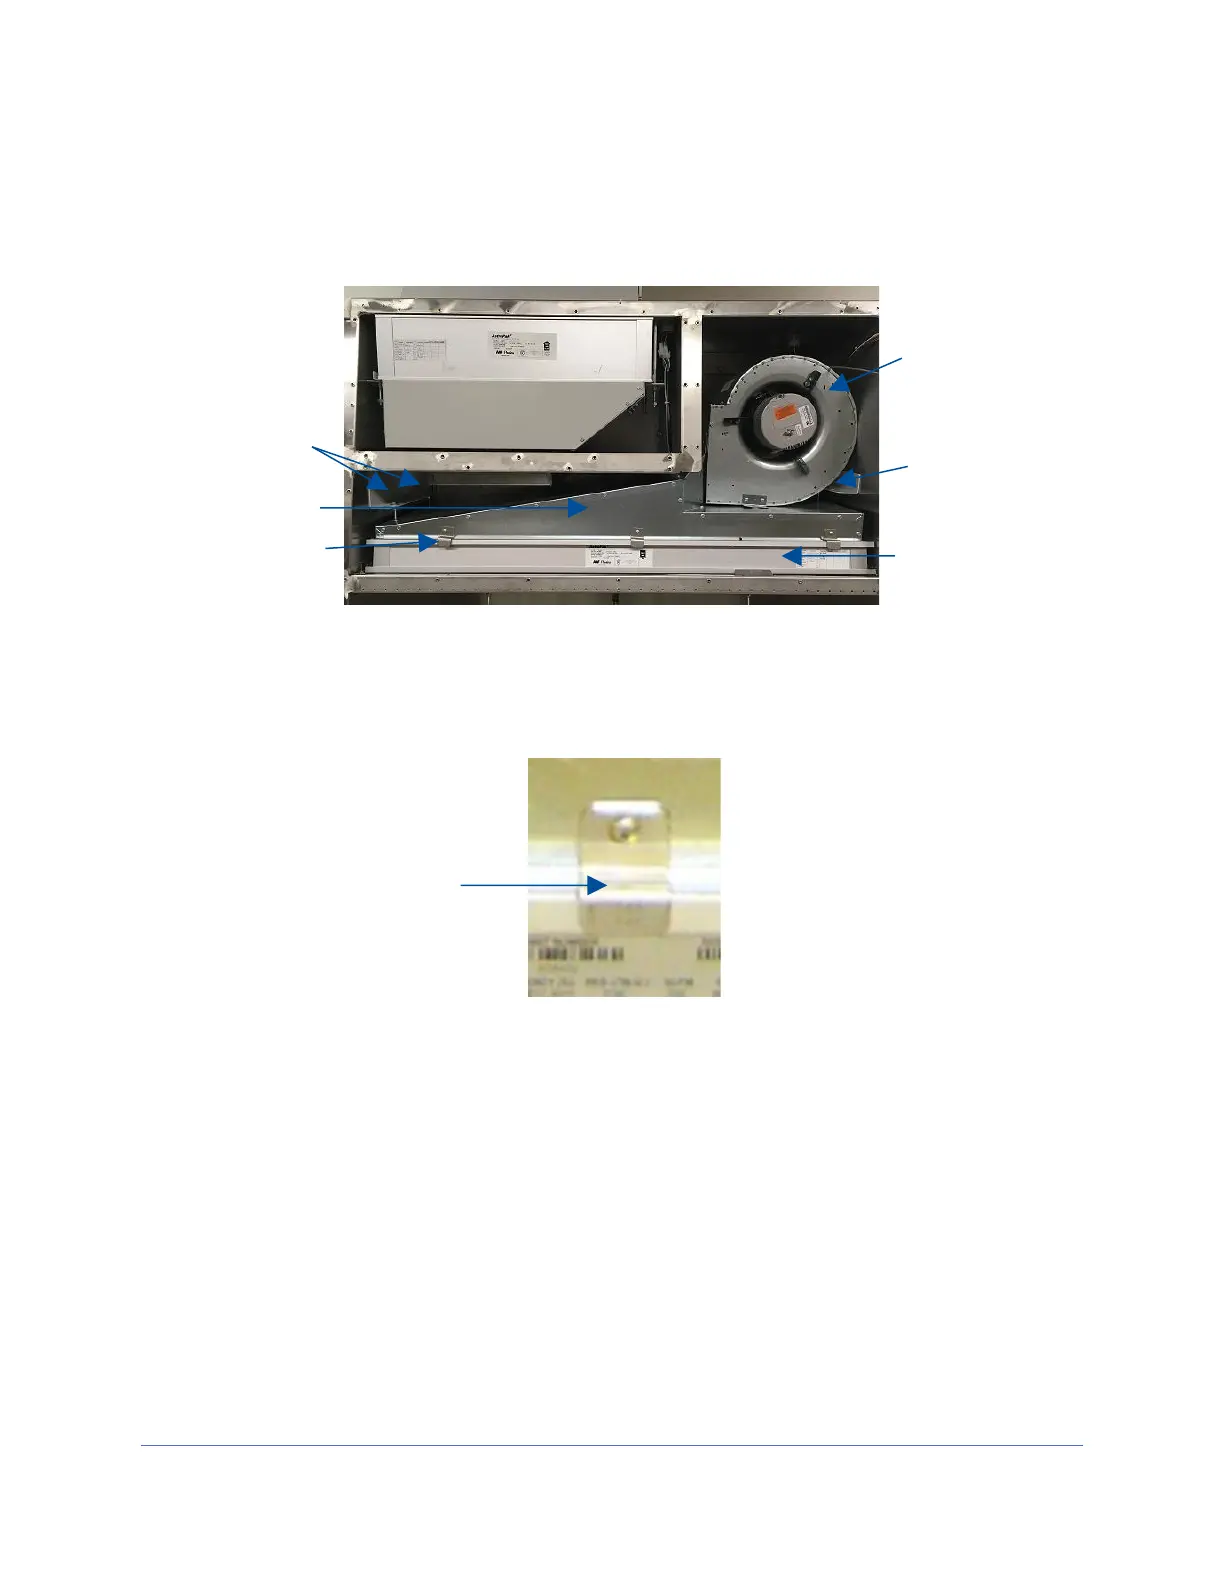
9. To remove the supply HEPA filter, use a 1/2-inch socket to tighten the 3 plenum
lift bolts (turning each bolt clockwise will raise the plenum) until the plenum raises
1/2-inch (13 mm). See Figure 12-24 for reference.
10. Remove the 3 supply HEPA filter retainer brackets (see Figure 12-25).
11. Lift up on one corner of the supply HEPA filter to break the seal between the filter
gasket and the filter shelf. Once the filter is free, slide it straight out.
Reinstallation Notes:
1. When reinstalling the supply HEPA filter, to lower the plenum onto the supply
HEPA, turn the 3 plenum lift bolts counter-clockwise. Turn each bolt part way,
working in a pattern amongst the 3 bolts to lower the plenum evenly.
2. When downward pressure begins to be applied onto the supply HEPA (and
upward pressure on the exhaust HEPA when it is reinstalled separately), the
brackets holding the bolts you are tightening will flex slightly. Only tighten until
the filters are secure and the filter gasket has 50% compression. Do not
overtighten the bolts.