42
4. On the Password Screen, enter the password: is [LIGHT] [UV LIGHT] [TIMER]
[TIMER] [OK/MUTE]. If also installing a new airflow sensor, see Certifier
Password earlier in this section to enter the correct password to allow for zero-
point calibration of the airflow sensor.
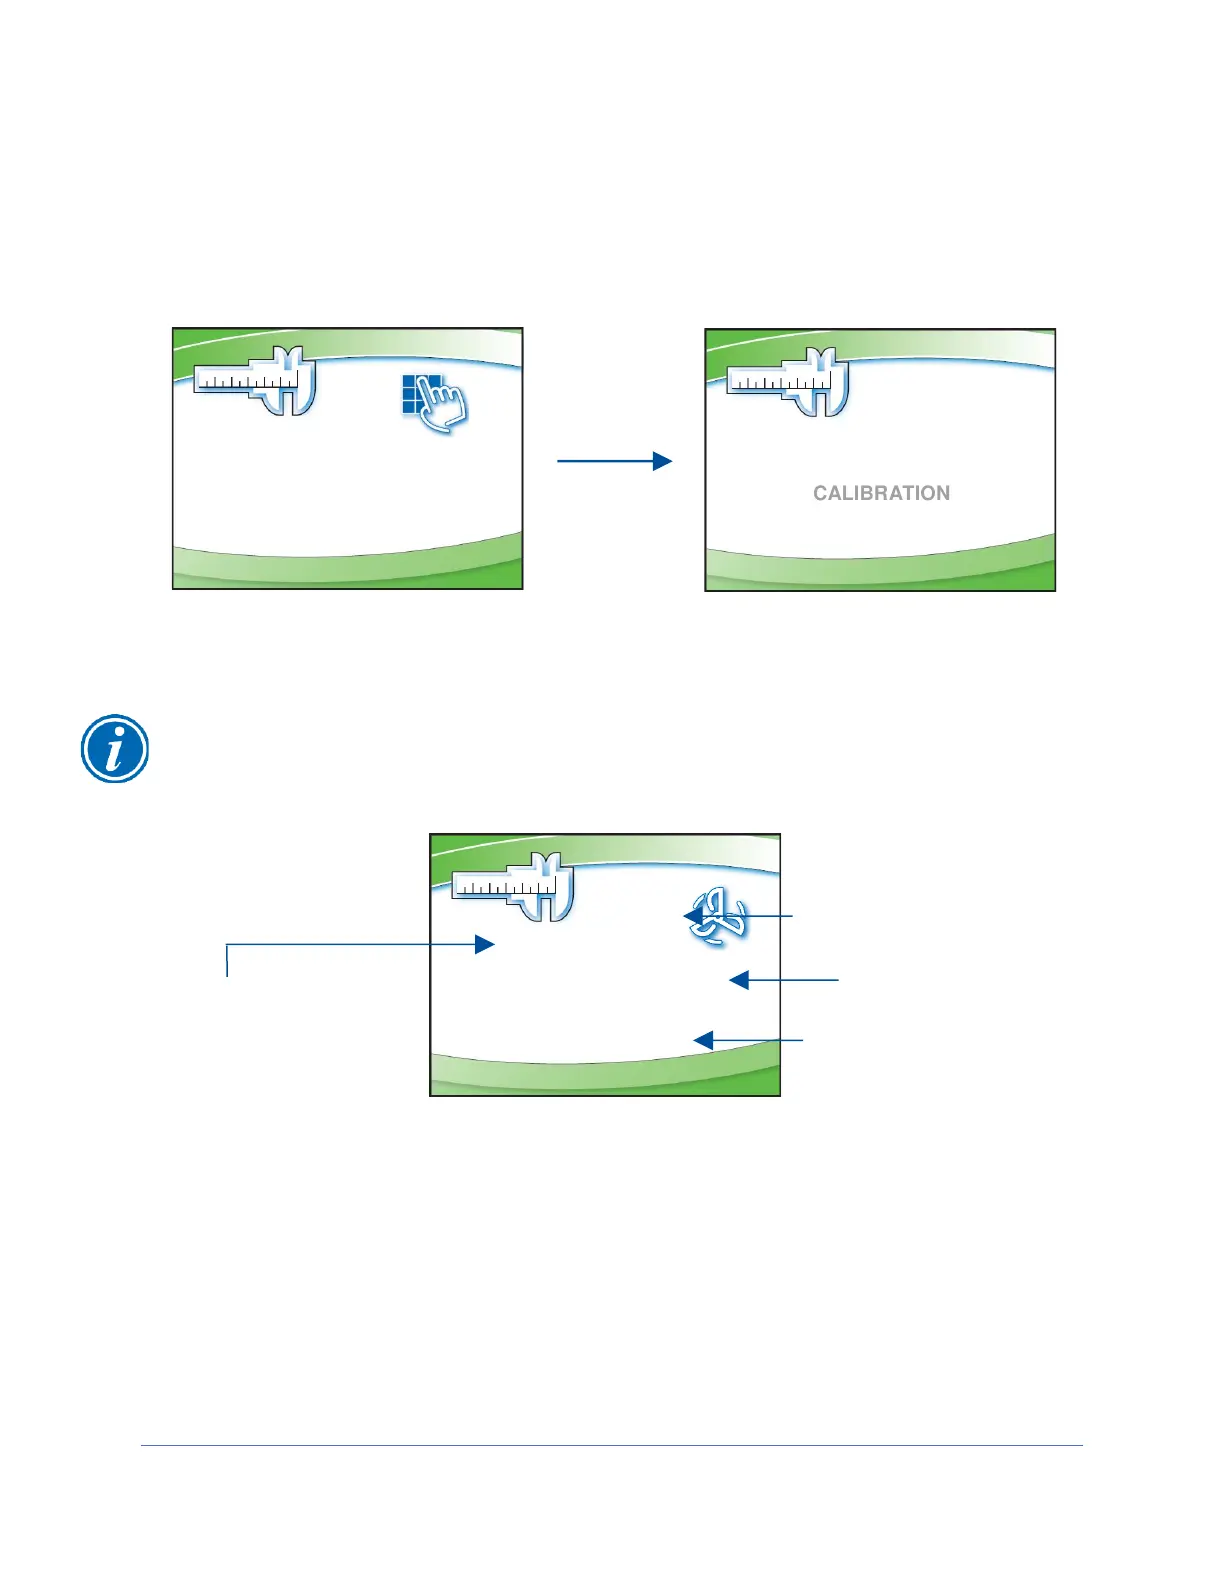
5. Use [UP] or [DOWN] to select Calibration. Press [OK/MUTE].
Note: The sash must be at operating height when pressing [OK/MUTE]. Access will
not be granted if the sash is closed.
Use [UP] or [DOWN] to adjust the blower speed. Each single press of [UP] or
[DOWN] increments the PWM signal sent to the blower by 0.5. It may take two
presses of the button to see the displayed PWM value change; however the
blower speed will adjust with each button press.
When the Instantaneous Blower rpm is within 15 rpm of the Average Blower rpm,
the blower speed has stabilized, and [OK/MUTE] can be pressed to move to the
next screen.