Watch the procedure. A video of the installation and removal process is available:
• YouTube:
https://www.youtube.com/playlist?list=PLYV5R7hVcs-BXei6L6c05osQVLt4w5XYx
• Youku: https://list.youku.com/albumlist/show/id_59636529
Procedure
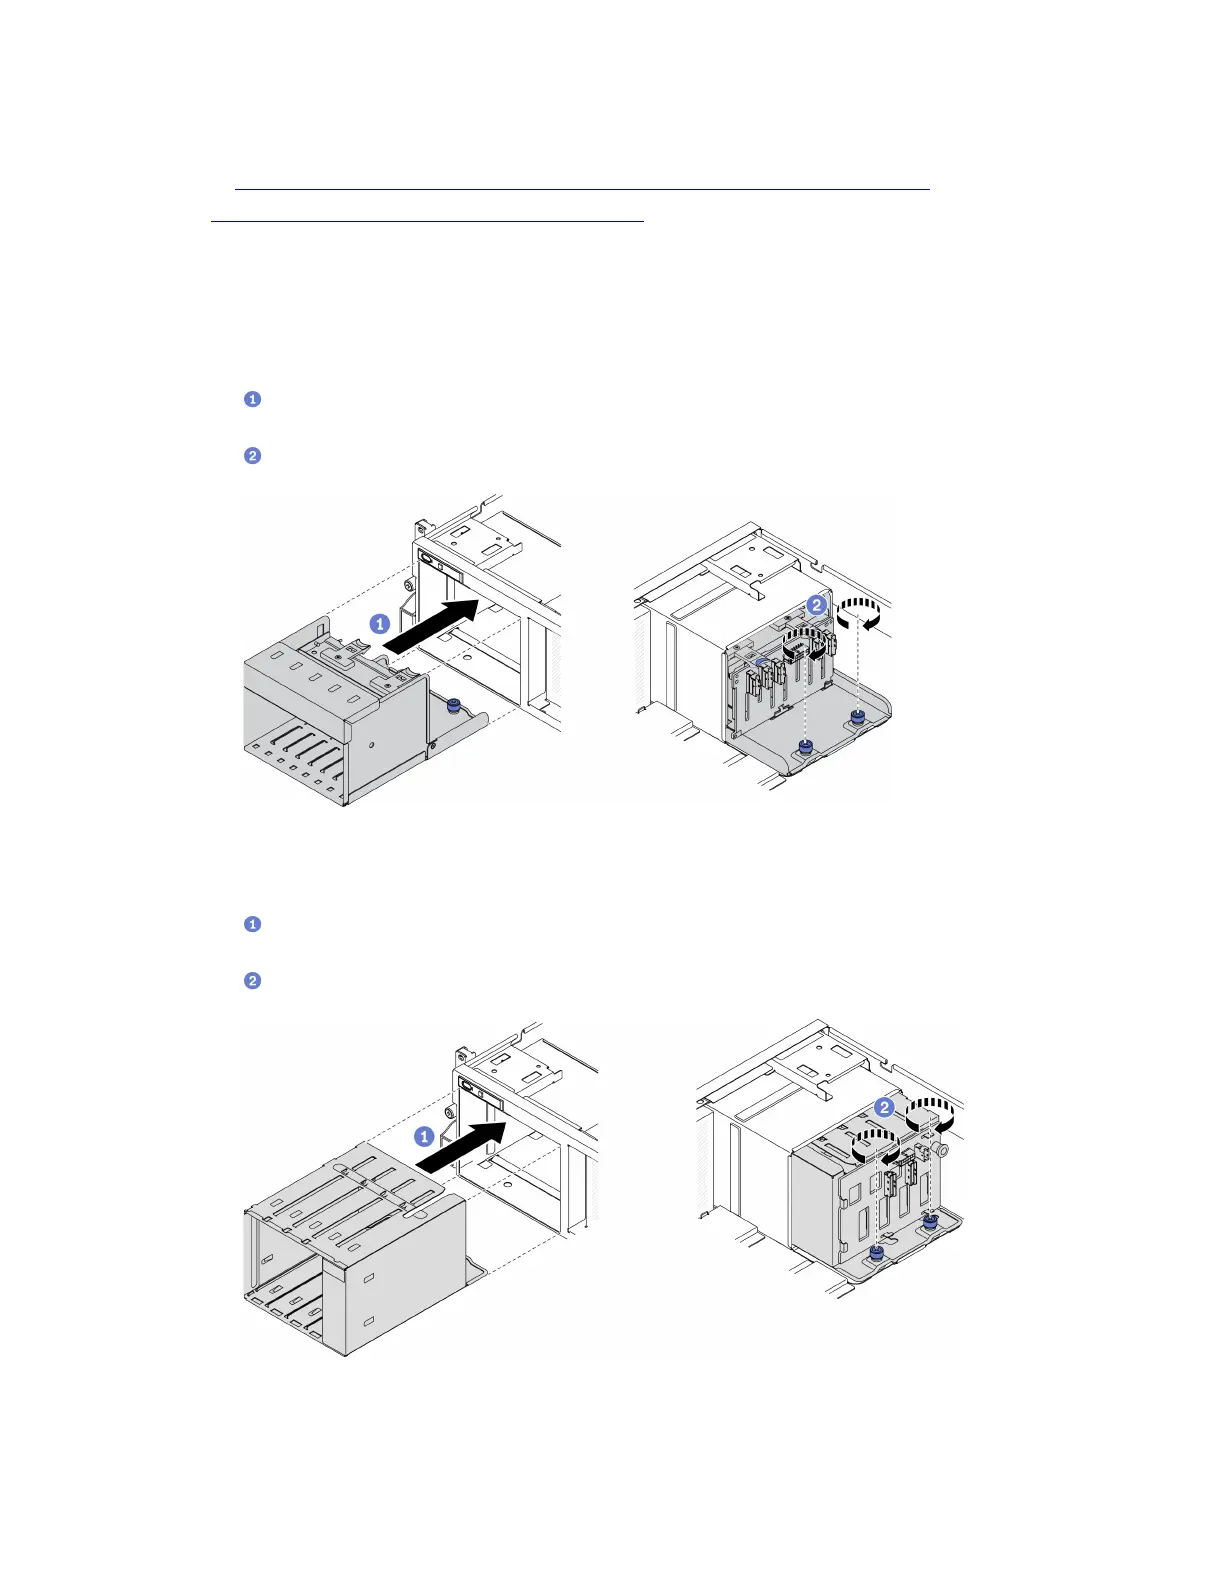
Step 1. Based on your configuration, follow the corresponding procedures to install the 2.5-inch or 3.5-inch
drive cage assembly.
Install the 2.5-inch drive cage assembly:
a.
Align the 2.5-inch drive cage assembly with the opening on the front of the server; then,
slide it into the chassis until it is seated in place.
b.
Fasten the two thumbscrews to secure the drive cage assembly to the chassis.
Figure 171. Installing the 2.5-inch drive cage assembly
Install the 3.5-inch drive cage assembly:
a.
Align the 3.5-inch drive cage assembly with the opening on the front of the server; then,
slide it into the chassis until it is seated in place.
b.
Fasten the two thumbscrews to secure the drive cage assembly to the chassis.
Figure 172. Installing the 3.5-inch drive cage assembly
238 ThinkSystem SR670 V2 Maintenance Manual

 Loading...


