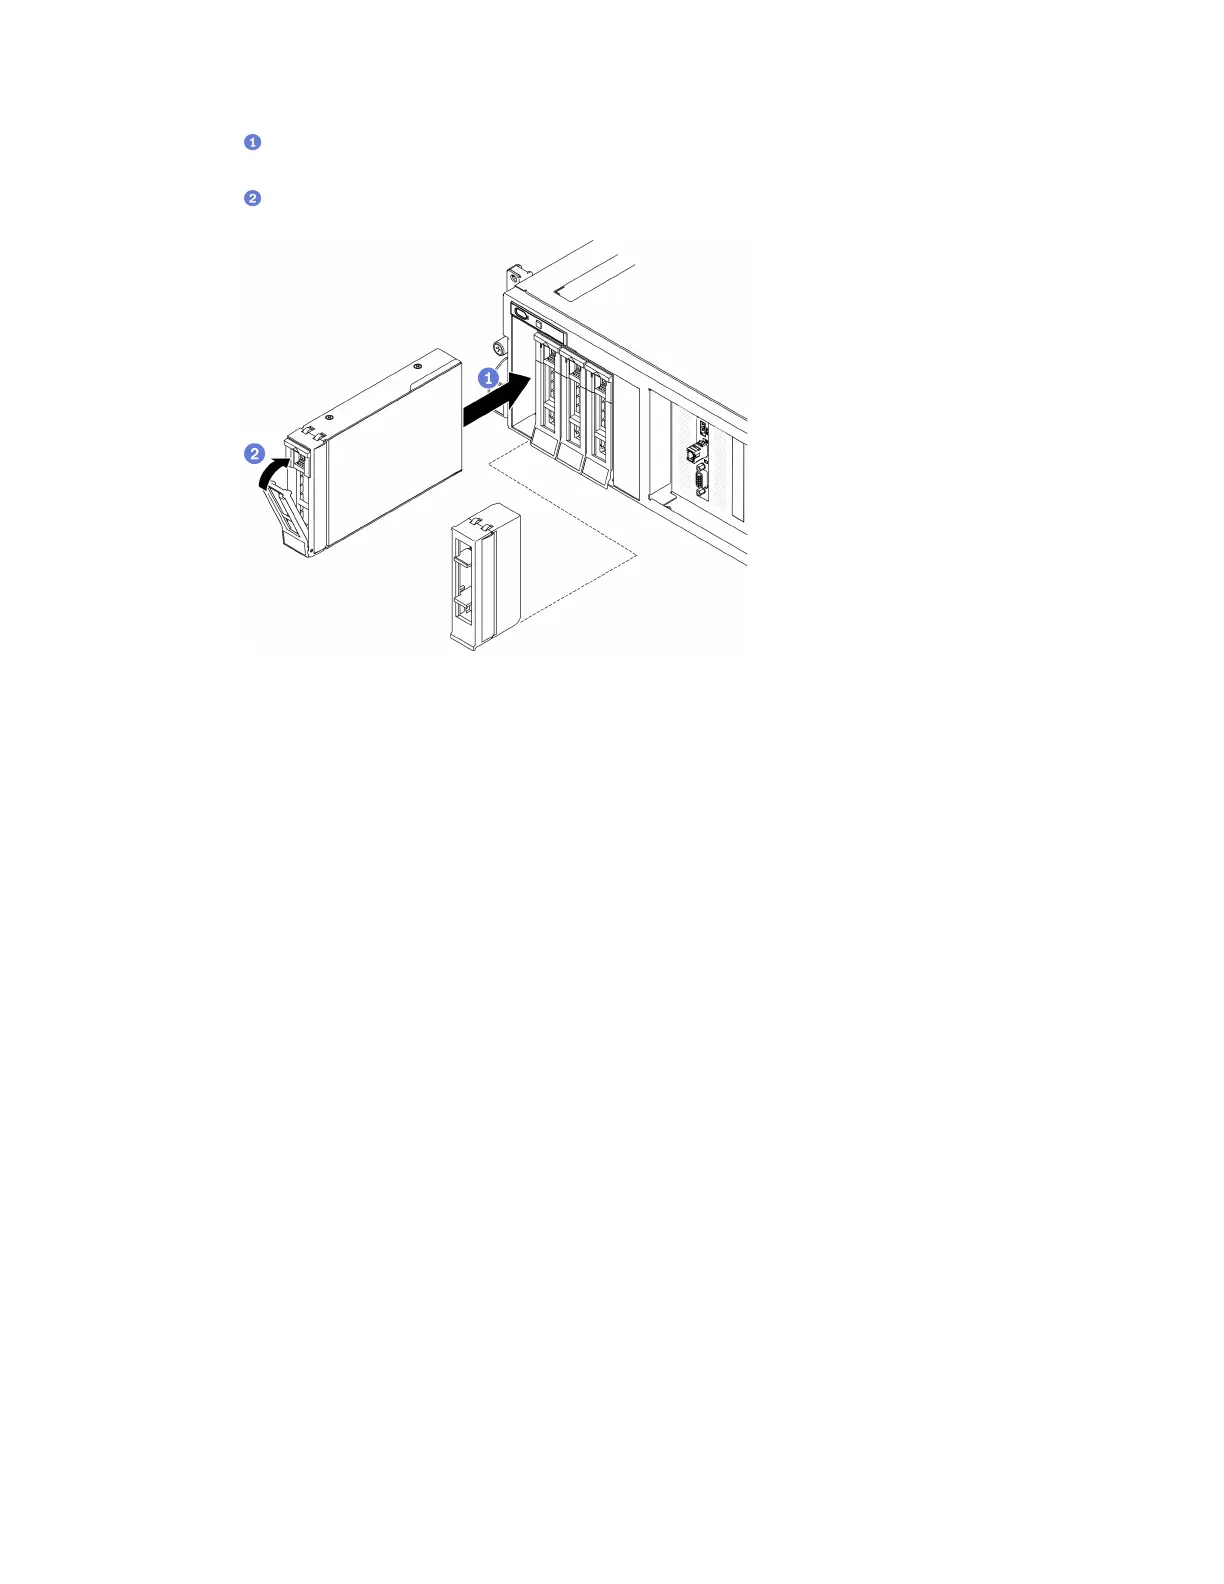
a. Make sure that the drive handle is in the open position. Then, align the drive with the guide
rails in the bay and gently push the drive into the bay until the drive stops.
b.
Rotate the drive handle to the fully closed position until the handle latch clicks.
Figure 164. Installing a 3.5-inch hot-swap drive
Step 2. If you have additional drives to install, do so now; if any of the drive bays is left empty, fill it with a
drive bay filler.
After you finish
1. Check the drive status LED to verify that the drive is operating correctly.
• If the yellow drive status LED of a drive is lit continuously, that drive is faulty and must be replaced.
• If the green drive activity LED is flashing, the drive is being accessed.
2. If the server is configured for RAID operation through a ThinkSystem RAID adapter, you might have to
reconfigure your disk arrays after you install drives. See the ThinkSystem RAID adapter documentation
for additional information about RAID operation and complete instructions for using ThinkSystem RAID
adapter.
2.5-/3.5-inch drive backplane replacement
Follow instructions in this section to remove and install a 2.5-inch or 3.5-inch drive backplane.
Remove the 2.5-/3.5-inch drive backplane
Follow instructions in this section to remove the 2.5-inch or 3.5-inch drive backplane.
About this task
Attention:
• Read “Installation Guidelines” on page 121 and “Safety inspection checklist” on page 122 to ensure that
you work safely.
• Power off the server and peripheral devices and disconnect the power cords and all external cables. See
“Power off the server” on page 14.
232
ThinkSystem SR670 V2 Maintenance Manual

 Loading...


