214683 34 Revision A
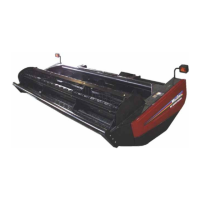
Figure 3.9: Left Endshield
4. If additional clearance is required, pull the endshield
free of hinge tab (A) and swing shield towards the rear
of the header.
5. Engage safety latch (B) on hinge arm to secure the
shield in fully open position.
Closing Endshields
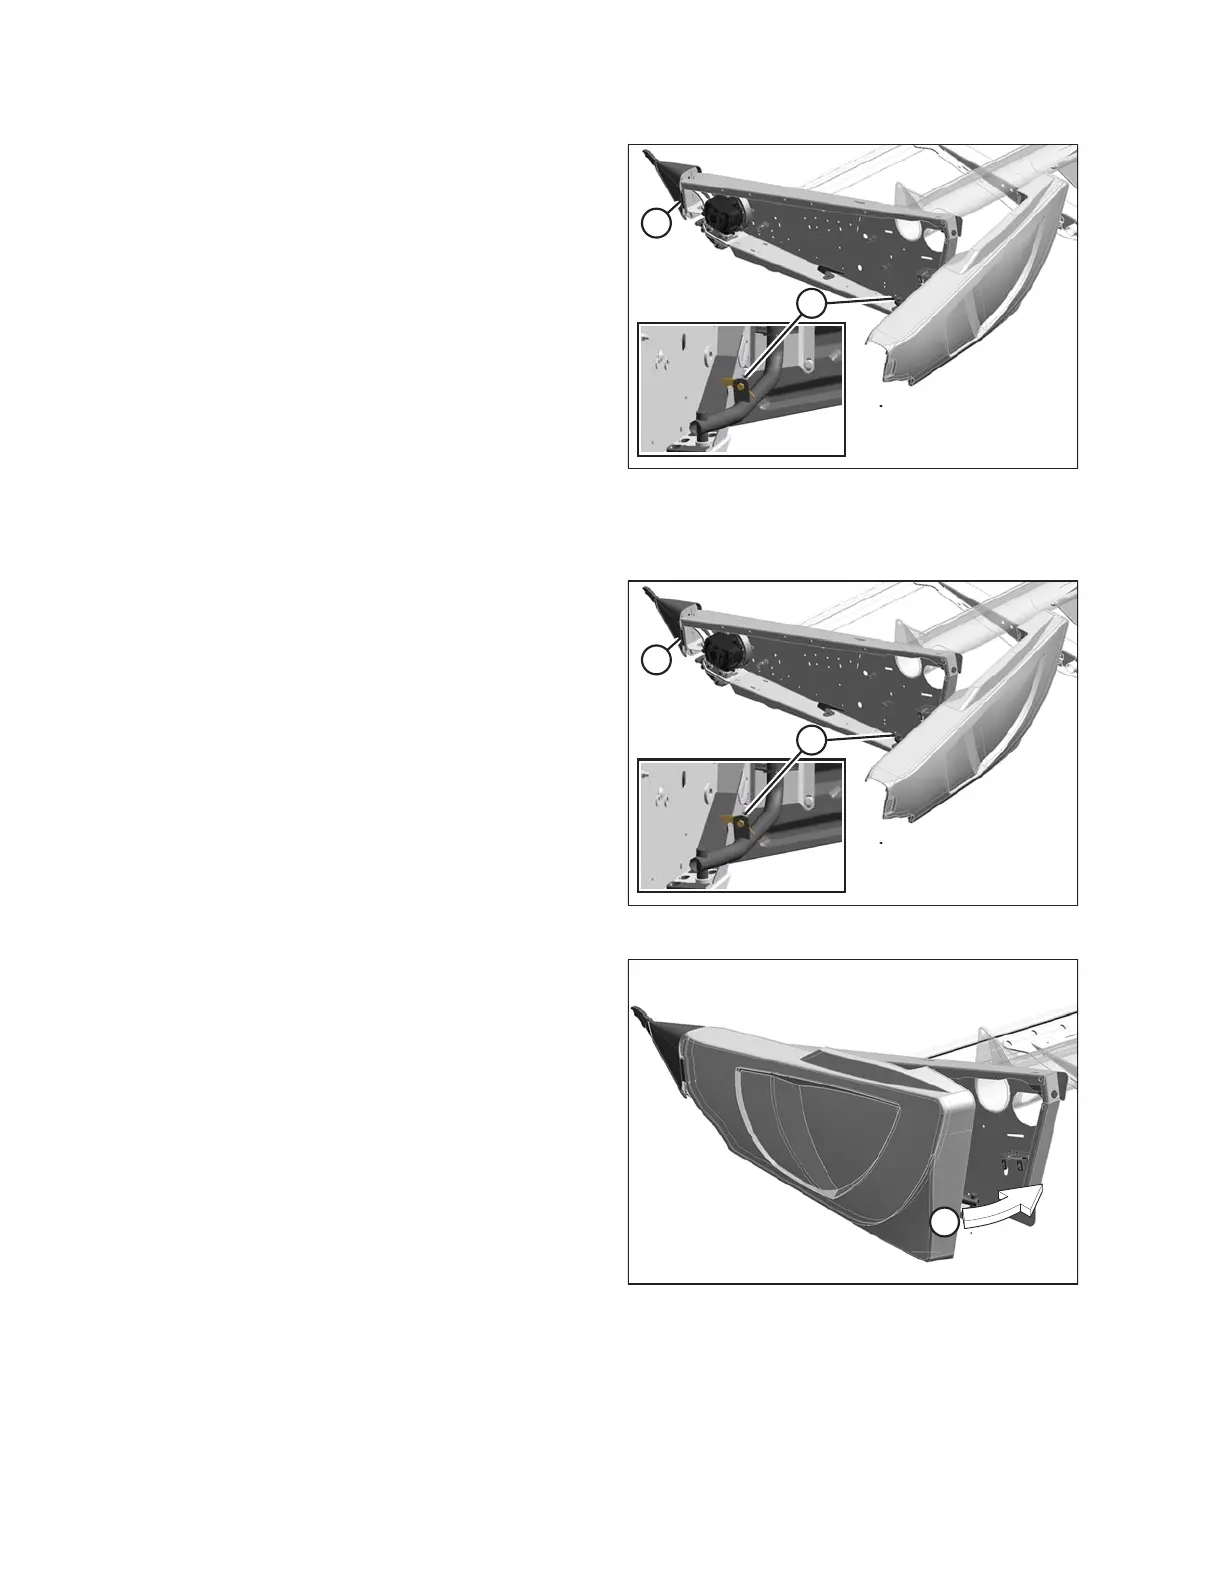
Figure 3.10: Left Endshield
1. Disengage lock (B) to allow endshield to move.
2. Insert front of endshield behind hinge tab (A) and into
divider cone.
Figure 3.11: Left Endshield
3. Swing endshield in direction (A) into closed position.
Engage lock with a firm push.
4. Check that endshield is locked.
OPERATION