214683 322 Revision A
4.1.7 Optional Modification to Wide Configuration
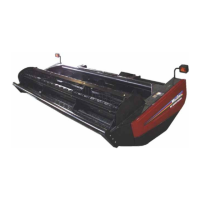
Figure 4.29: Auger Configurations (Rear View)
1 - Wide Configuration 2 - Modified Wide Configuration
In some conditions, feeding may be further improved by
removing all bolt-on flightings (A). Four flighting plugs
(MD #213084), M6 bolts (MD #252703), and M6 tee nuts
(MD #197263) are recommended to cover the flighting
mounting holes. These parts can be ordered from a
MacDon Dealer.
1. To improve access and ease installation, remove float module from combine. For instructions, refer to 4 Header
Attachment/Detachment, page 307.
NOTE:
Some parts have been removed from the illustrations for clarity.
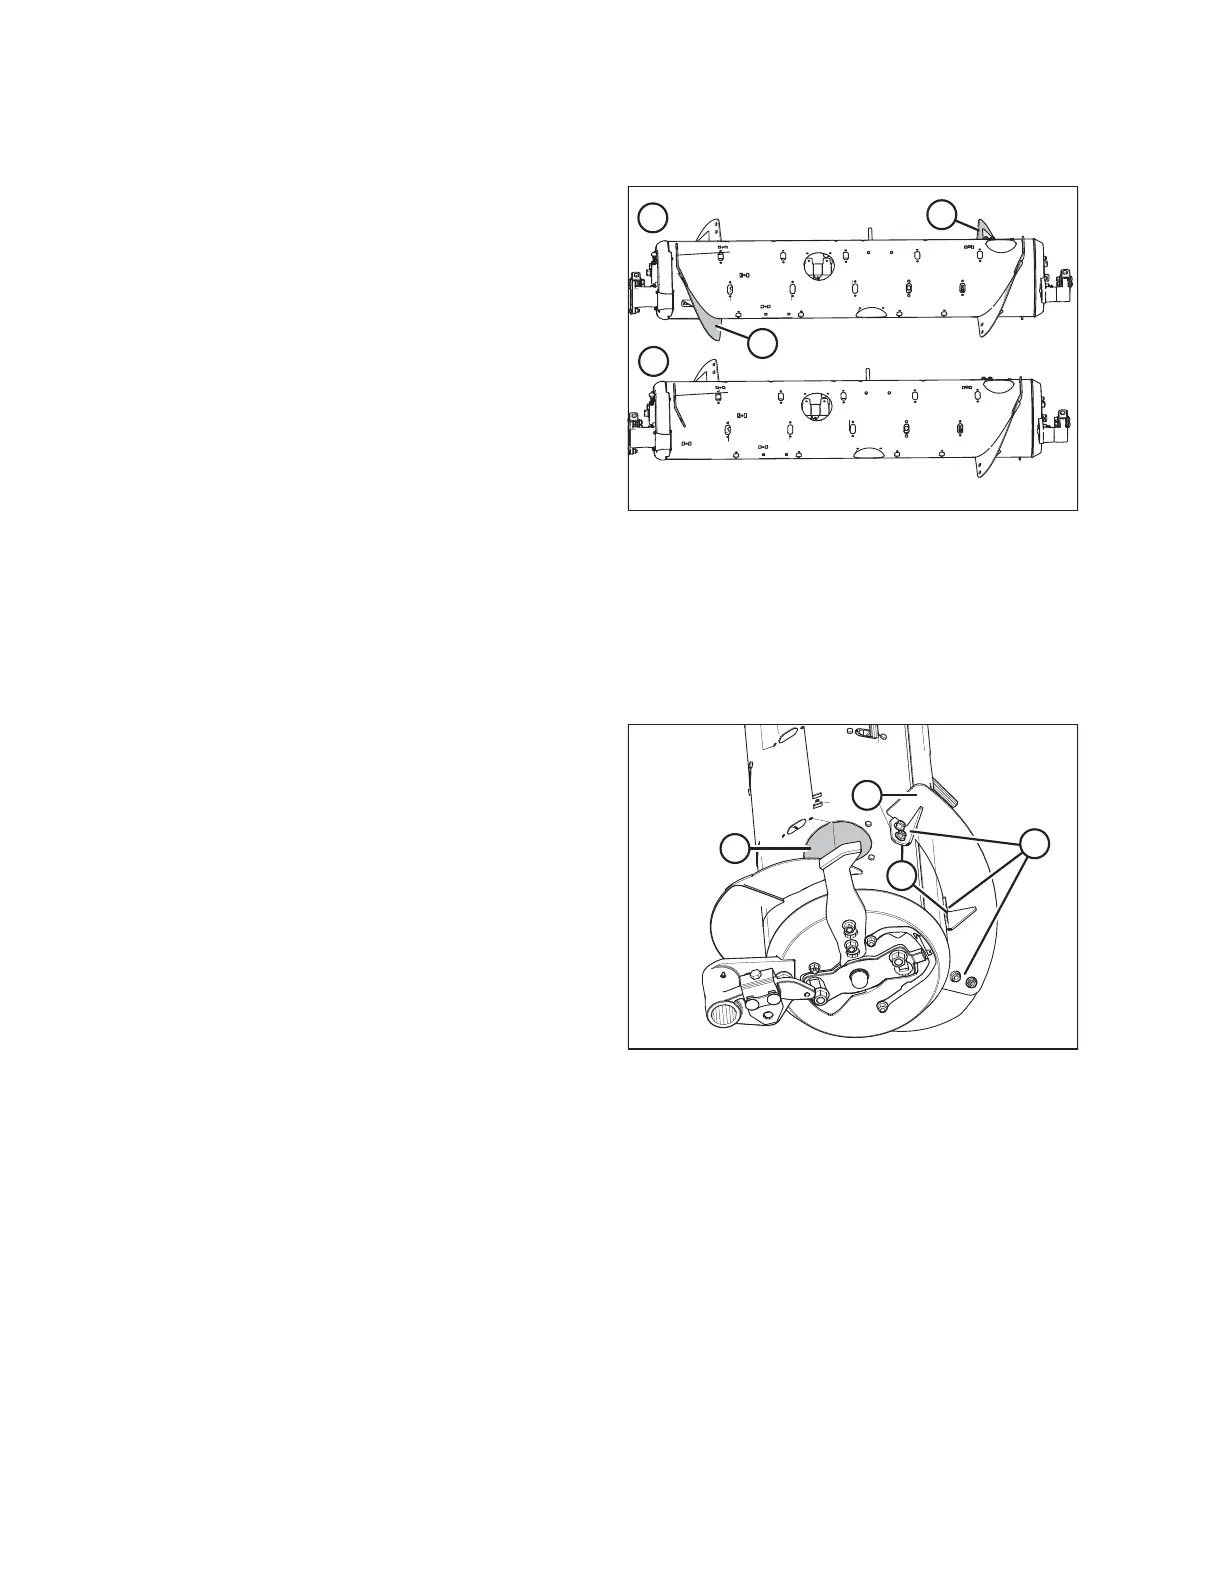
Figure 4.30: Wide Configuration (Right Side)
2. Remove two bolts and access cover (A).
3. Remove hardware (B), and bolt-on flighting (C).
4. Install flighting slot plugs (MD #213084) in the flighting
mounting locations (D) and secure with M6 bolts
(MD #252703) and tee nuts (MD #197263).
5. Repeat at the left side of the auger.
6. Install additional auger fingers. A total of 30 fingers are
recommended for this configuration. Refer to Installing
Feed Auger Fingers, page 431.
HEADER ATTACHMENT/DETACHMENT