ZS3 Service Manual Page 244 of 295
User Interface – Removal/Replacement
Required Parts
86600-00 ................... Assy, User Interface, ZS3 (Standard Version)
Or 89003-00…………..Assy, User Interface, ZS3 (SP version)
86596-00 ................... Trackball Assy (if replaced separately)
86597-00 ................... QWERTY, Low profile, ZS3
Overview of Procedure
6. Removal and replacement of User Interface Assy
7. System verification
Required Tools/Equipment
8. #1 Phillips Screwdriver
Procedure
UI Removal/Replacement:
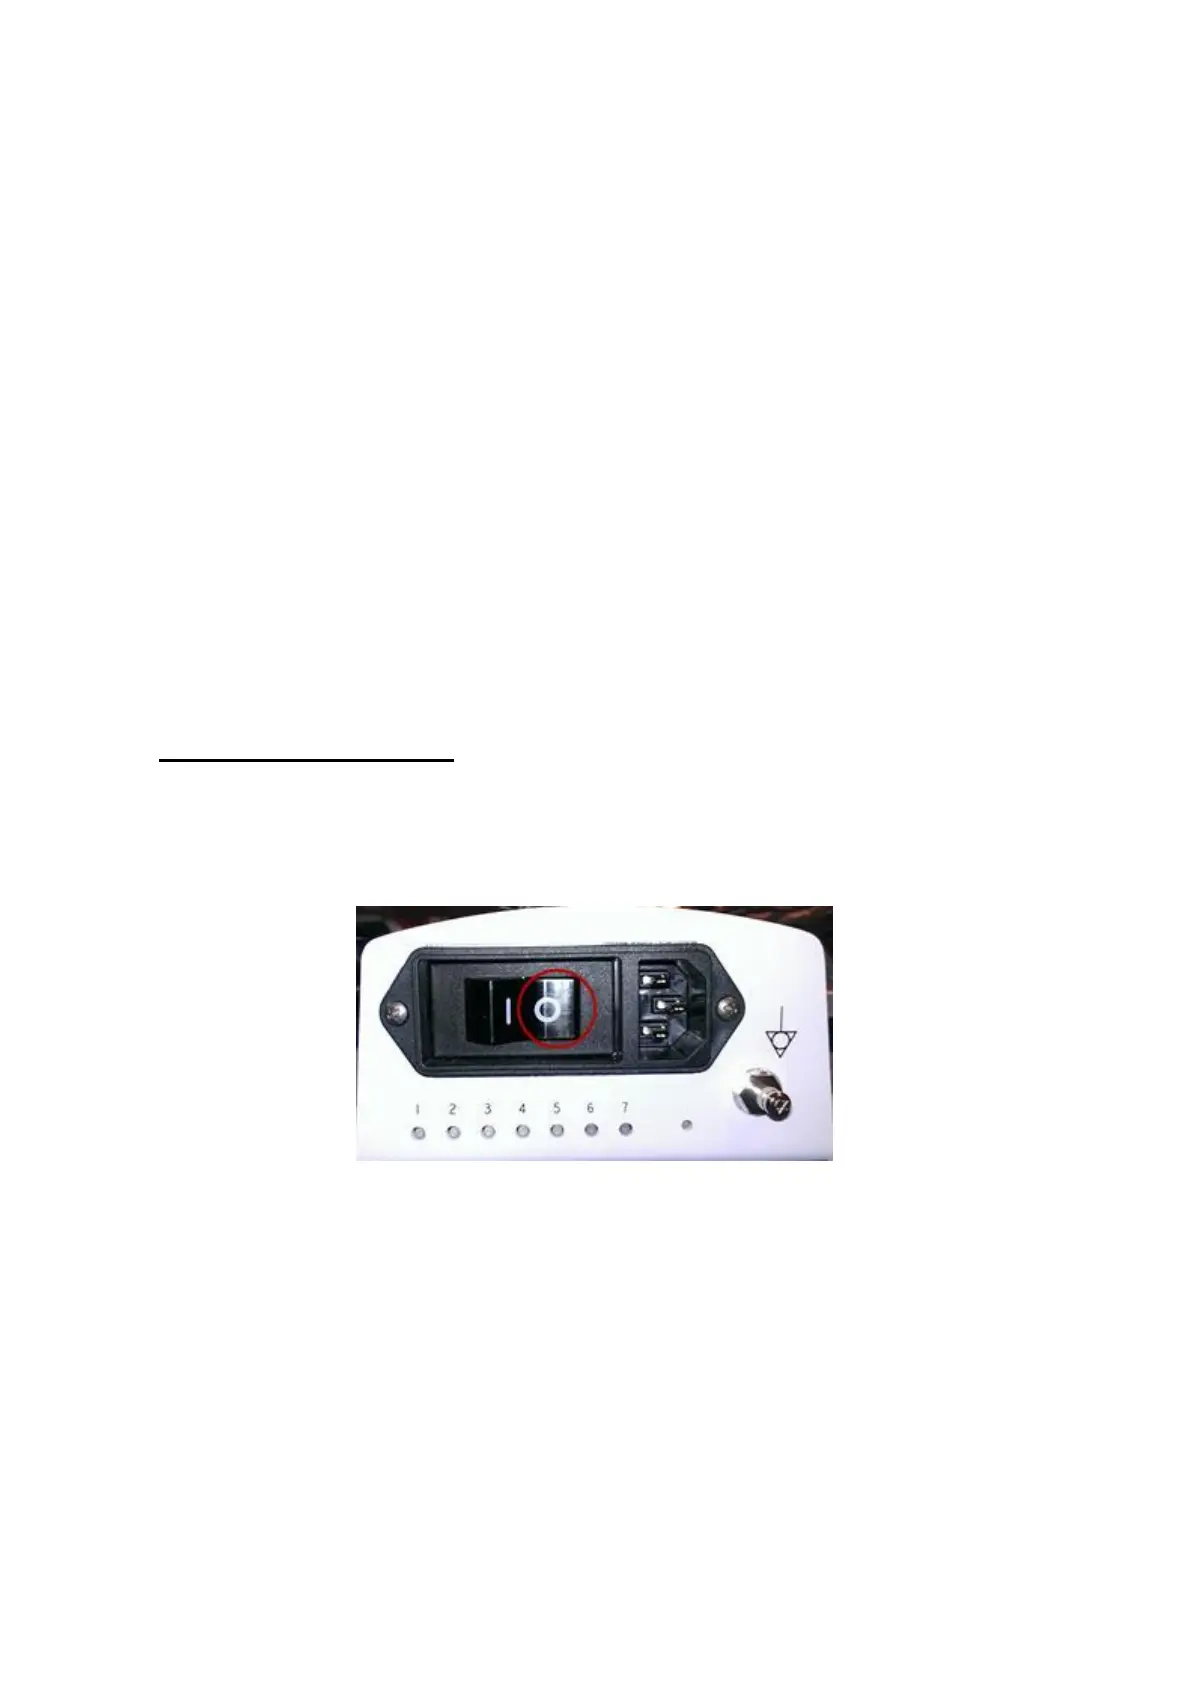
1. Ensure the system is powered “OFF”.
2. Place AC circuit breaker, located at the rear of the system, in the “0” (OFF)
position.
Figure 19.34-ZS3
3. Disconnect the main AC power cord from the rear of the system or unplug from
the wall source.
4. Remove the eight (8) Phillips screws that secure the UI to the cast UI base. This
will need to be accomplished from below using a Phillips screwdriver.
 Loading...


