ZS3 Service Manual Page 159 of 295
Clean Software Install Procedure
1. Press the Power On/Off button to power the system on
2. Allow the system to complete a normal boot operation (less than 1 minute)
3. Insert the USB Memory Stick (containing system software installer files) into any
one of the four USB ports at the rear of the ZS3, pressing lightly to ensure it is
seated in the connector
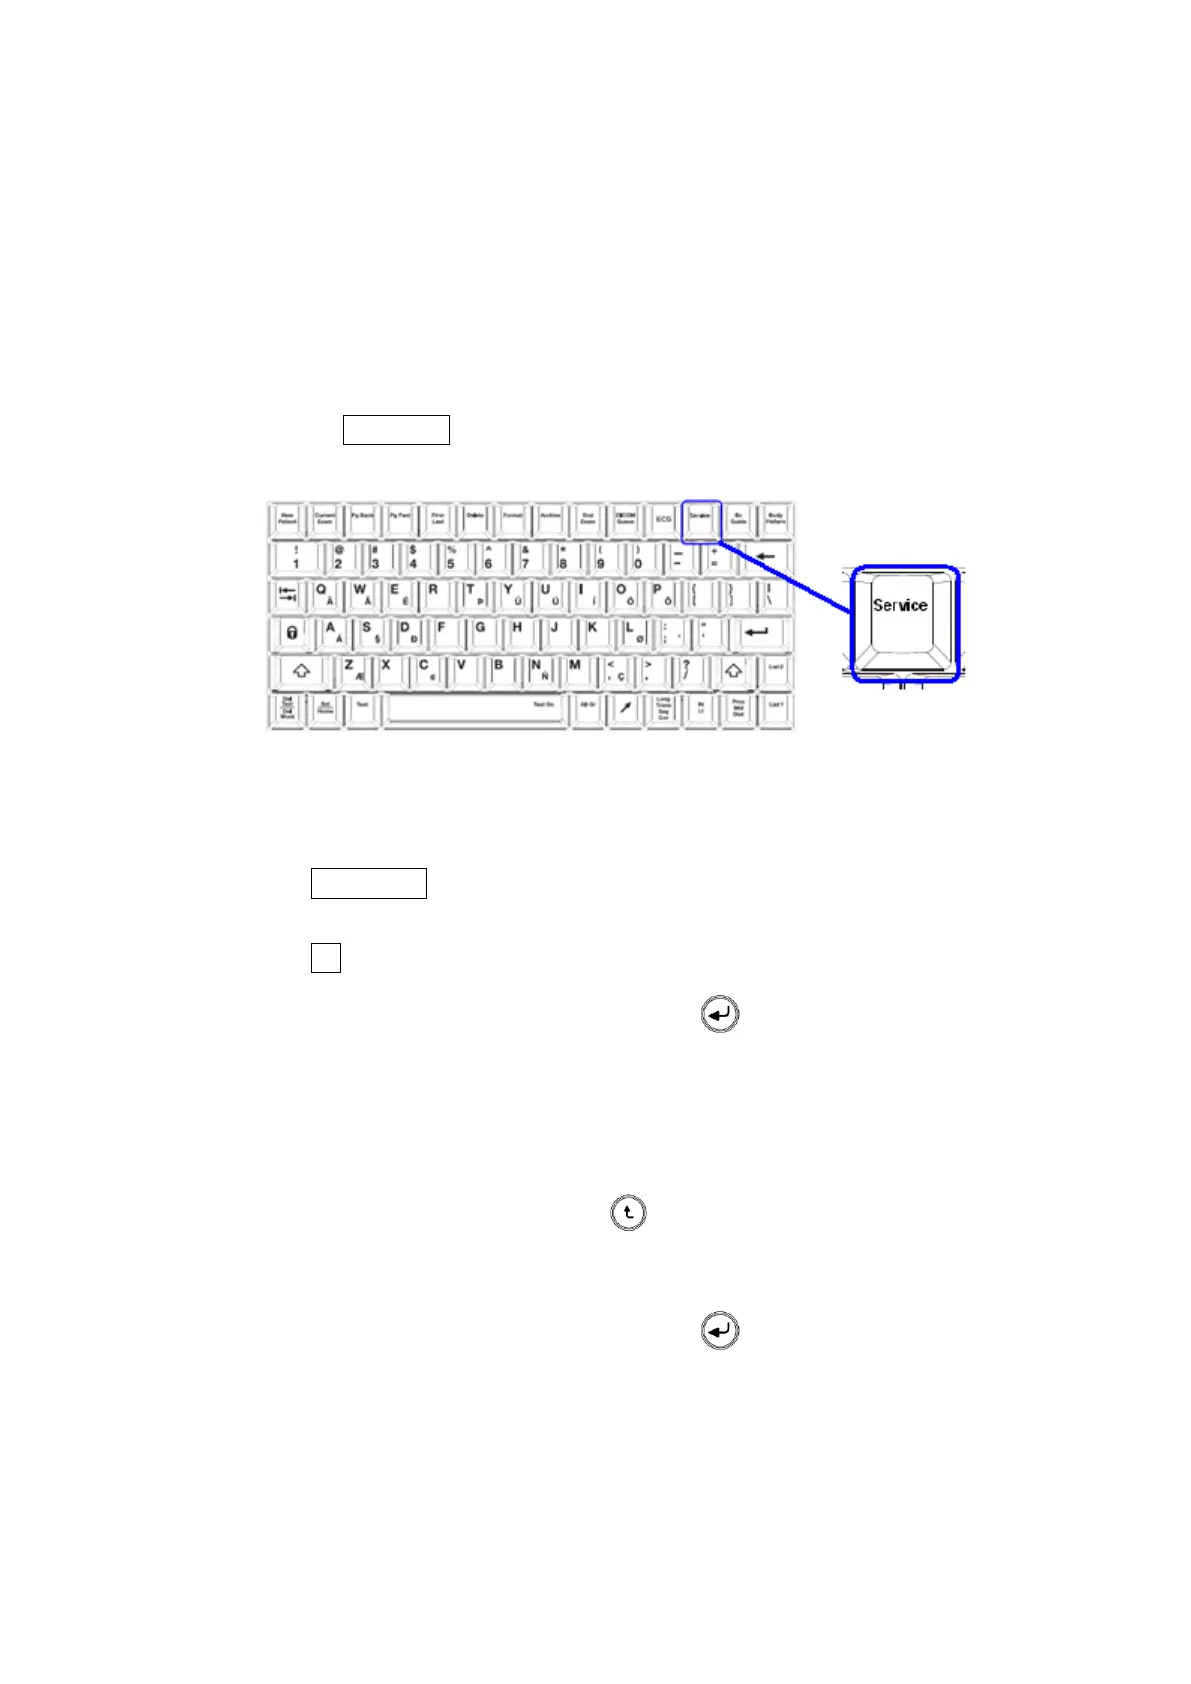
4. Pressing the “SERVICE” key, on the upper row of the QWERTY keyboard on the
ZS3, will immediately bring up the main User Diagnostic Panel page.
5. Select the “MAINTENANCE” softkey option, to bring up that page.
6. Select the “SERVICE REBOOT” softkey. The system will shut down, and reboot
into the special BOOT-APP option screen
7. Press the “OPTIMIZE” key, to enable the “CLEAN INSTALL” option to appear in
the menu.
8. Press the “F1” key, to begin the Clean software install process.
9. At each of the two (2) alert, press the “ENTER” key on cart to continue through
the install operation to completion.
NOTE: If it is determined that the software revision of the USB Memory Stick
is not the desired version for installation, and it is desired to abort
(select the “NO” option) the install operation (or abort it for any other
reason), press the “BACK” key, then manually remove the USB
Memory Stick.
10. At each of the two (2) alert, press the “ENTER” key on cart to continue through
the install operation to completion.
11. At the completion of a successful software installation/verification process, a
dialogue box with the following message should appear on the LCD Display screen
 Loading...


