MTC-124
HEATER & COOLING UNIT ASSEMBLY
Revision: January 2005 2004 Quest
8. Remove the instrument panel and console panel. Refer to IP-10, "Removal and Installation" .
9. Remove the steering column. Refer to PS-9, "
Removal and Installation" .
10. Disconnect the instrument panel wire harness at the RH and LH in-line connector brackets, and the fuse
block (J/B) electrical connectors. Refer to PG-37, "
Harness Layout" .
11. Disconnect the steering member from each side of the vehicle body.
12. Remove the front heater and cooling unit assembly with it attached to the steering member, from the vehi-
cle.
CAUTION:
Use care not to damage the seats and interior trim panels when removing the front heater and
cooling unit assembly with it attached to the steering member.
13. Remove the front heater and cooling unit assembly from the steering member.
14. Installation is in the reverse order of removal.
CAUTION:
● Replace the O-ring of the low-pressure flexible hose and high pressure flexible hose with a new
one, then apply compressor oil to it when installing it.
● After charging refrigerant, check for leaks.
NOTE:
● Fill the engine cooling system with the specified coolant mixture. Refer to MA-15, "REFILLING ENGINE
COOLANT" .
● Recharge the A/C system. Refer to MTC-144, "Evacuating System and Charging Refrigerant" .
REAR HEATER AND COOLING UNIT ASSEMBLY
1. Discharge the refrigerant from the A/C system. Refer to MTC-144, "Discharging Refrigerant" .
2. Drain the coolant from the engine cooling system. Refer to MA-14, "
DRAINING ENGINE COOLANT" .
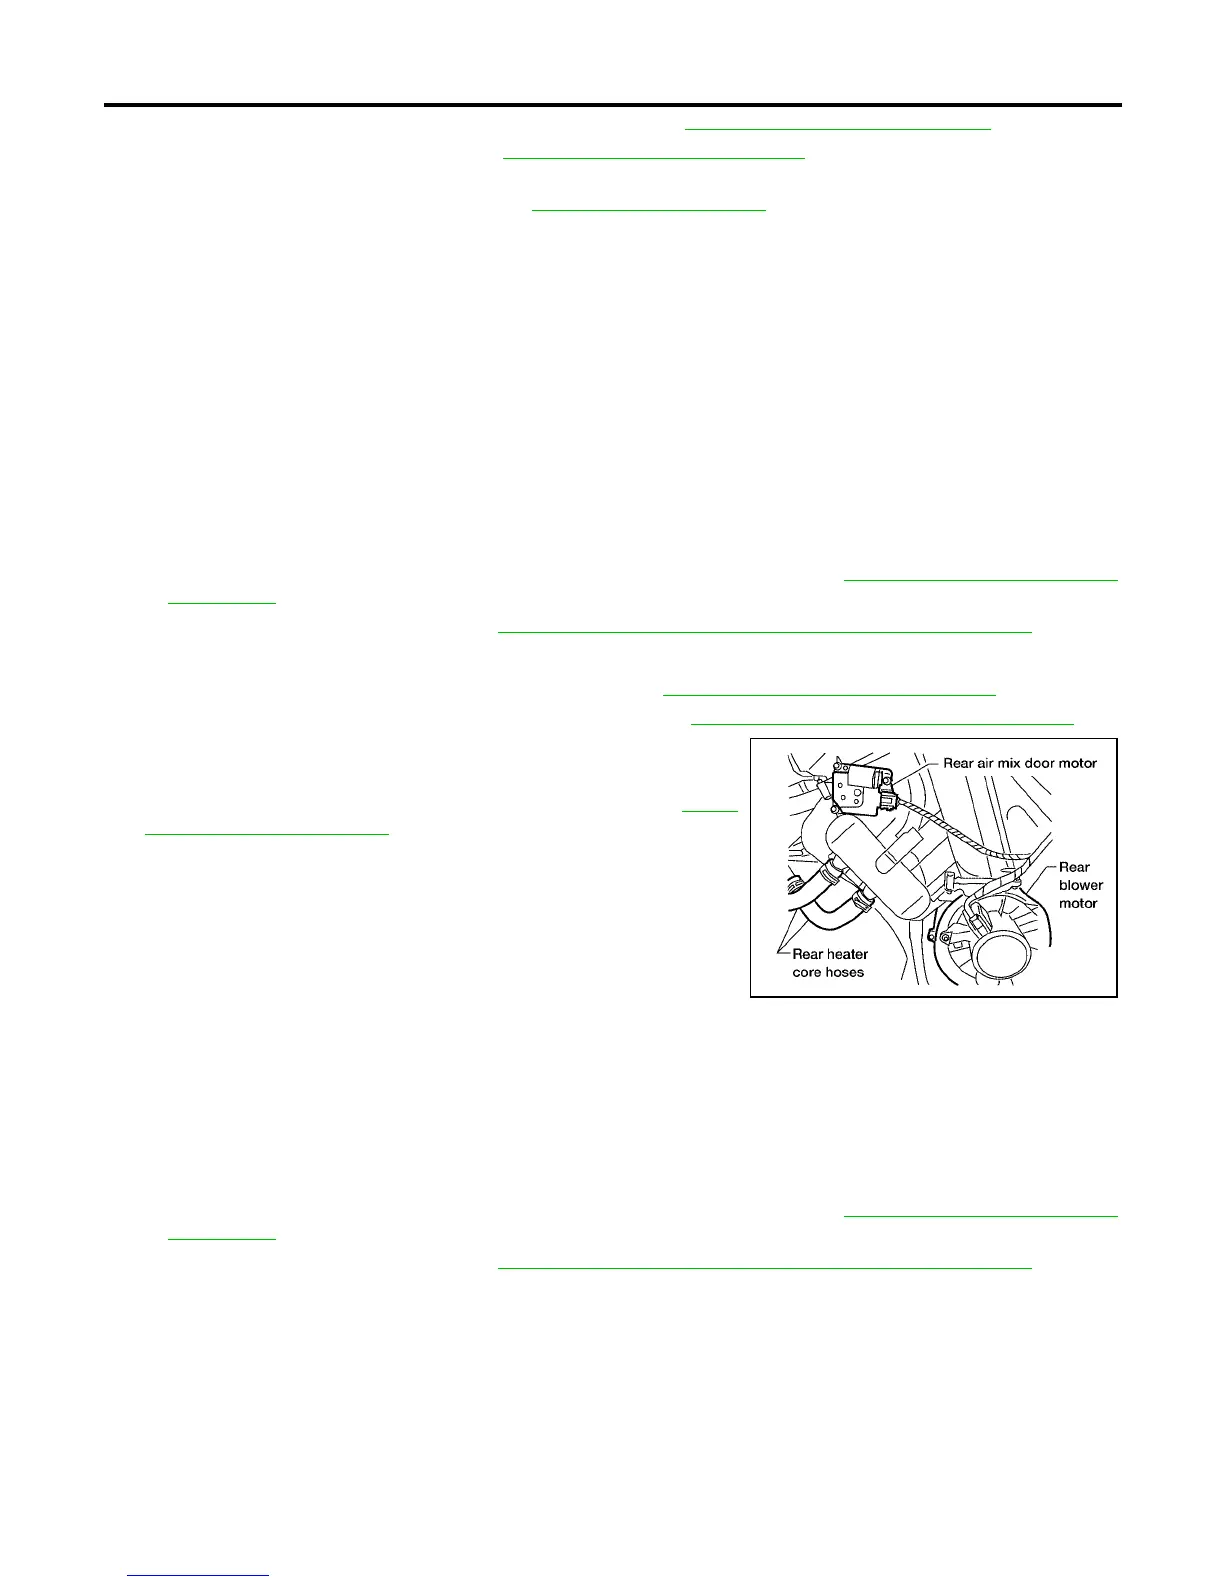
3. Disconnect the rear heater core hoses from the rear heater core.
4. Disconnect the rear A/C pipes from the rear expansion valve.
5. Remove the rear RH interior trim panel. Refer to EI-30,
"Removal and Installation" .
6. Disconnect the following electrical connectors:
● Rear blower motor
● Rear blower motor resistor
● Rear air mix door motor
7. Disconnect the ducts from the rear heater and cooling unit
assembly.
8. Remove the rear heater and cooling unit assembly.
9. Installation is in the reverse order of removal.
CAUTION:
● Replace the O-ring of the low-pressure flexible hose and high pressure flexible hose with a new
one, then apply compressor oil to it when installing it.
● After charging refrigerant, check for leaks.
NOTE:
● Fill the engine cooling system with the specified coolant mixture. Refer to MA-15, "REFILLING ENGINE
COOLANT" .
● Recharge the A/C system. Refer to MTC-144, "Evacuating System and Charging Refrigerant" .
LJIA0021E