2-8
2
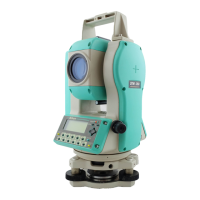
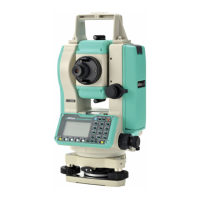
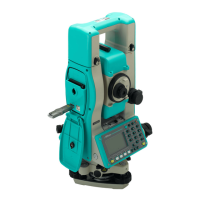
PREPARATION
Using Optical Plummet
y Carry out the “CHECKING AND ADJUSTMENT of Optical
Plummet” (p.4-2) when the centering operation is performed at a
position higher than the station point.
y For high accuracy, carry out the “CHECKING AND ADJUSTMENT
of Optical Plummet” (p.4-2) before the centering operation.
(1) Place the instrument on the tripod head.
Insert the tripod mounting screw into the
center hole of the instrument’s base plate
and tighten.
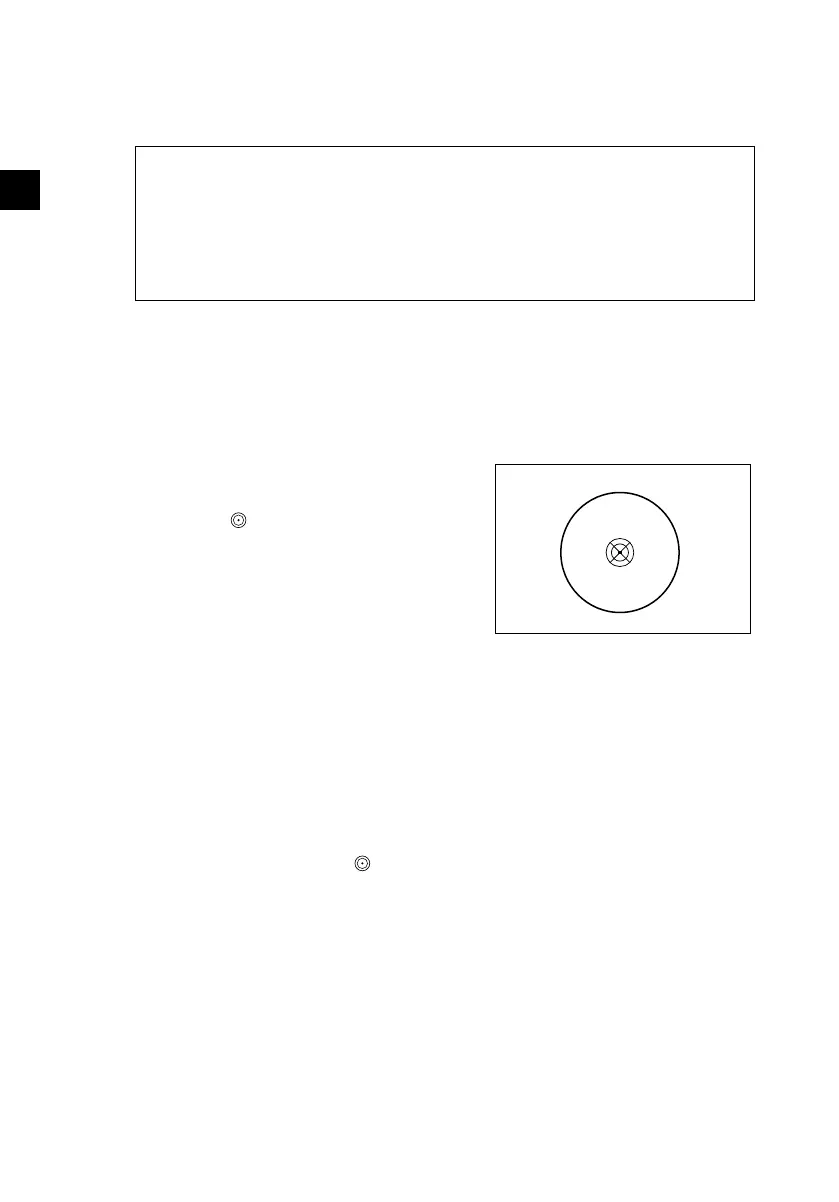
(2) Looking through the optical plummet,
align the station point image with the
center mark
of the reticle by turning
the leveling screws.
(3) While supporting the tripod head with one
hand, loosen the tripod leg clamps and
adjust the lengths of the legs to center the
air bubble in the circular level. Then tighten
the tripod leg clamps.
(4) Using the plate level proceed to the leveling
procedures described in the next section
“Leveling”.
(5) Looking through the optical plummet,
reconfirm that the station point image is still
centered in the reticle mark
.
(6) If the slight displacement is detected, loosen
the tripod mounting screw and correct the
instrument’s positioning with direct
movement (not rotational). If the
displacement is major, repeat Steps from (2).
)