Chapter 8. Lithography
165
8.1.1.3. Pulse lithography
The Figure below demonstrates a time diagram of the force applied to the sample in the
course of the Pulse lithography (Fig. 8-3).
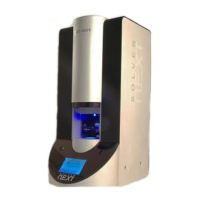
Fig. 8-3. Force applied to the sample in the course of the Pulse lithography.
Example of the pulse shape is shown
When the probe draws an object of the lithography template, the sample is applied to
pressure pulses of predefined amplitude A1. The A1 level is defined in the Action field of
the Control panel of the Litho window. The pulse shape is selectable and is adjusted
according to application.
Time step is defined in the
Step field of the Control panel of the Litho window.
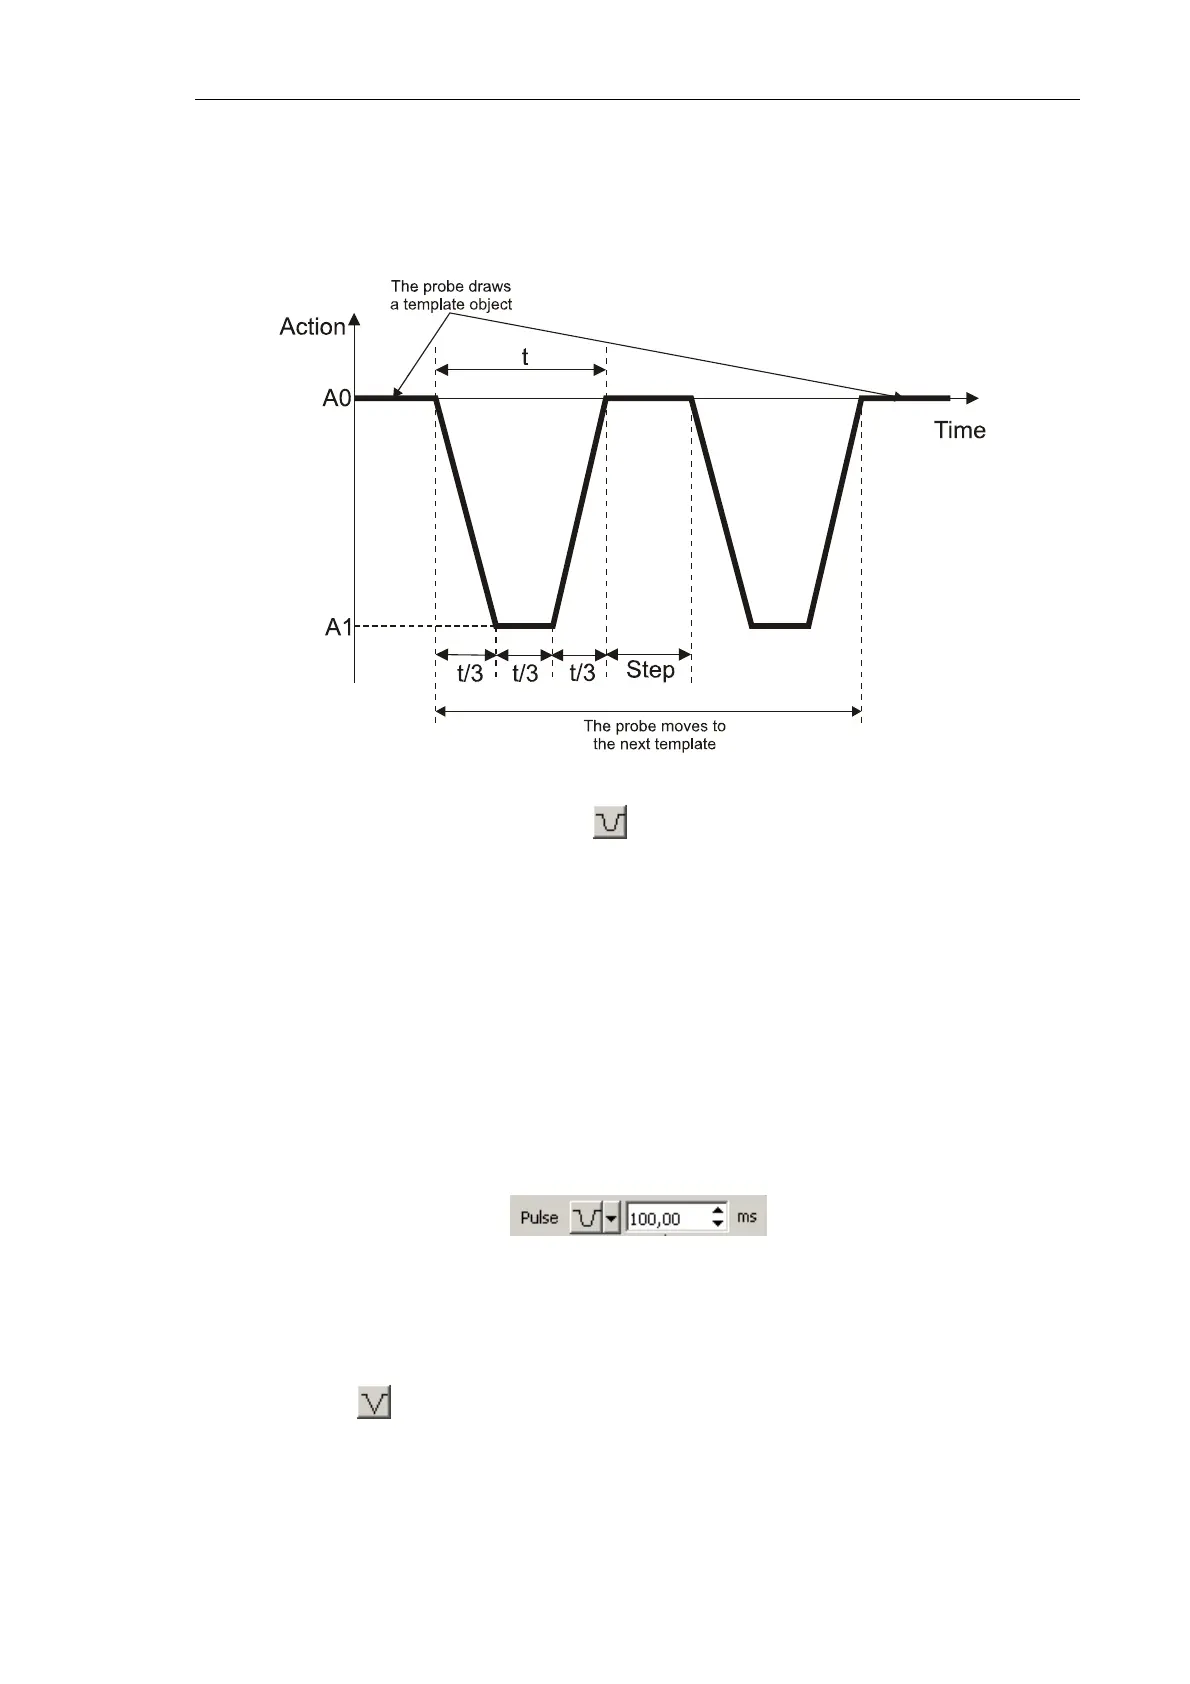
Available pulse shapes are given in the Pulse drop-down list of the Control panel of the
Litho window. The field to the right of the Pulse list serves for adjusting the pusle duration
t in ms (Fig. 8-4).
Fig. 8-4. List of available pulse shapes
Depending on the selected pulse shape, the time interval of a pulse is subdivided as
follows:
1) Pulse shape . The time interval t is divided by two parts. Initial level of the applied
force is А0. During the first part (of duration t/2) the force ramps to the level А1 and
then in the second part (of the same duration t/2) the force returns to its initial level
(А0).