Creating Objects
Designing a Form 11
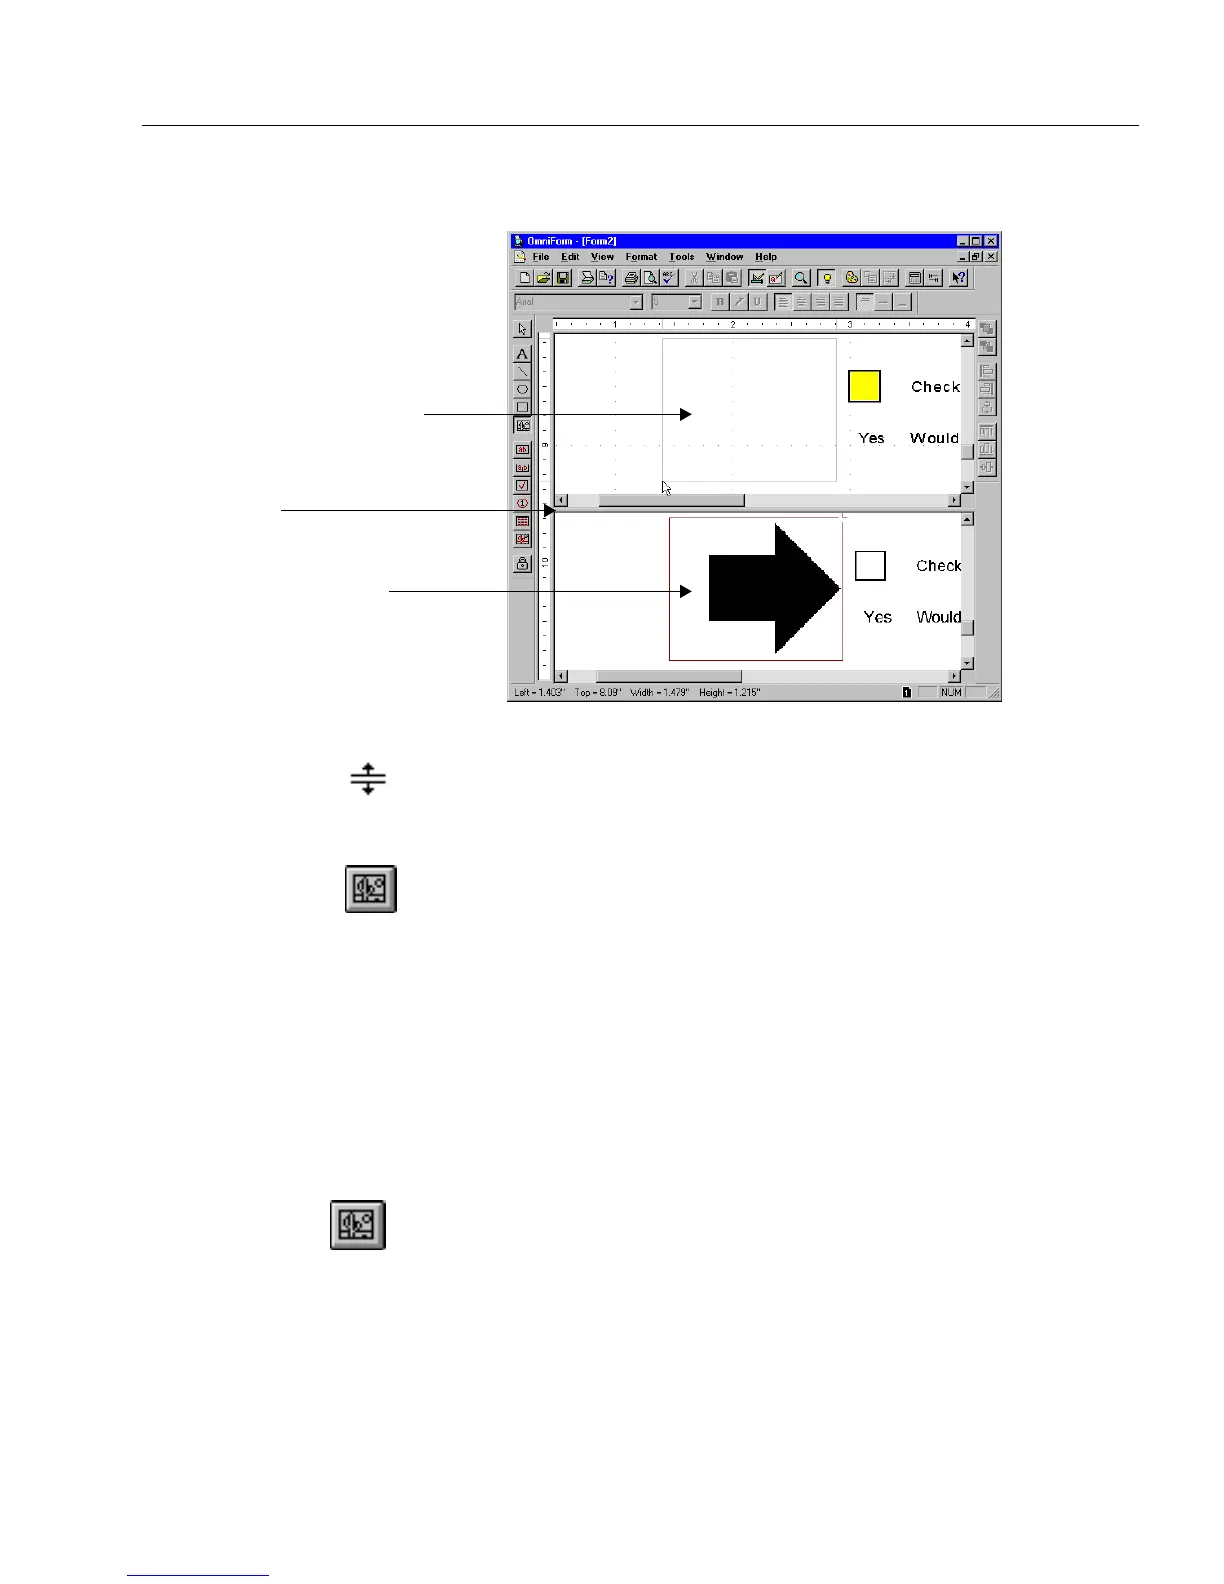
The screen splits to show the form both as it was designed with
Logical Form Recognition and as it was originally scanned.
Each view window has its own scroll bar so that you can scroll
to the same place in each form.You can use the horizontal bar
in-between the two windows to resize the view. Your cursor
turns into a resize cursor over the bar.
2 Click the Graphic tool in the drawing toolbar.
3 Select the graphic that you want to copy (in the bottom win-
dow) by holding down the mouse button and slowly dragging
the cursor across the graphic. Your cursor changes to a graphic
tool shape in this window.
4 Let go of the mouse button and your graphic appears in your
designed form (the top window) in the same place as in the
original form (the bottom window).
5 The Graphic Definition dialog box automatically appears. Pro-
ceed to “Graphic Definition Options” on page 5-12 to continue.
To Import a Graphic into a Graphic Object
1 Click the Graphic tool in the drawing toolbar.
2 Draw a graphic object.
Designed form without graphic
Original form with graphic
Horizontal bar