Itala | INSTRUCTION MANUAL
correct batch depending on the operating system.
4. At the end of the installation, the filter driver will appear in the NIC property window (Fig.2).
4.3.3 Network and configuration
The camera is factory configured to automatically obtain an IP address in DHCP / LLA mode. This
ensures the highest compatibility with different network configurations. For the first connection,
it’s recommended to configure your network settings in order to use DHCP.
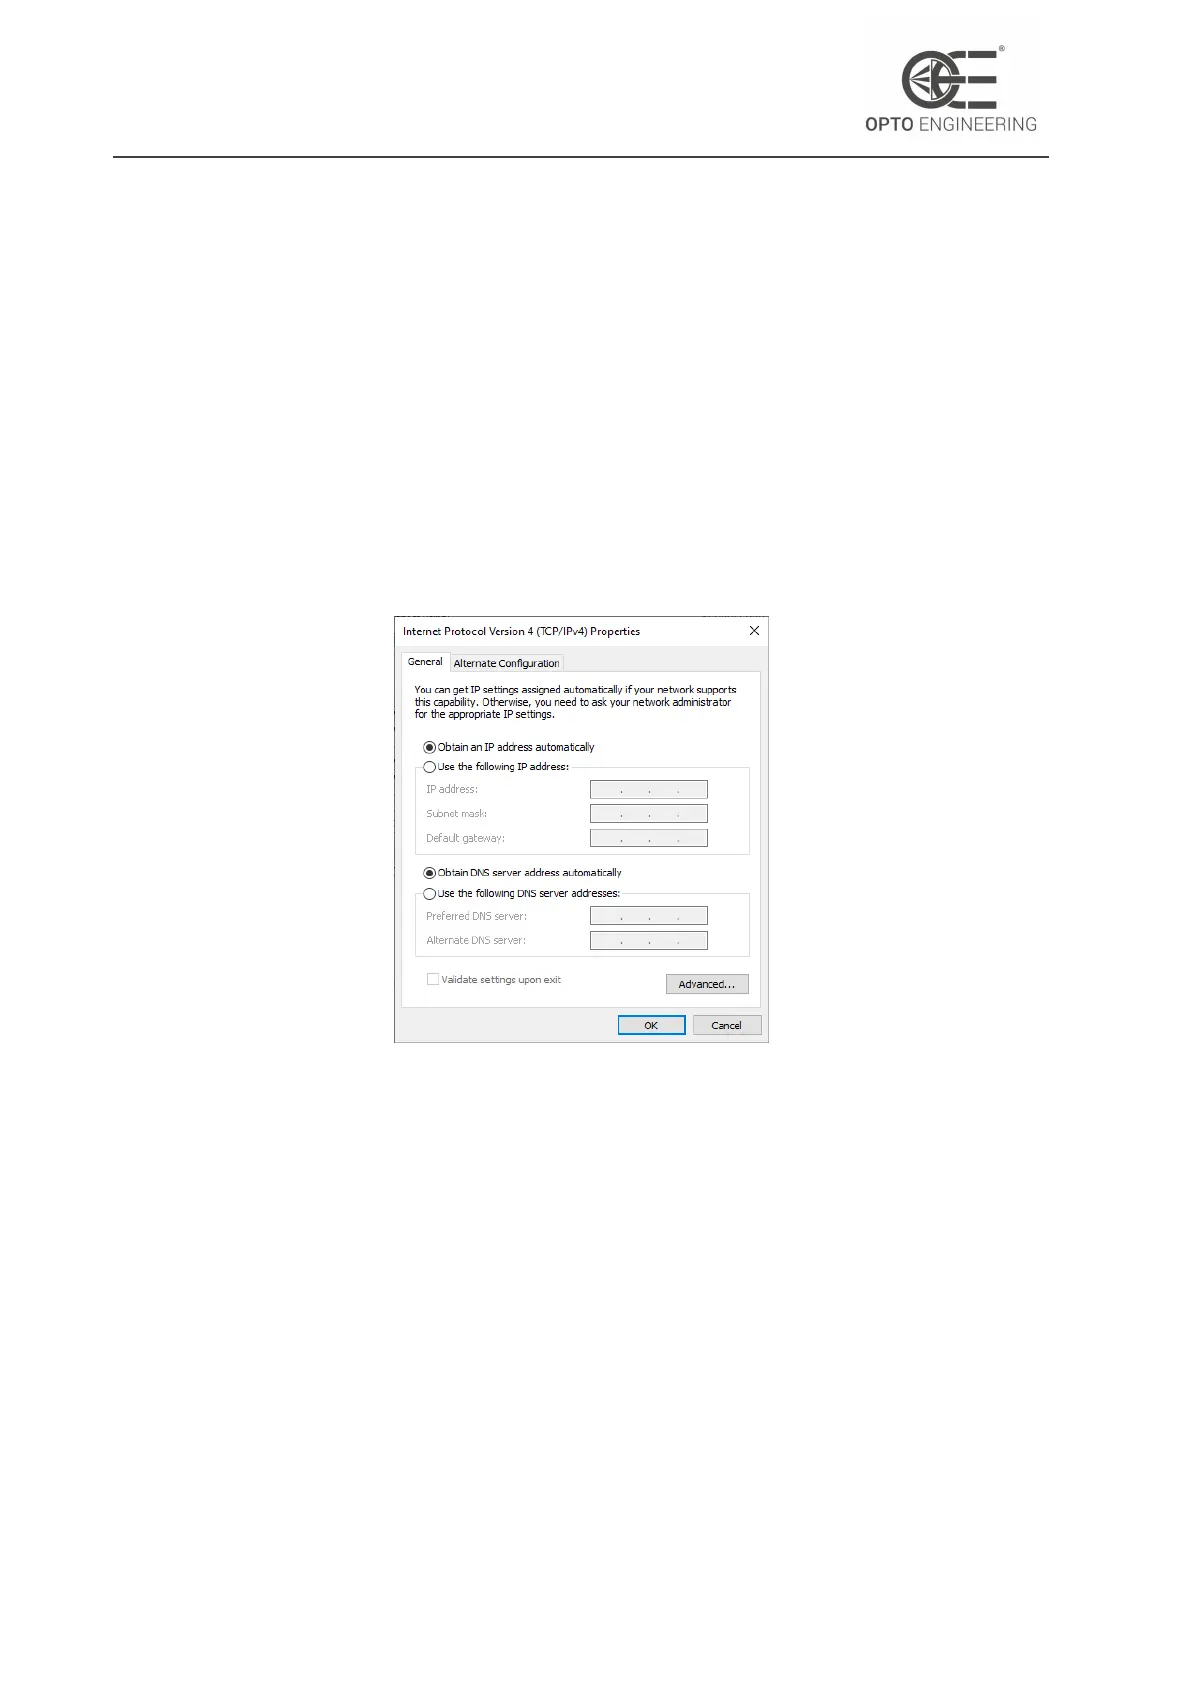
Go to Control Panel > Network and Sharing Center > Change adapter settings, right-click on your
Ethernet connection and select Properties. In the Networking tab select Internet Protocol Version 4
(TCP/IPv4) from the list and then click Properties.
Select Obtain an IP address automatically and click OK. Finally, click OK on the previous window.
Figure 4: DHCP configuration of the network connection.
If the camera is not accessible you can force it to adopt an IP configuration which is compatible
with the current NIC settings. To do so, refer to section 4.7.2.
After the first connection, it is recommended to set a static IP address for both NIC and device
whenever possible. This ensures a faster discovery process and IP negotiation.
It is recommended that the connection is as simple as possible. To achieve best performance use
direct connection with the NIC or connect the camera and the host computer to the same Ethernet
switch (without any other heavy traffic routed through the same switch).
v1.12 - eng 21