range Pi User Manual Copyright reserved by Shenzhen Xunlong Software Co., Ltd
352
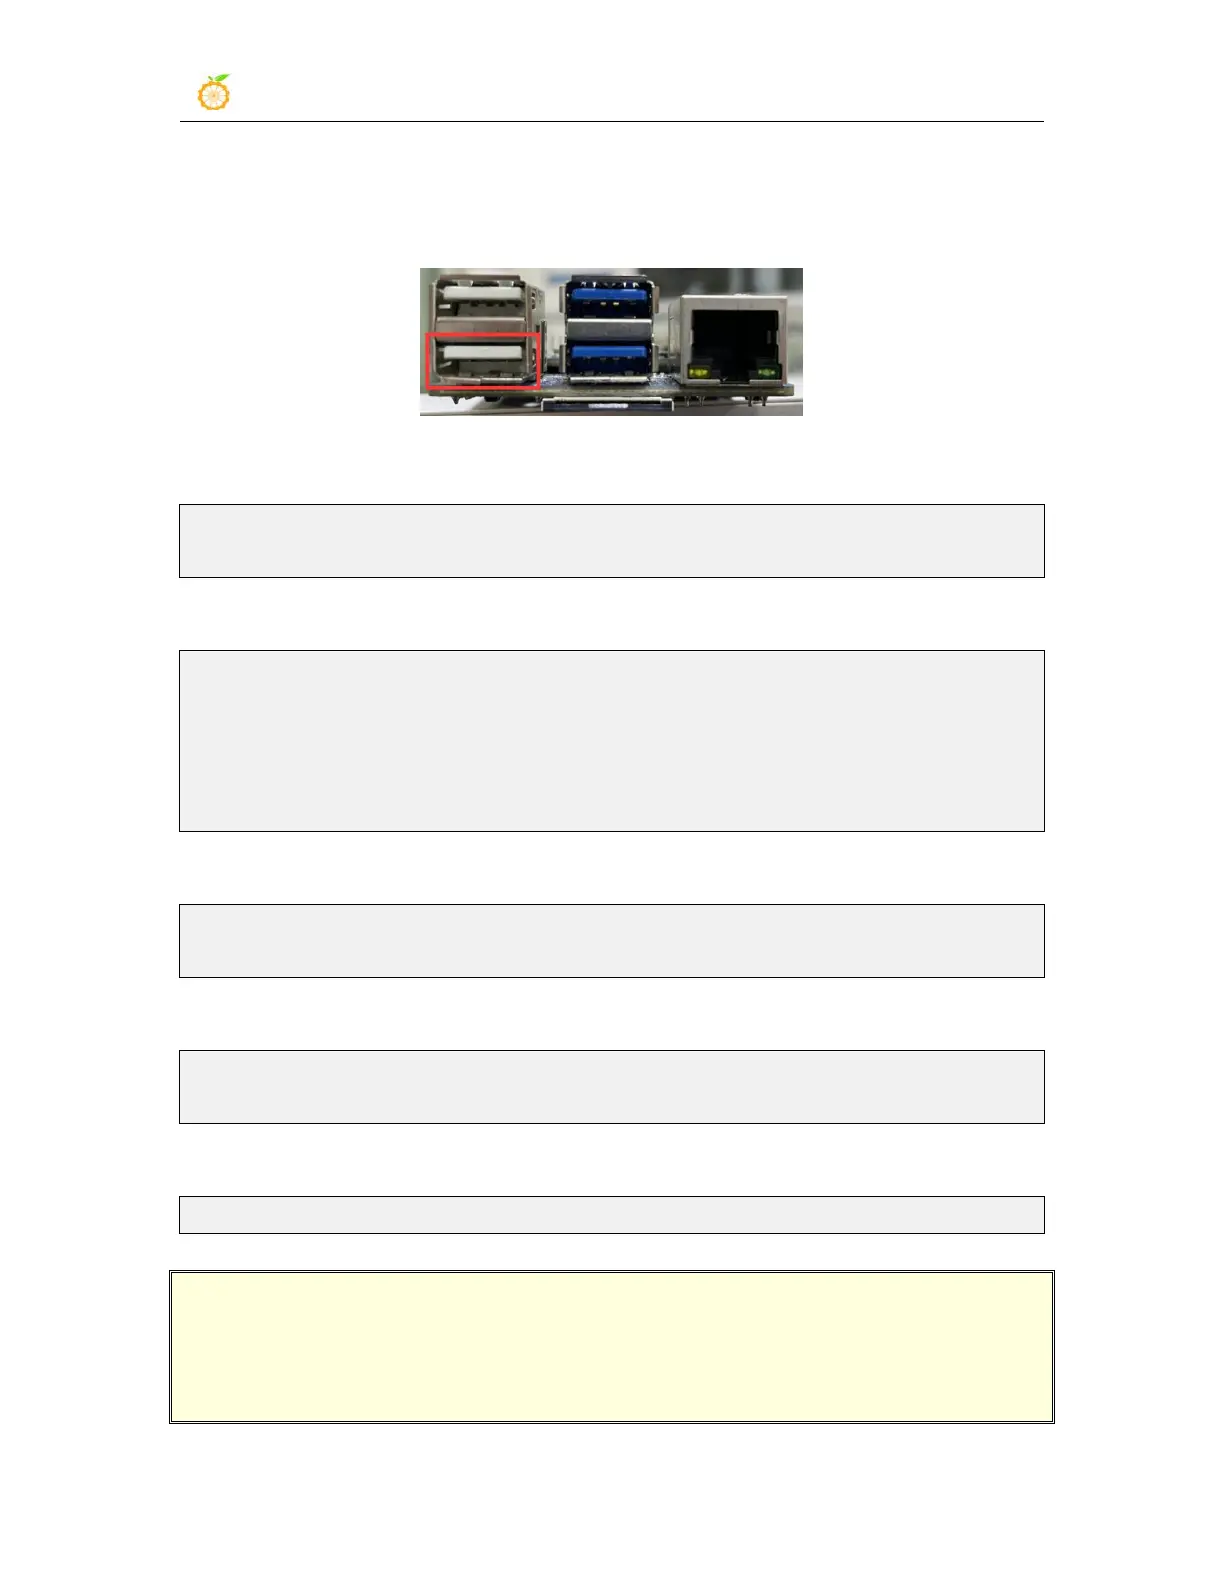
3) Then connect the development board to the Ubuntu PC through the USB2.0
male-to-male data cable. The position of the USB OTG interface on the development
board is shown in the figure below:
4) Then install the adb tool on the Ubuntu PC
test@test:~$ sudo apt update
test@test:~$ sudo apt -y install adb
5) You can view the identified ADB devices through the following command
test@test:~$ adb devices
List of devices attached
S63QCF54CJ device
test@test:~$ lsusb
Bus 003 Device 006: ID 2207:0006
6) Then you can log in to the android system through the adb shell on the Ubuntu PC
test@test:~$ adb shell
console:/ $
7) Execute the following command to remount the Android system
test@test:~$ adb root
test@test:~$ adb remount
8) Then you can transfer files to the Android system
test@test:~$ adb push example.txt /system/
6.9.3. Use network connection adb debugging
Using the network adb does not require a data cable to connect the computer
and the development board, but to communicate through the network, so first make
sure that the wired or wireless network of the development board is connected, and
then obtain the IP address of the development board, which will be used later.