34 | Ottobock Helix
3.3 Adjustment possibilities
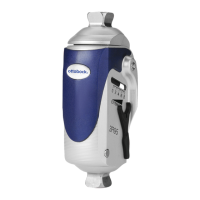
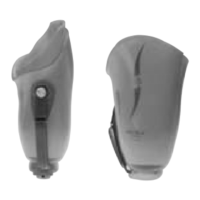
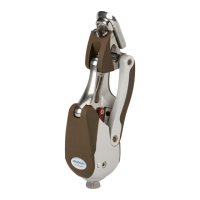
Prior to xing the Helix
3D
Hip Joint to the pelvic socket and making the adjustment proximal to the hip joint, the
upper section cap must be removed (Fig. 1).
1
INFORMATION
Fix the Helix
3D
Hip Joint at the lamination plate solely with the accessories which are included in the delivery!
INFORMATION
To fasten the 7E10 to the pelvic socket do not use the spherical washers used with the 7E7 hip joint under the
501F9=* at head Torx-type screws.
To adjust, please proceed as follows:
2 3 4 5
Distal adjustment of the hip joint
Tilt in A-P direction Tilt in M-L direction
Proximal adjustment of the hip joint
Abduction/ adduction Rotation
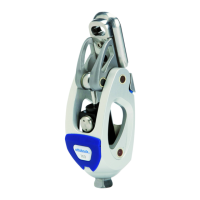
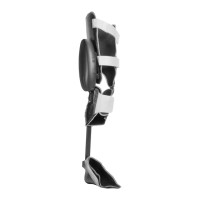
1. Abduction and adduction (Fig. 2): To adjust abduction or adduction, loosen the lower and upper screw and
turn the hip joint around the lower screw. Torque: 25 Nm using Torx Bit TX40 (see also page 43).
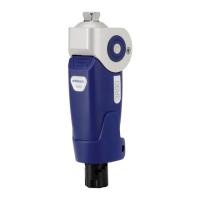
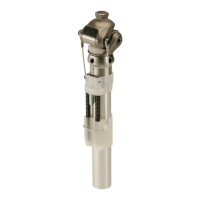
2. Rotation (Fig. 3): To adjust inward and outward rotation, loosen the lower, middle and upper screw. Before-
hand, mark the abduction/adduction with a pencil. Torque of the middle screw: 2 Nm. Use a 709S10=2.5 Al-
len wrench (see also page 43).
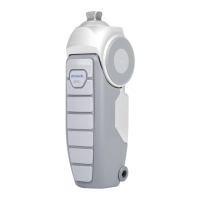
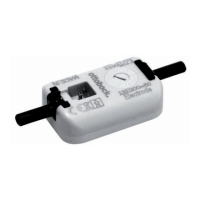
3. Distal hip joint adjustment (Fig. 4/5): The lower pyramid adapter allows for tilt of the knee joint in M-L and
A-P direction. This allows you to properly arrange the knee joint in the prosthesis.
 Loading...