EasyManuals Logo

Otto Bock 7E10 Helix 3D User Manual

Otto Bock 7E10 Helix 3D
Go to English
288 pages
To Next Page IconTo Next Page
To Previous Page IconTo Previous Page
Page #38 background imageLoading...
Page #38 background image
38 | Ottobock Helix
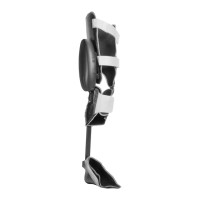
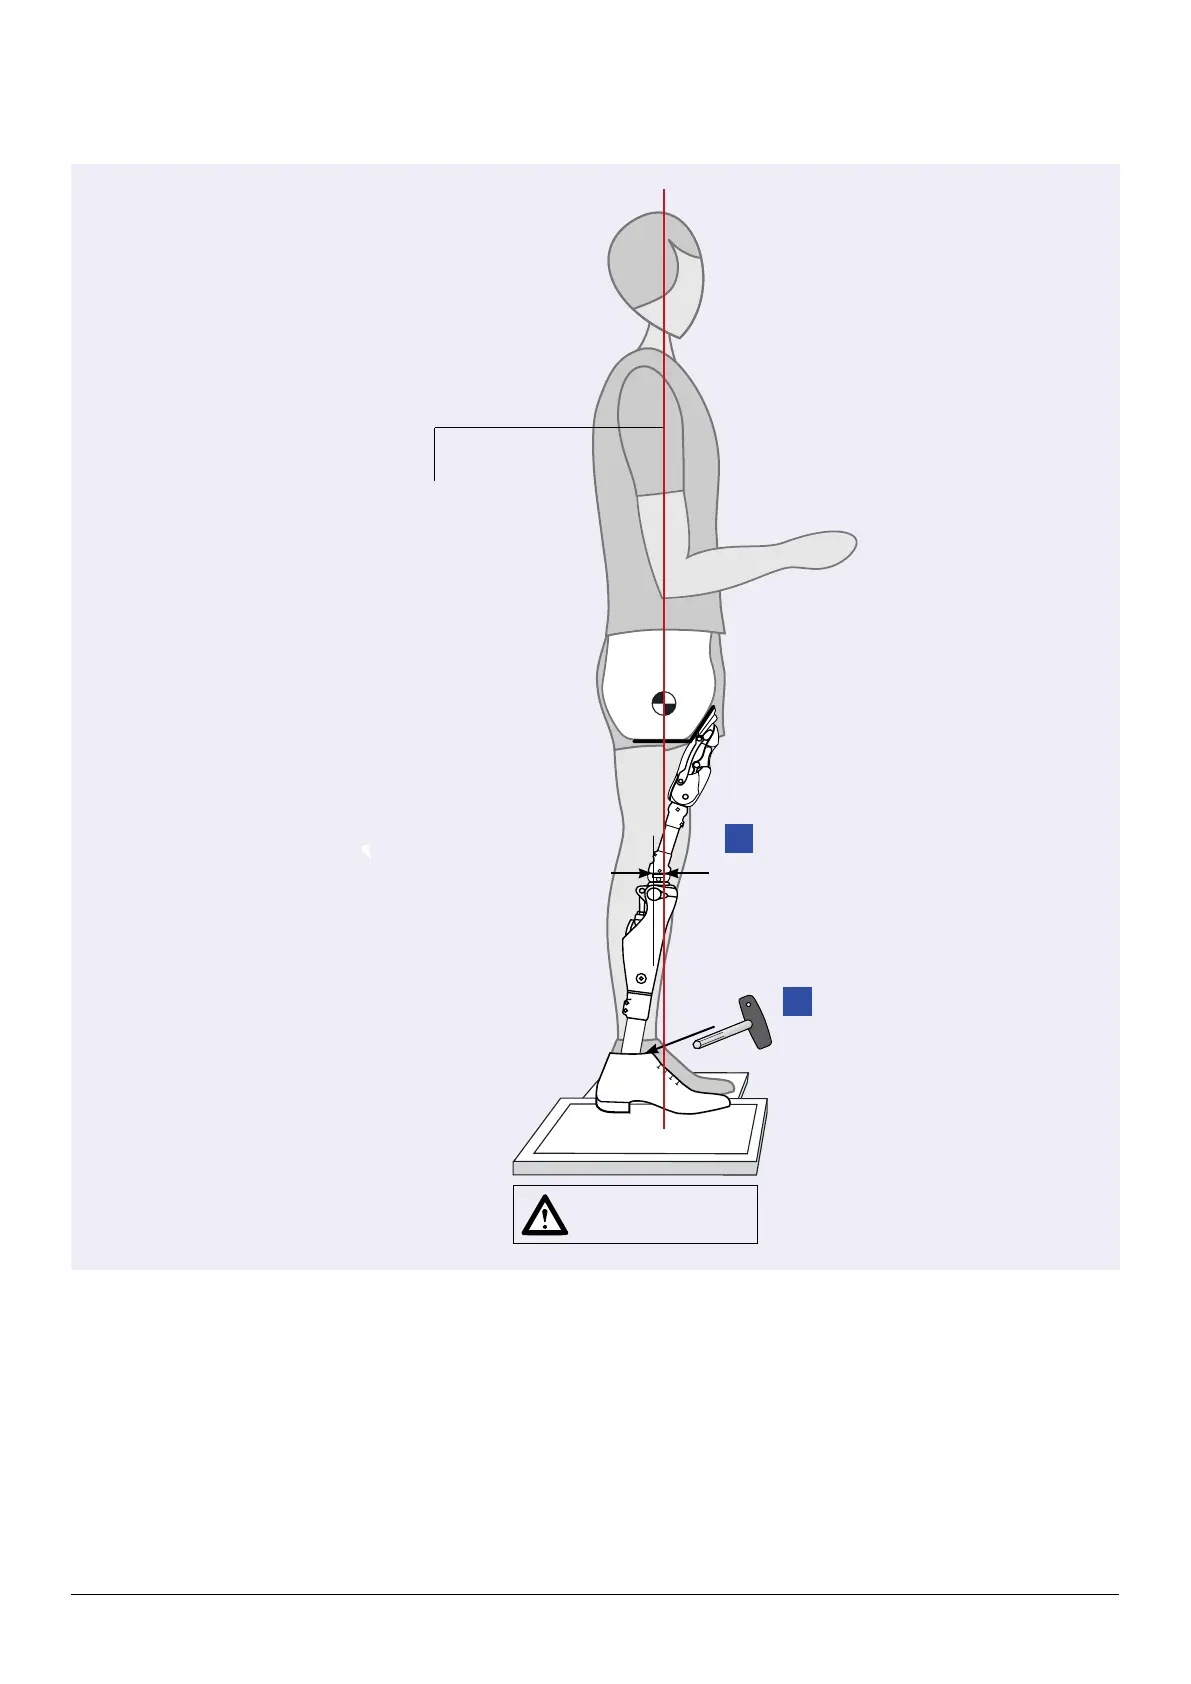
3.5 Static alignment optimisation (with L.A.S.A.R. Posture)
1
2
L.A.S.A.R.
Posture
± 10 mm
30 mm
Load line
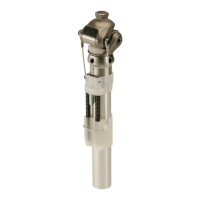
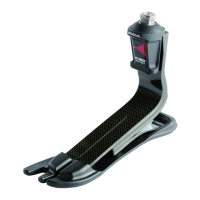
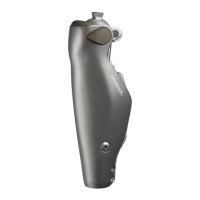
Preparing the prosthesis for alignment optimisation:
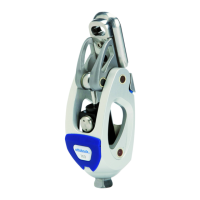
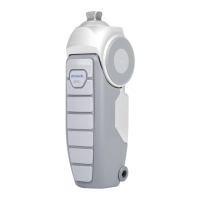
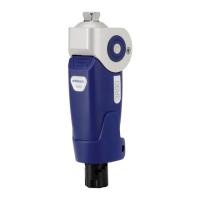
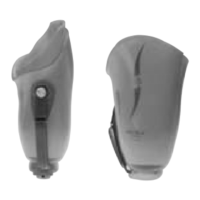
Make sure that the Helix
3D
Hip Joint has been adjusted to the factory settings (also refer to Section 3.6).
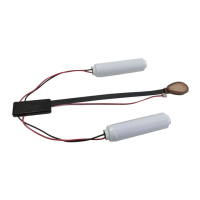
Remove the cable tie.
Reintegrate the PU springs. Proceed in the reverse order as described in Section 3.8!
Tighten the screws with the torques as dened in Section 3.7.
Verify the length of the prosthesis on the patient.

Table of Contents

Questions and Answers:

Question and Answer IconNeed help?

Do you have a question about the Otto Bock 7E10 Helix 3D and is the answer not in the manual?

Otto Bock 7E10 Helix 3D Specifications

General IconGeneral
BrandOtto Bock
Model7E10 Helix 3D
CategoryMedical Equipment
LanguageEnglish

Related product manuals