Helix Ottobock | 35
3.4 Bench alignment with alignment tool
CAUTION
Danger as a result of incorrect alignment. Errors during the alignment of the prosthesis can lead to malfunc-
tion of the joint up to loss of function due to structural failure. This can cause the patient to fall.
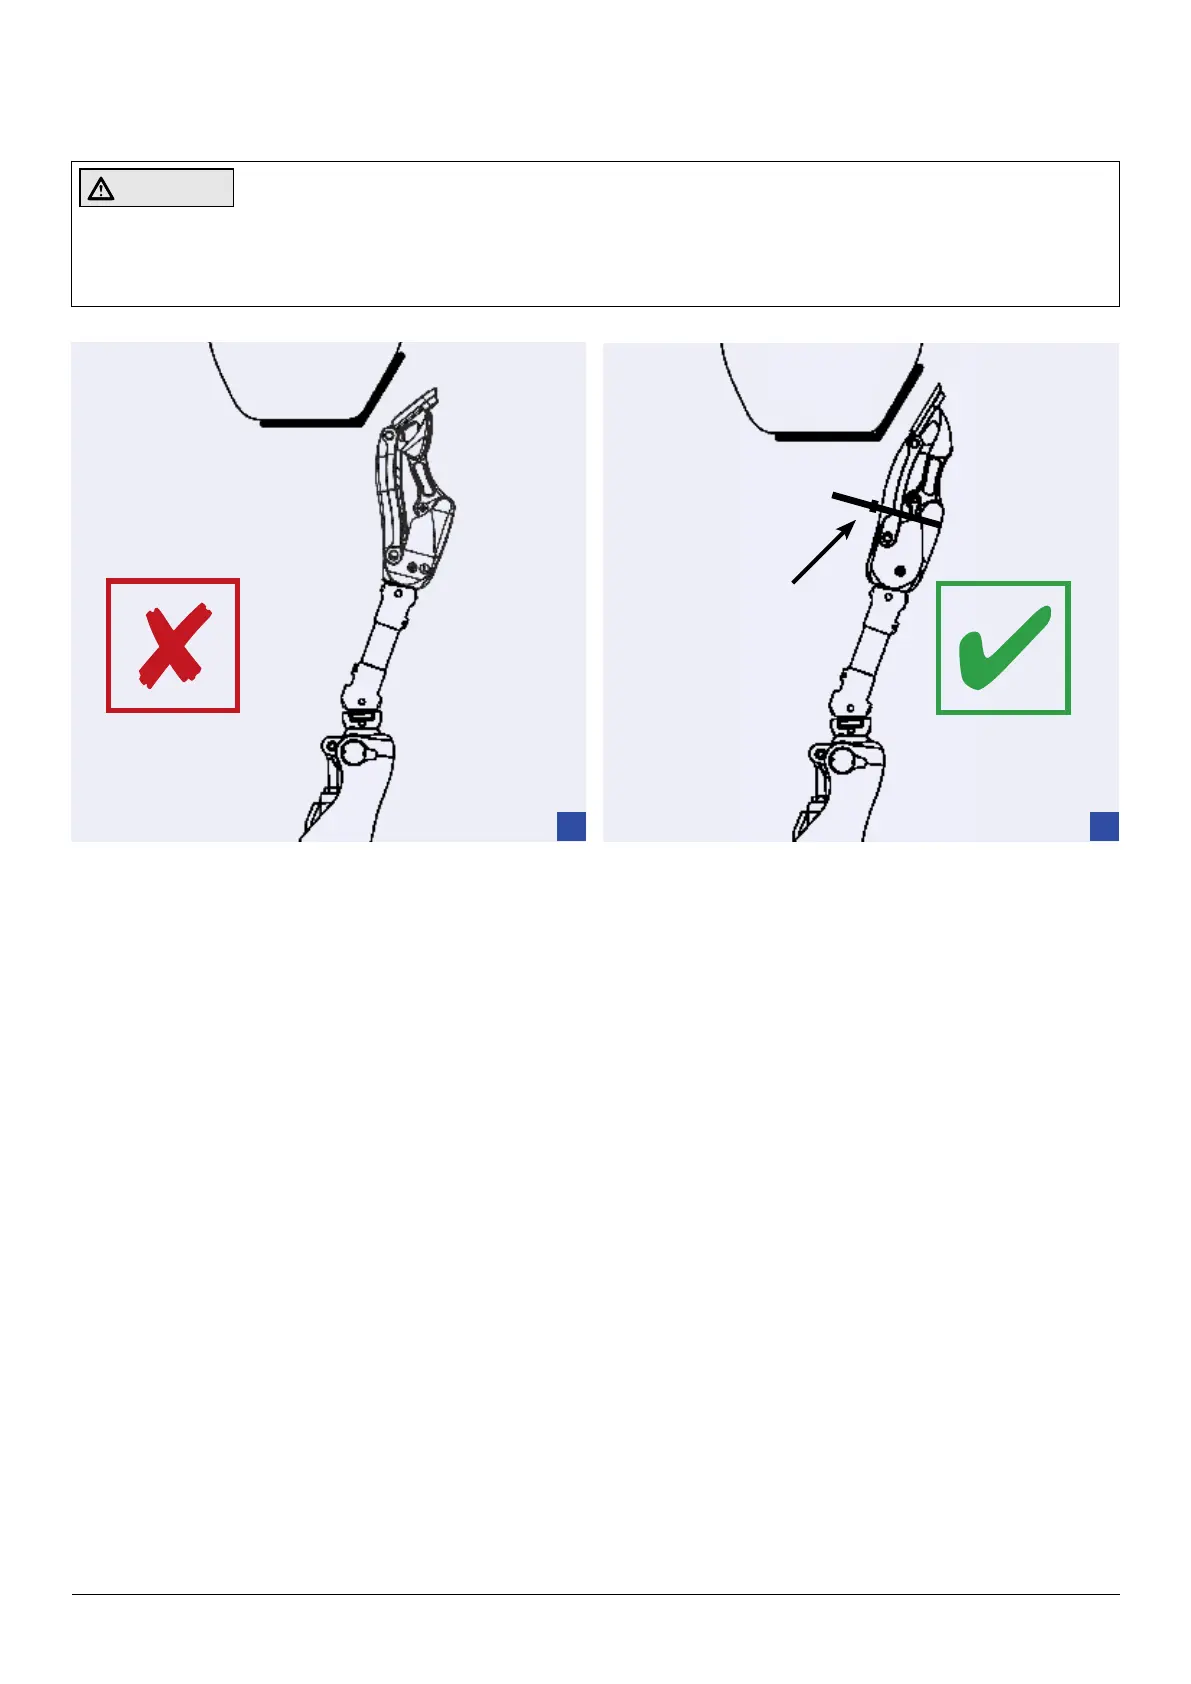
During bench alignment, it is essential to make sure that the hip joint is fully extended!
1
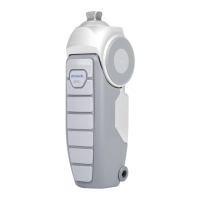
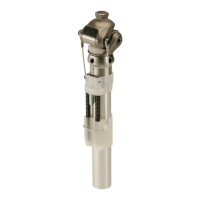
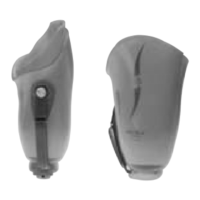
Position of
cable tie
2
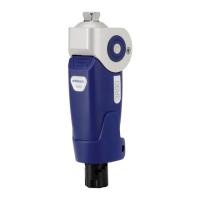
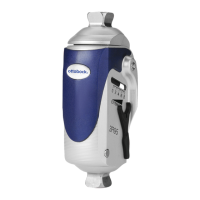
Preparing the hip joint for bench alignment:
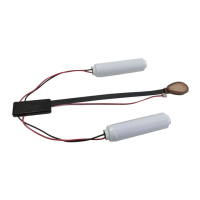
To facilitate alignment in the L.A.S.A.R. Assembly, please remove the integrated expansion springs as described
in Section 3.8.
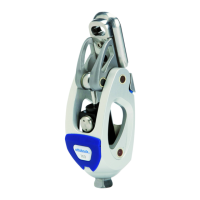
Fix the hip joint in full extension using the enclosed cable tie. Position the cable tie approximately at the level where
the lower section ends (Fig. 2).
 Loading...