AS-Interface
Appendix: the first commissioning of AS-i
Subject to reasonable modifications due to technical advances. Copyright Pepperl+Fuchs, Printed in Germany
Pepperl+Fuchs Group · Tel.: Germany (6 21) 7 76-0 · USA (3 30) 4 25 35 55 · Singapore 7 79 90 91 · Internet http://www.pepperl-fuchs.com
Issue date - 24.4.2007
144
13 Appendix: the first commissioning of AS-i
In this chapter an example is given, how quickly and easily an AS-i
network can be put into operation without the need for external
devices. The addressing of the components connected to the AS-i
network can be performed directly on the AS-i master. It certainly is
more comfortable to do the addressing with a handheld program-
ming device or with the Windows software AS-i Control Tools. How-
ever, it is possible to configure even complex networks using only
the AS-i master.
What to do ? How to go about it?
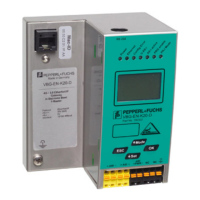
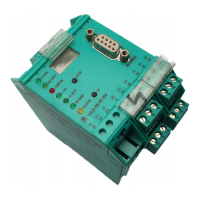
The AS-i master has to be properly
supplied with power.
Using AS-i master with power supply
“A”: Connect the AS-i power supply
unit to the terminals AS-i + and AS-i -
of the master, connect the ground ter-
minal.
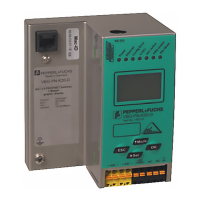
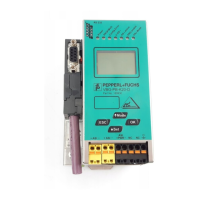
Using AS-i master with power supply
“N”: Connect the 24 V DC standard
power supply with the terminals 24 V
and 0 V of the master, connect the
ground terminal.
Turn on the power supply.
After the self-test: the LEDs “power”, “config err”, ”U ASI” and “prj mode” are on.
The LC display shows “40”: the AS-i master is in the offline phase. Shortly after
that a “41” will be displayed: the AS-i master stays in the detection phase.
Switch the device to the projecting
mode if the yellow LED does not light
up.
Press the “mode” button for approx.
five seconds.
The yellow LED “prj mode” lights up. The device is now in projecting mode.
Add a slave with the address 0 to the
AS-i line.
Connect the slave's terminals with the
terminals AS-i +/- of the master.
The green LED “ASI active” lights up. The LC display shows “0”. This indicates
that the AS-i master has detected the slave.
Change the slave address to address
to "1".
Select address "1" by pressing the
“set” button shortly, if necessary
repeatedly; after each pressing the
next free address is displayed. When a
“1” appears on the display, press the
“set” button for approx. five seconds
until the display flashes. Press the
“set” button again shortly to assign the
new address to the slave.
The AS-i master detects the slave with address "1" and displays “1”.
Connect another slave with address
"0" to the AS-i line and allocate the
address "2" to it.
Connect the slave to the AS-i line. The
addressing can be carried out the
same way as the previous slave.