9926595 R01 - 2015-2016 RANGER EV Service Manual
© Copyright Polaris Industries Inc.
1.29
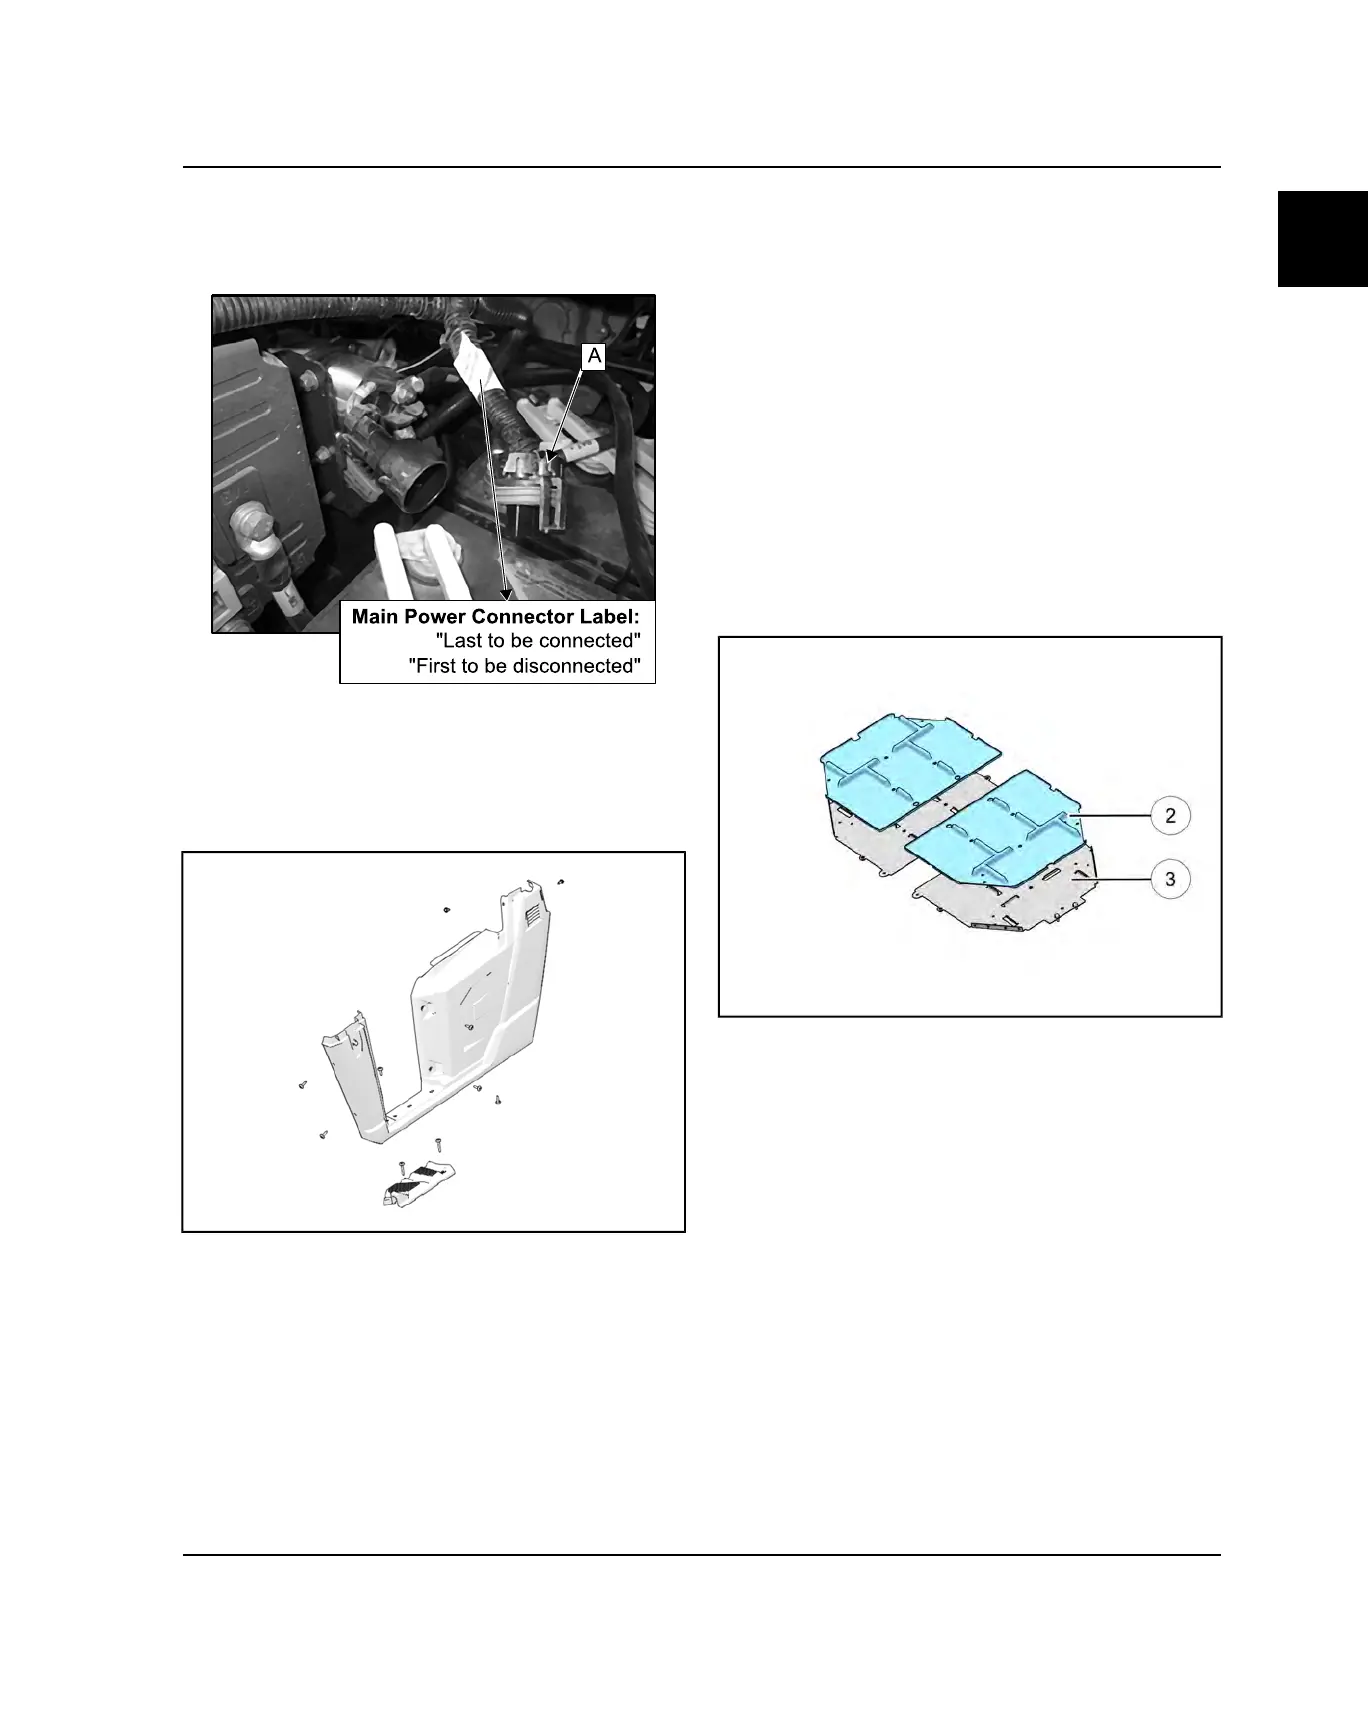
5. DISCONNECT the main power connector.
Always disconnect the Main Power Connector (A)
before servicing or unplugging any electrical
components.
6. FRONT - Remove the lower T27 Torx-head screws
retaining the foot pads.
7. Remove the two push rivets retaining the front fender
and remove the fender from the vehicle.
8. Repeat this procedure to remove the other front
fender.
9. REAR - Remove the lowTorx-head screws retaining
the foot pads.
10. Remove the three T27 Torx-head screws retaining
the foot pads.
11. Remove the three T27 Torx-head screws retaining
the rear panel.
12. Repeat this procedure to remove the other rear
fender.
13. Remove battery cables in order shown on Battery
Cable Removal, page 1.31 using an insulated
ratchet, extension, and socket.
14. Remove battery retaining bracket bolts. Place bolts
at a safe distance from battery compartment so they
cannot fall and make contact with battery terminals.
15. Remove batteries.
16. Clean battery tub
w
and lower battery tray
e
with a
baking soda and water solution then rinse with clear
water and dry with clean shop towels.
17. Clean battery retainer bolt threads thoroughly and
dry with compressed air. Apply anti-seize compound
to threaded holes with a small brush.
18. Install battery tub with retainer bolt holes aligned.
19. Install batteries with terminals oriented as shown on
Battery Terminal Orientation And Cable Routing,
page 1.29.
20. Apply anti seize compound liberally to threads of
retainer bolts.
21. Battery Cable Installation, page 1.32 in order shown.
22. Assemble parts removed for access and re-connect
Main Power Connector.
BATTERY TERMINAL ORIENTATION AND
CABLE ROUTING
The following illustration depicts general cable orientation and routing. See following pages for cable removal and
installation sequence.
GENERAL / BATTERY
1

 Loading...