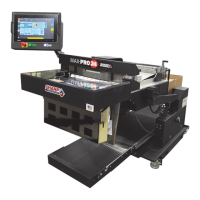
MAX™ Operator Manual
©
Original Printed In English
Your Sharp Bagger has been shipped to you well crat-
ed in order to prevent any damage to the machine. It
is important that you follow the Uncrating Instructions
attached to crate.
After being uncrated, place the Sharp Bagger on a
rigid and vibration free surface. Before continuing with
the installation of the machine, ensure all nuts, bolts
and screws are tightened as they can come loose dur-
ing shipping.
The Sharp MAX™ should be placed on a smooth lev-
el surface with access to 100 PSI of clean, dry com-
pressed air, and 230 VAC, 1 Phase, 5 Amp, 50/60 Hz,
(minimum) properly grounded electrical outlet.
Locate the machine so there is adequate access to
the back side for loading bag film.
Make sure unit is located at a comfortable height for
operation and product loading. See Height Adjust-
ment (page 2-6).
The unit is equipped with two swivel locking casters
for easy maneuverability. Lock the casters after plac-
ing machine in desired location.
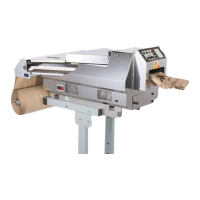
ELECTRICAL
The Sharp MAX™ is equipped with a 3-prong electri-
cal plug for standard, properly grounded, 230 VAC, 1
Phase, 5 Amp, 50/60 Hz service.
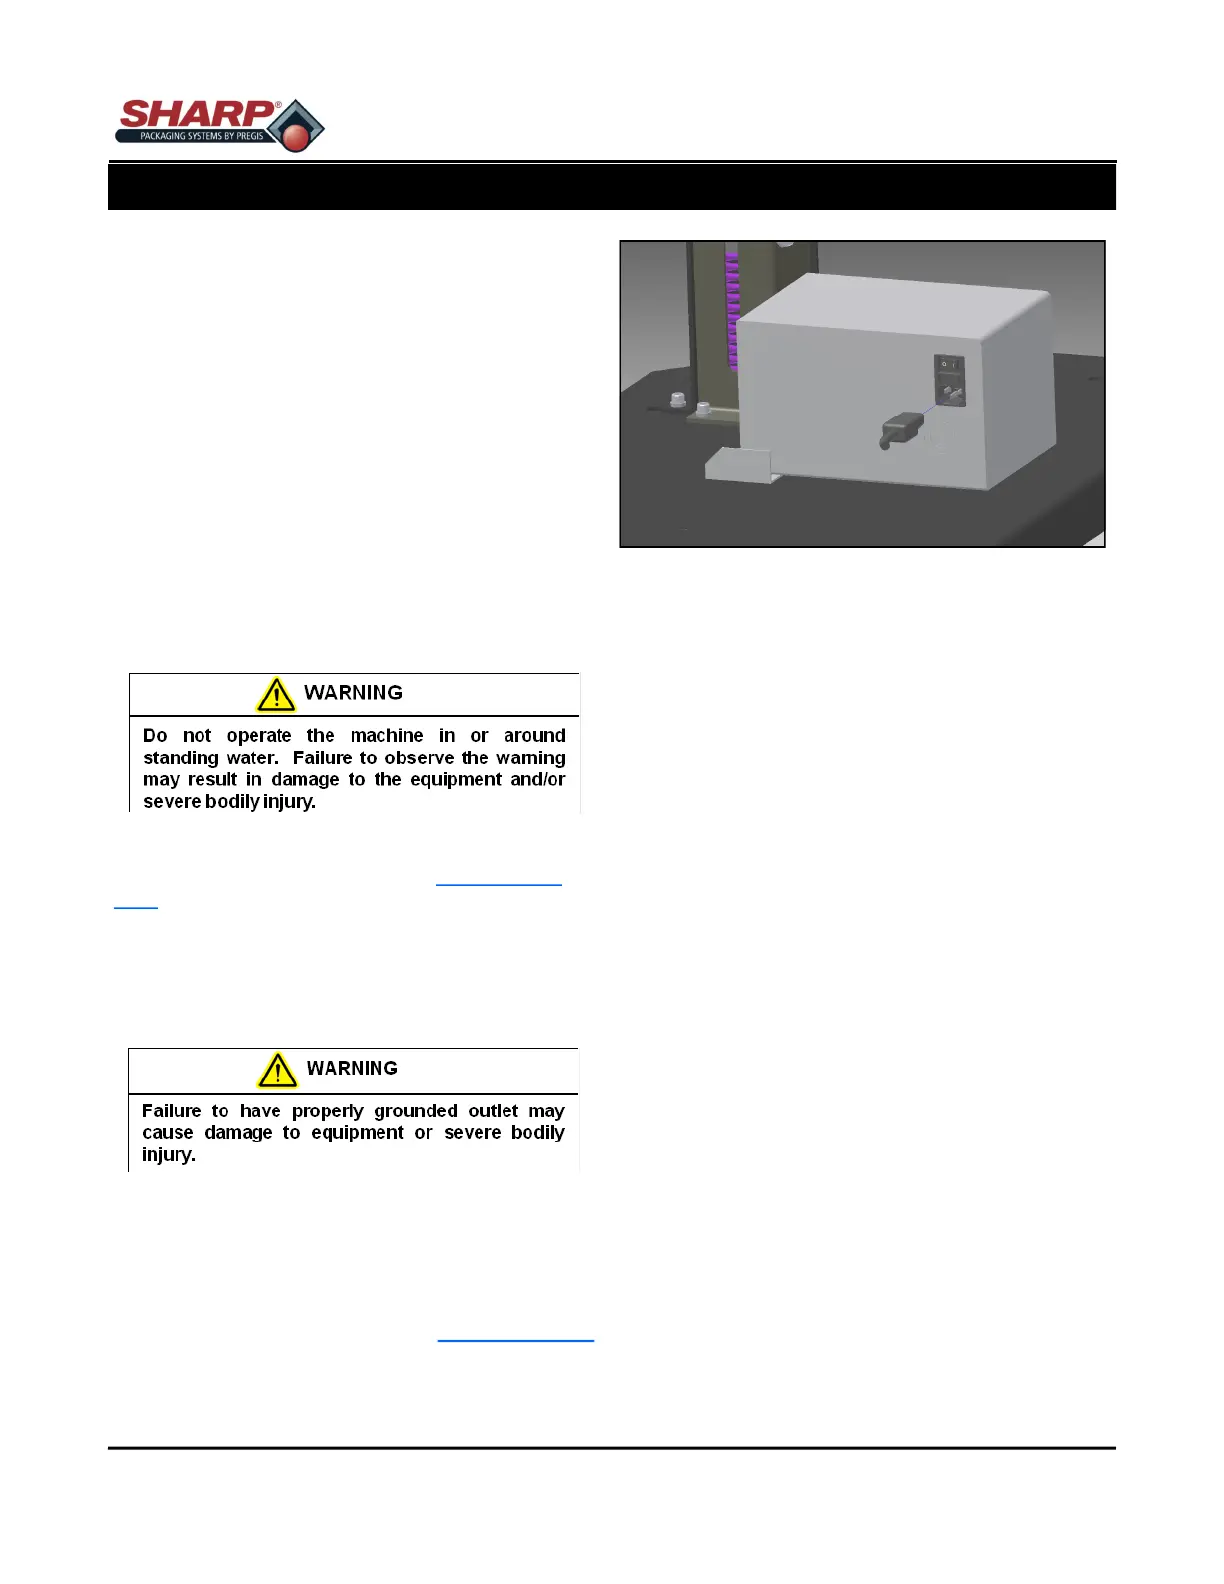
1. Before plugging the cord into the back Step-Down
Transformer, depress the Emergency Stop Button
on the front of the control panel. See Figure 1-3A.
2. Make sure wall outlet or electrical drop is rated for
proper voltage and that the outlet is grounded.
3. Plug power cord into wall outlet or electrical drop.
4. Place the female end of the electrical cord provid-
ed into the back of the machine, Figure 8-1A.
5. Turn the switch to ON position.
Note: Power is only supplied to PLC, HMI/PC, and
Sensors. HMI/PC will boot automatically.
6. Release the E-Stop Button and press the Green
Power Button.
7. The machine now has full power.
SECTION 2 - SETUP & ADJUST-
MACHINE PLACEMENT - CE MODELS
8-3
Figure 8-1A. Electrical Connections