EasyManuals Logo

Quantum Scalar i40 User Manual

Quantum Scalar i40
404 pages
To Next Page IconTo Next Page
To Previous Page IconTo Previous Page
Page #268 background imageLoading...
Page #268 background image
Chapter 9: Installing, Removing, and Replacing Components
Installing the Rack Mount Kit (Rail Kit)
240 Quantum Scalar i40 and Scalar i80 User’s Guide
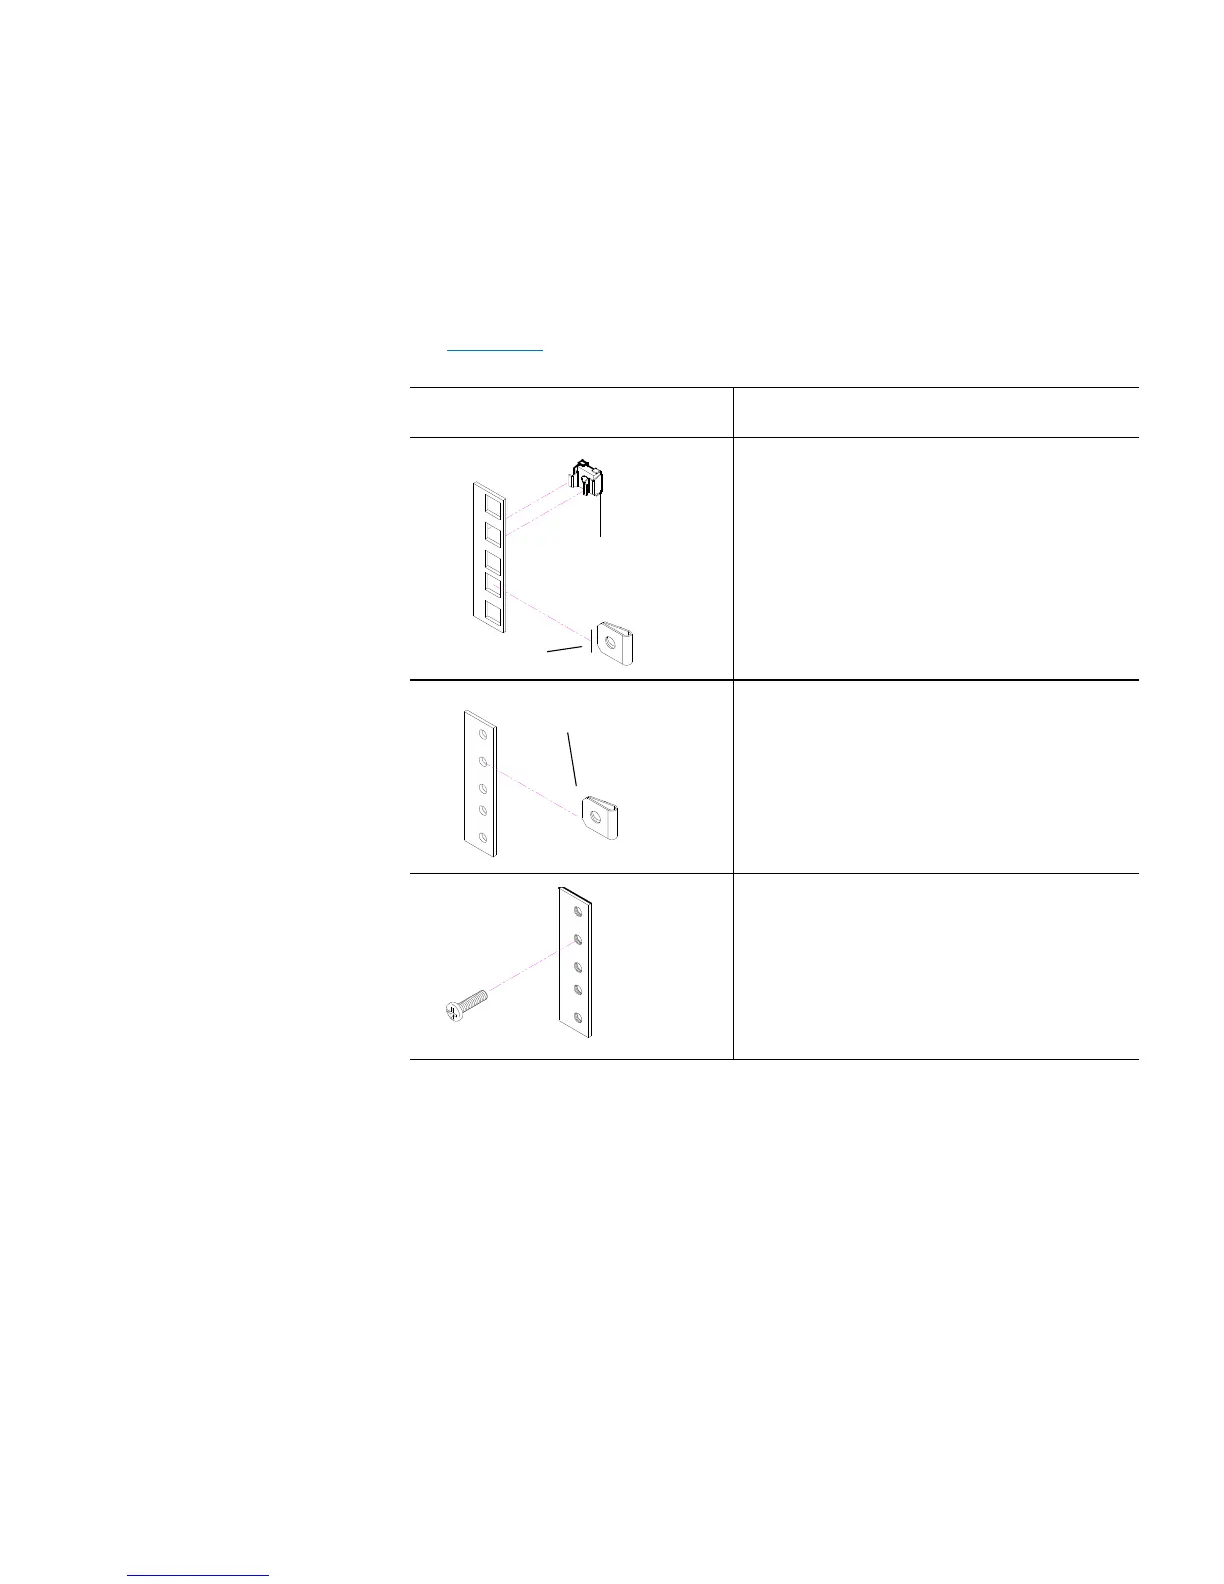
4 If the rack does not have threaded holes, install a clip nut or a cage
nut in the back side of the rail, in the first empty hole below the rail
adapter. This is what you will screw the library thumbscrews into to
secure the library in the rack. See table below for type of nut, and
Figure
49 on page 241 for installation location.
Type of Rail/Type of Nut Description
Cage nut
Clip nut
Square rack holes are the most
common type of rack holes. They can
accept either cage nuts which mount
from the back of the rail or clip nuts
which clip on from the side of the
rack rail.
Clip nut
Round, unthreaded holes require clip
nuts to accept mounting hardware.
Threaded holes require neither cage
or clip nuts to accept mounting
hardware.

Table of Contents

Other manuals for Quantum Scalar i40

Questions and Answers:

Question and Answer IconNeed help?

Do you have a question about the Quantum Scalar i40 and is the answer not in the manual?

Quantum Scalar i40 Specifications

General IconGeneral
Power requirements100 - 240 V AC, 50 - 60 Hz, 2.8/1.4 Amps
Power consumption (typical)100 W
Expansion slots25
Dimensions (WxDxH)455 x 793 x 132 mm
Storage temperature (T-T)-40 - 60 °C
Operating temperature (T-T)10 - 35 °C
Operating relative humidity (H-H)20 - 80 %
Media typeTape Cartridge
Product typeStorage auto loader & library
Product colorBlack
Weight and Dimensions IconWeight and Dimensions
Weight15800 g

Related product manuals