Technical Bulletin PAGE: 3/4
In the field:
Replace the screw (P/N: D1369902*) in accordance with the procedure below.
*Note: D1369902 includes 5 screws.
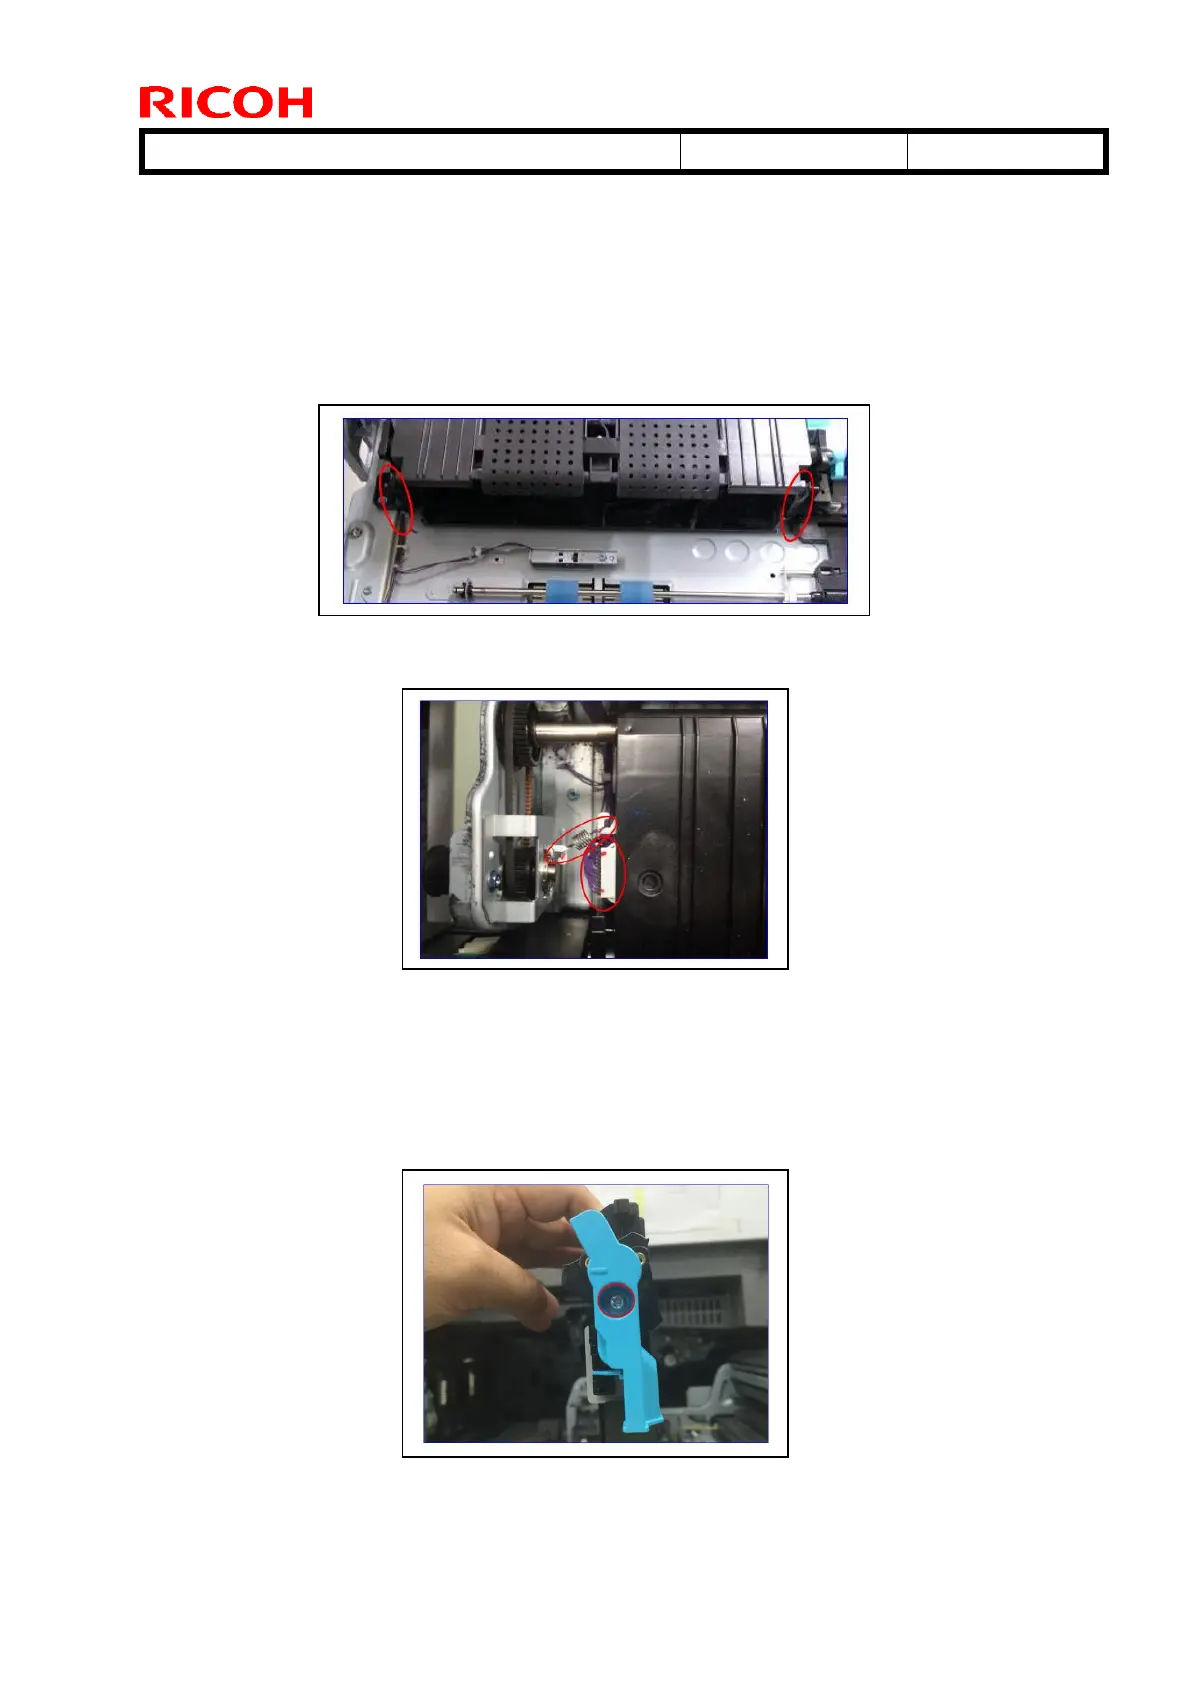
1. Remove the fusing unit from the machine (See FSM, pg.667-670).
2. Remove the two springs (circled in red) from the paper transfer belt (PTB) unit.
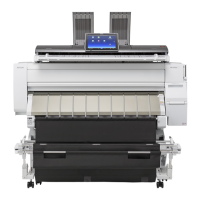
3. Remove the spring [A] and connector [B] from the PTB unit.
IMPORTANT:
Be careful not to stretch the spring [A] when you remove it, as this part is easily stretched.
Be sure to reconnect the connector [B] firmly.
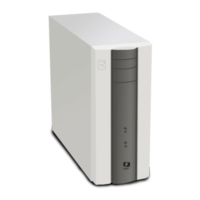
4. Lift up the PTB unit and remove the screw (circled in red) from the lever.