Preparing to Print (Computer Side)
38
Basic Operation
22
When the [Printer name entry] screen appears, click [Next].
You can also change the printer name. Return to p.34 "Step10" to connect the computer to the machine with
a USB cable.
Following are the Steps only for Windows 8/Windows 8.1.
23
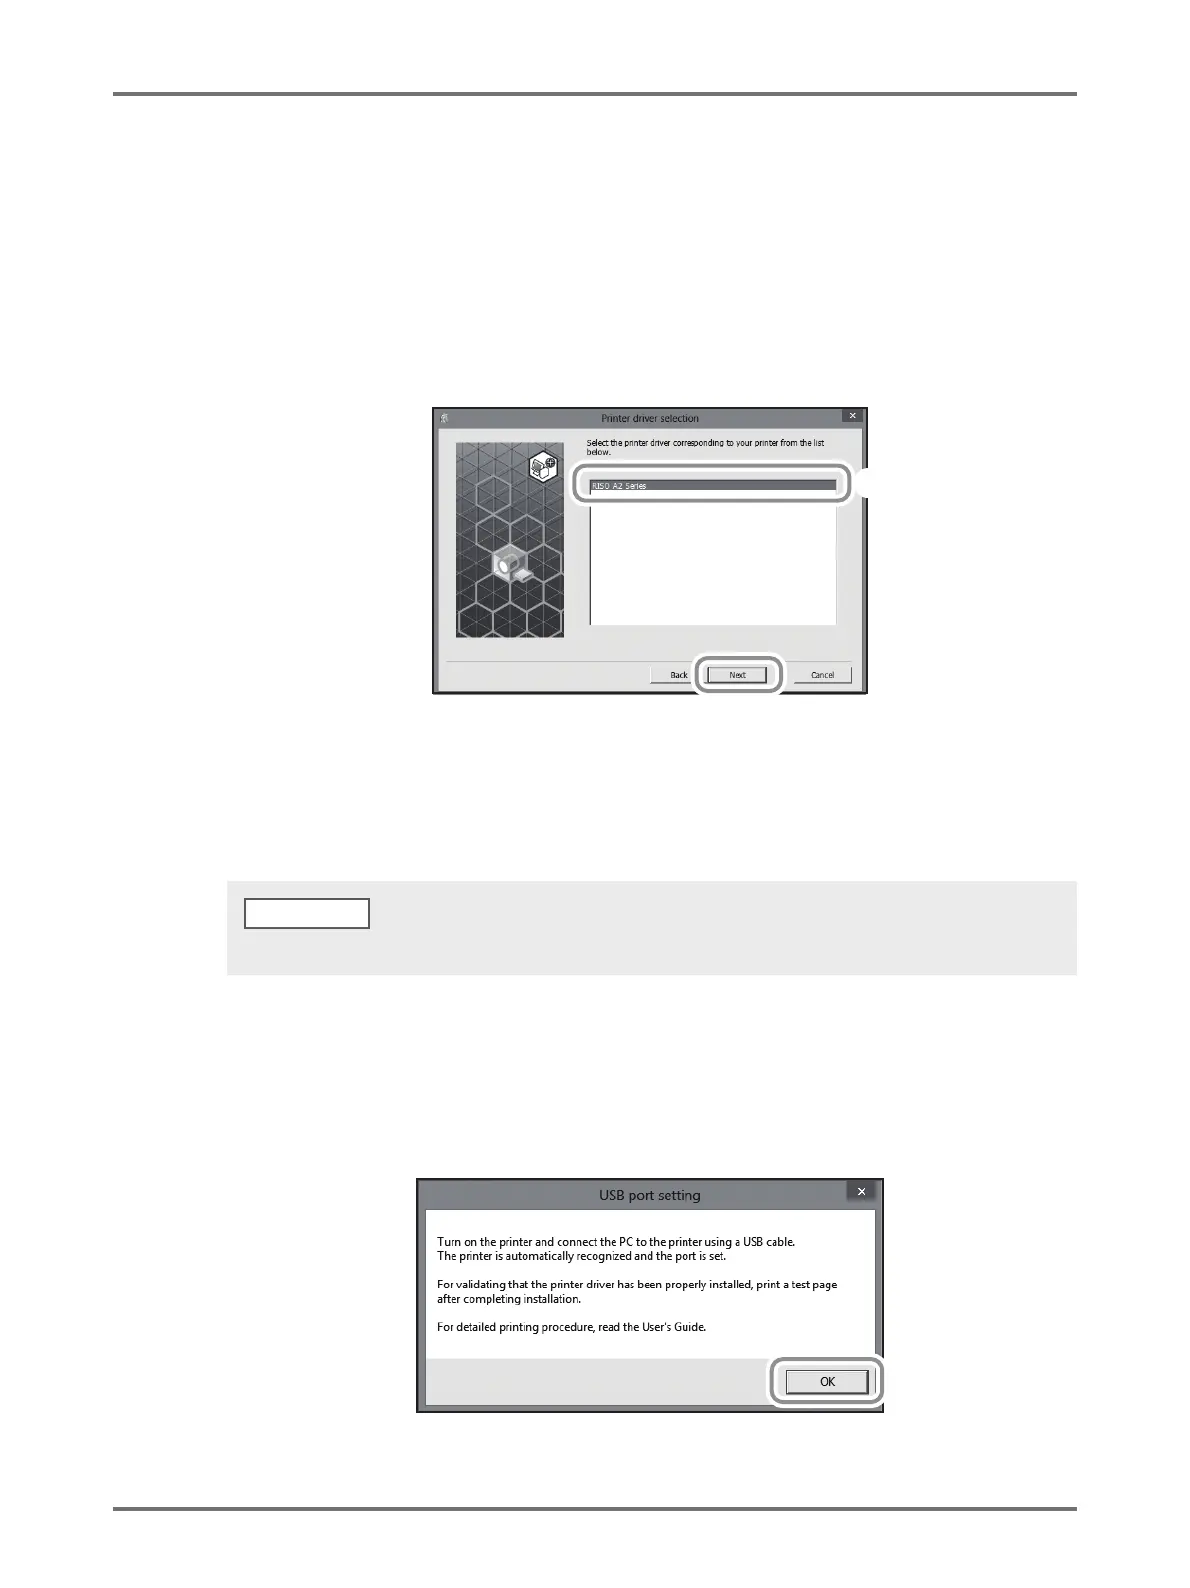
Ensure that [RISO A2 Series] is selected, and then click [Next].
24
When the [Ready to install] screen appears, click [Install].
Installation starts.
The [USB Port Setting] dialog box appears.
25
Click [OK].
When the [Windows Security] dialog box appears, continue the installation.
NOTE