Printing Data
51
Basic Operation
9
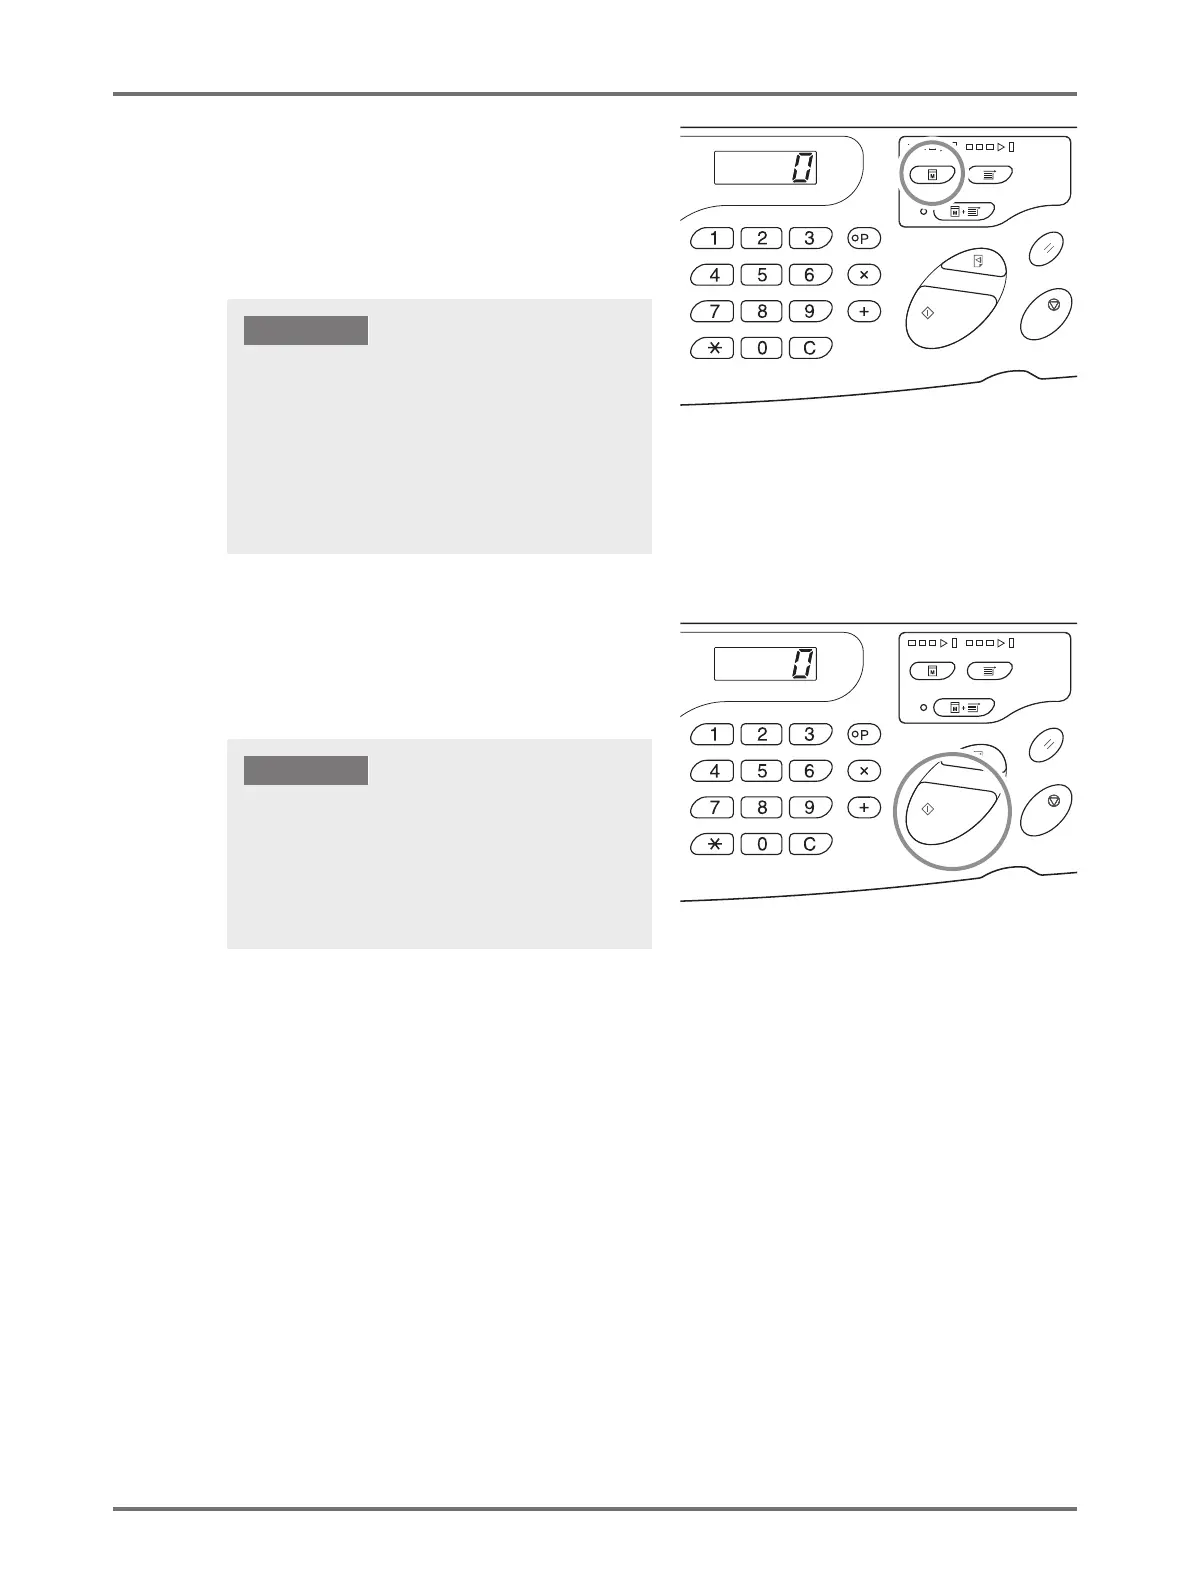
Press the <Master-Making> key.
When the machine has completed data reception, the
<Clear Job> indicator turns on.
When making a master, press <Master-Making> key to
switch to the master-making mode.
10
Press the <Start> key.
After master-making, the machine prints a proof copy
and stops.
11
Check the proof copy.
Remove the proof copy from the Paper Receiving Tray and check if it was properly printed.
• You can repeat the proof copy as many times as you wish to check the result. p.72 "Producing Proof
Copies [Proof]"
• You can adjust the print position. p.74 "Adjusting the Print Position [Print Position Adjustment]"
• You can adjust the print density. p.73 "Adjusting the Print Density [Print Density Adjustment]"
• When the machine receives original data in [Master-
Making] mode, the machine starts making a master
immediately.
• When the machine has not been used for a certain
amount of time since the last operation, master-making
starts after idling.
p.93 "Customizing Initial Settings [Custom Setting
mode] / Auto Idling Time"
IMPORTANT!
• When [Auto-process] is set to [ON], the machine does
not stop after printing the test page and continues
printing.
• When the wrong data was transmitted or if you want to
clear the original data which is being received or waiting
for the master masking, press the <Clear Job> key.
IMPORTANT!