77
MPS4232
Section 6: Maintenance
1. Connect a host computer to the Ethernet port and
ensure the MPS is powered on.
2. Open Windows FIle Explorer.
3. In the Address Bar, type:
p://<IPAddress><Enter>
Where: <IPAddress> is the IP Address of the MPS.
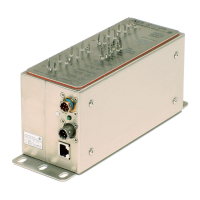
4. The host computer should connect to the FTP le
server. If the connecon is successful, the contents
of the MPS ash storage will be displayed in a folder
format.
5. Open Windows Explorer in another window and
navigate to the directory where the new rmware
le is stored. The MPS4232 rmware le is a bianry
le called “x_yy.mps” where x_yy is the rmware
version.
6. Select the MPS4232 window, right click in the
current or old rmware le in the le server and
click “Delete.”
Note: the old rmware le must be deleted
from the MPS’s le server before the new le is
uploaded.
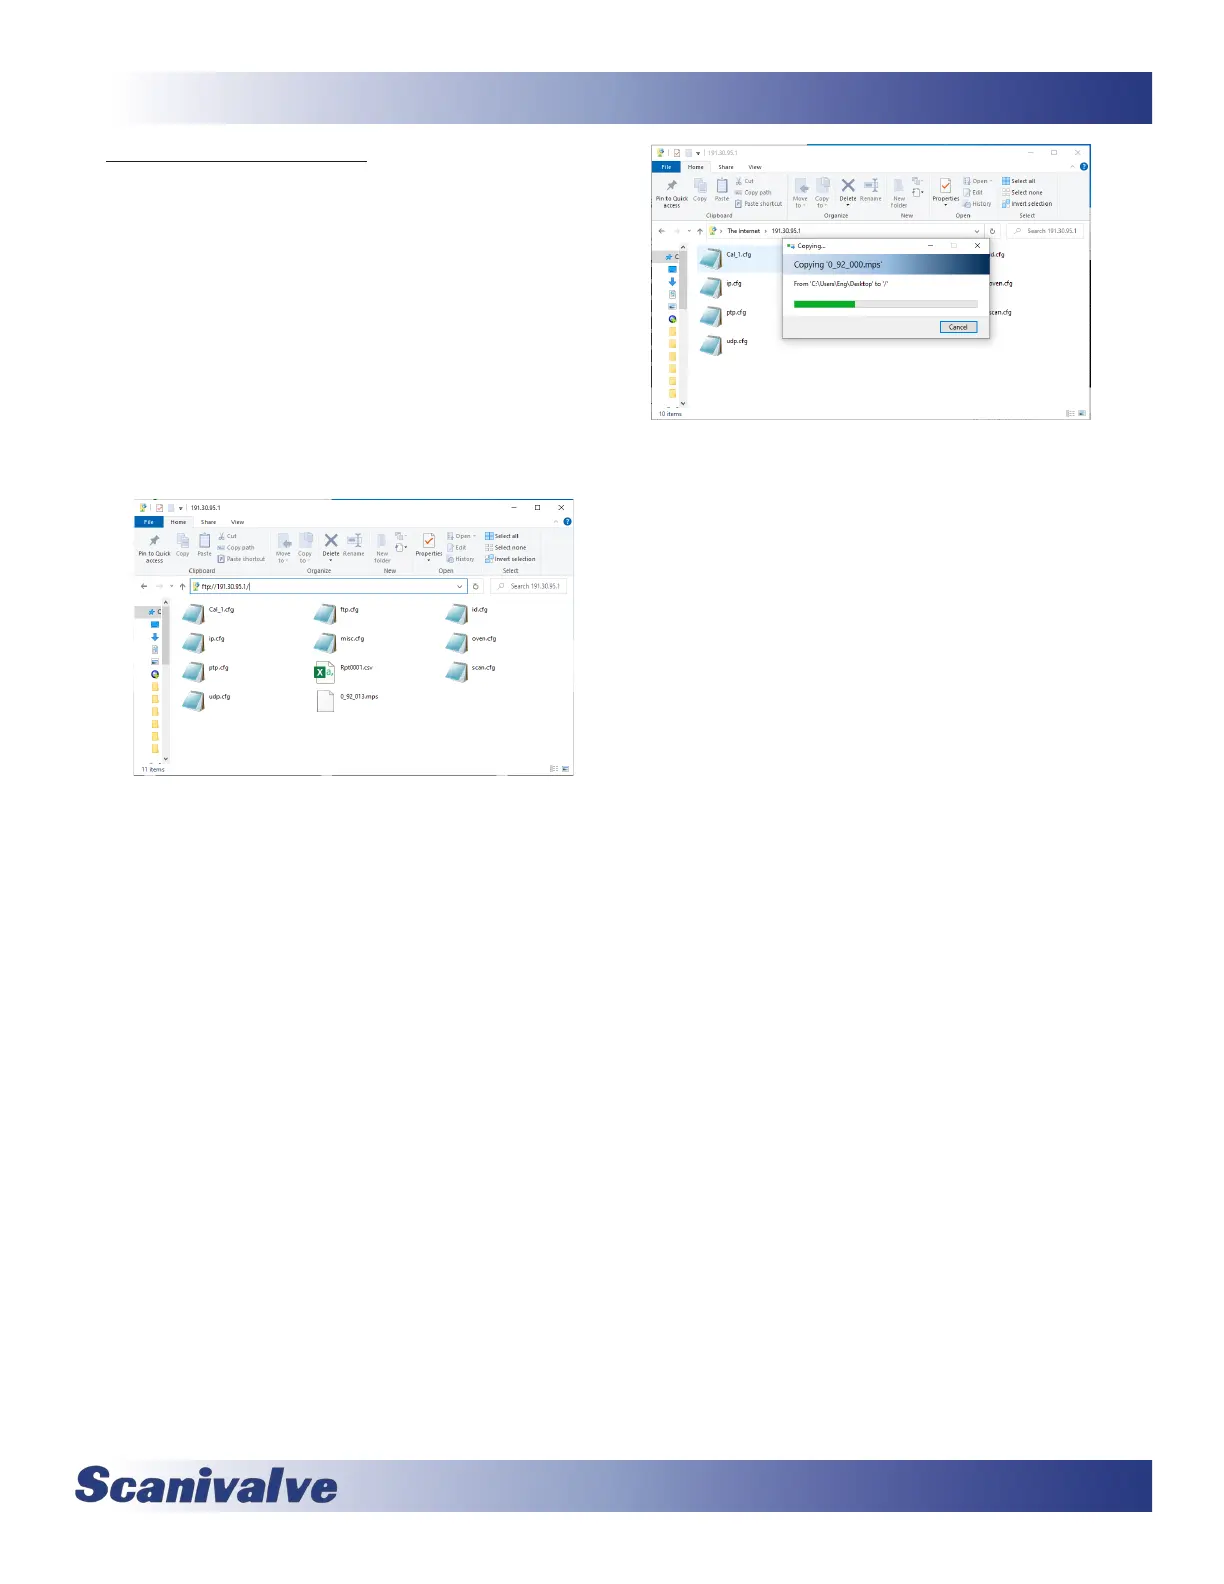
7. Highlight the new rmware le to be copied to the
MPS, right click and click “Copy”, and then click in
the MPS le server and click “Paste.”
The le will be copied to the MPS4232. A progress
window will provide progress informaon.
7. When the copy funcon is complete, the MPS4232
window will show the new les. The me and date of
the new le can be used to conrm that the new les
were uploaded successfully.
8. The new rmware le must be loaded into RAM.
Connect to the MPS via Telnet using ScanTel or similar,
and execute the command:
PGM<ENTER>
The MPS will load the le with messages and then
reboot itself. This may take up to 30 seconds.