79
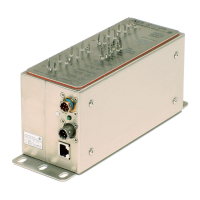
MPS4232
Section 6: Maintenance
1. Connect a host computer to the Ethernet port and
ensure the MPS is powered on.
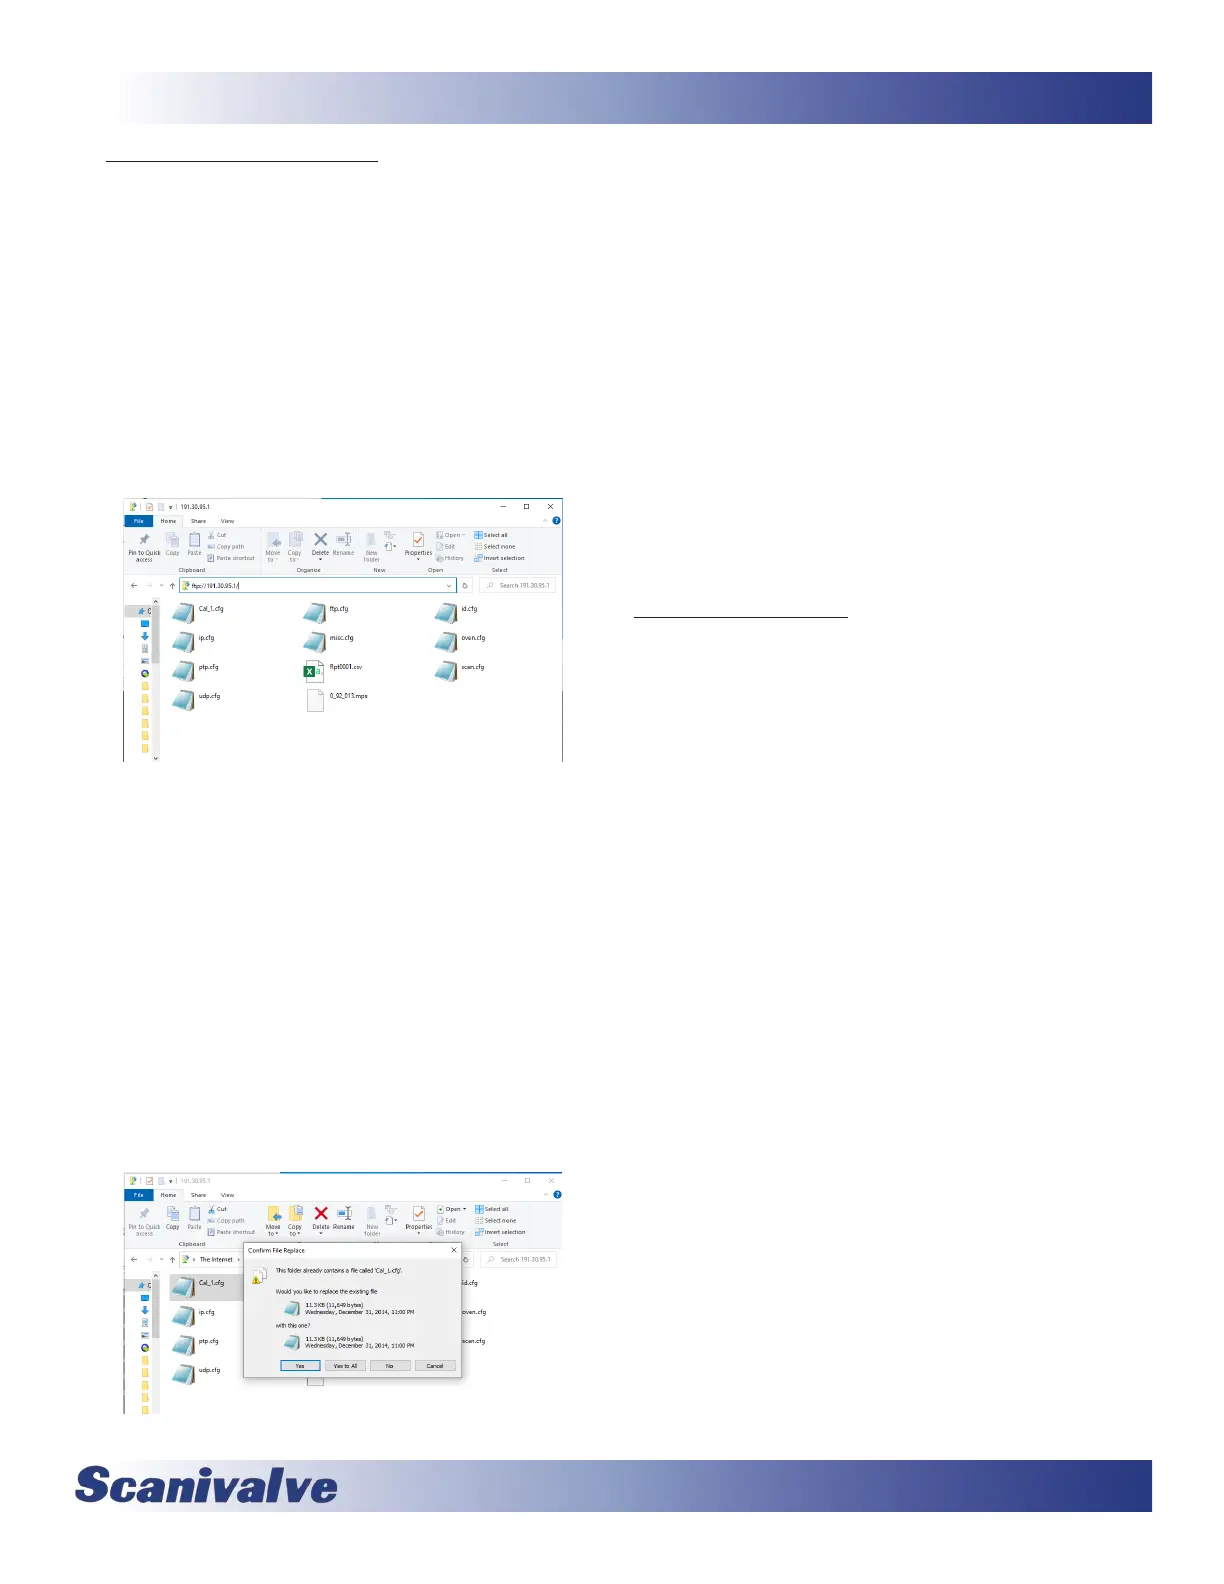
2. Open Windows FIle Explorer.
3. In the Address Bar, type:
p://<IPAddress><Enter>
Where: <IPAddress> is the IP Address of the MPS.
4. The host computer should connect to the FTP le
server. If the connecon is successful, the contents
of the MPS ash storage will be displayed in a folder
format.
5. Open Windows Explorer in another window and
navigate to the directory where the calibraon coef-
cients are stored. MPS4232 calibraon coecients
are a text le called “Cal_<sn>.cfg” where <sn> is
the serial number of the module.
Highlight the le to be copied to the MPS, right click
and click “Copy.”
6. Select the MPS4232 window, right click in the le
area and click “Paste.”
As long as the lename matches, the MPS will prompt if
you would like to overwrite the le. Click yes to over-
write the old le.
The le will be copied to the MPS4232. A progress
window will provide progress informaon.
Alternately, the le can be “drag-and-dropped” and
overwrien.
7. When the copy funcon is complete, the MPS4232
window will show the new les. The me and date of
the new le can be used to conrm that the new les
were uploaded successfully.
8. The new le must be loaded into RAM by one of the
following methods:
- Power cycle the MPS
- Execute a REBOOT command
- Execute a LOAD <cal lename> command
where <cal lename> is the name of the Cal_ le
The following procedure will change the IP address of the
MPS4200 using a terminal emulator (ScanTel, HyperTer-
minal, puTTY, etc). The webserver terminal can be used as
an alternave if an Ethernet connecon is available.
1. Establish a connecon to the MPS4200 using a serial
or Ethernet connecon and appropriate soware. For
inial connecon informaon, please see Secon 3:
Operaon.
2. Issue the command:
LIST IP<ENTER>
The IP address variable and value will be displayed.
3. Issue the command:
SET IPADD xxx.xxx.xxx.xxx<ENTER>
(where xxx.xxx.xxx.xxx is the IP address desired)
4. Issue the command:
LIST IP<ENTER>
Conrm that the IP address set is correct.
5. [Oponal] If the Subnet or Gateway must be changed,
please do so in the same steps as 2 - 4 using the
SUBNET and GW variables.
5. Issue the command:
SAVE IP<ENTER>
Wait for the return prompt “>”.
The IP address has now been saved.
Issue the command:
REBOOT<ENTER>
or cycle the MPS power.
The MPS will now boot with the new IP address.