TEST key-cutting
in progress !
and then:
Fit cut key on
reader clamp to
check measurements
[START]
Fig. 59
Raise the safety shield and place the key/template Z3 made in this way in the clamp on the reader side, using the
gauge as a reference point. Lower the gauge and safety shield.
PressSTARTtoseeonthedisplay,rst:
TEST key check
in progress
And then:
Adjustements:
X=+003 Y=+006
Savedata?
No=STOP Yes=ENTER
The adjustment values are automatically shown.
PressENTERtoconrm,thedisplaywillshow:
L1-AUTOMATIC S: A
Manual adjustment:
X= +000 Y= +000
To calibrate [START]
Press STOP (once) to end the operation and twice again to return to the main menu.
Press SHIFT+ENTER to see on the display:
L1-AUTOMATIC S: B
Manual adjustment:
X=+000 Y=+000
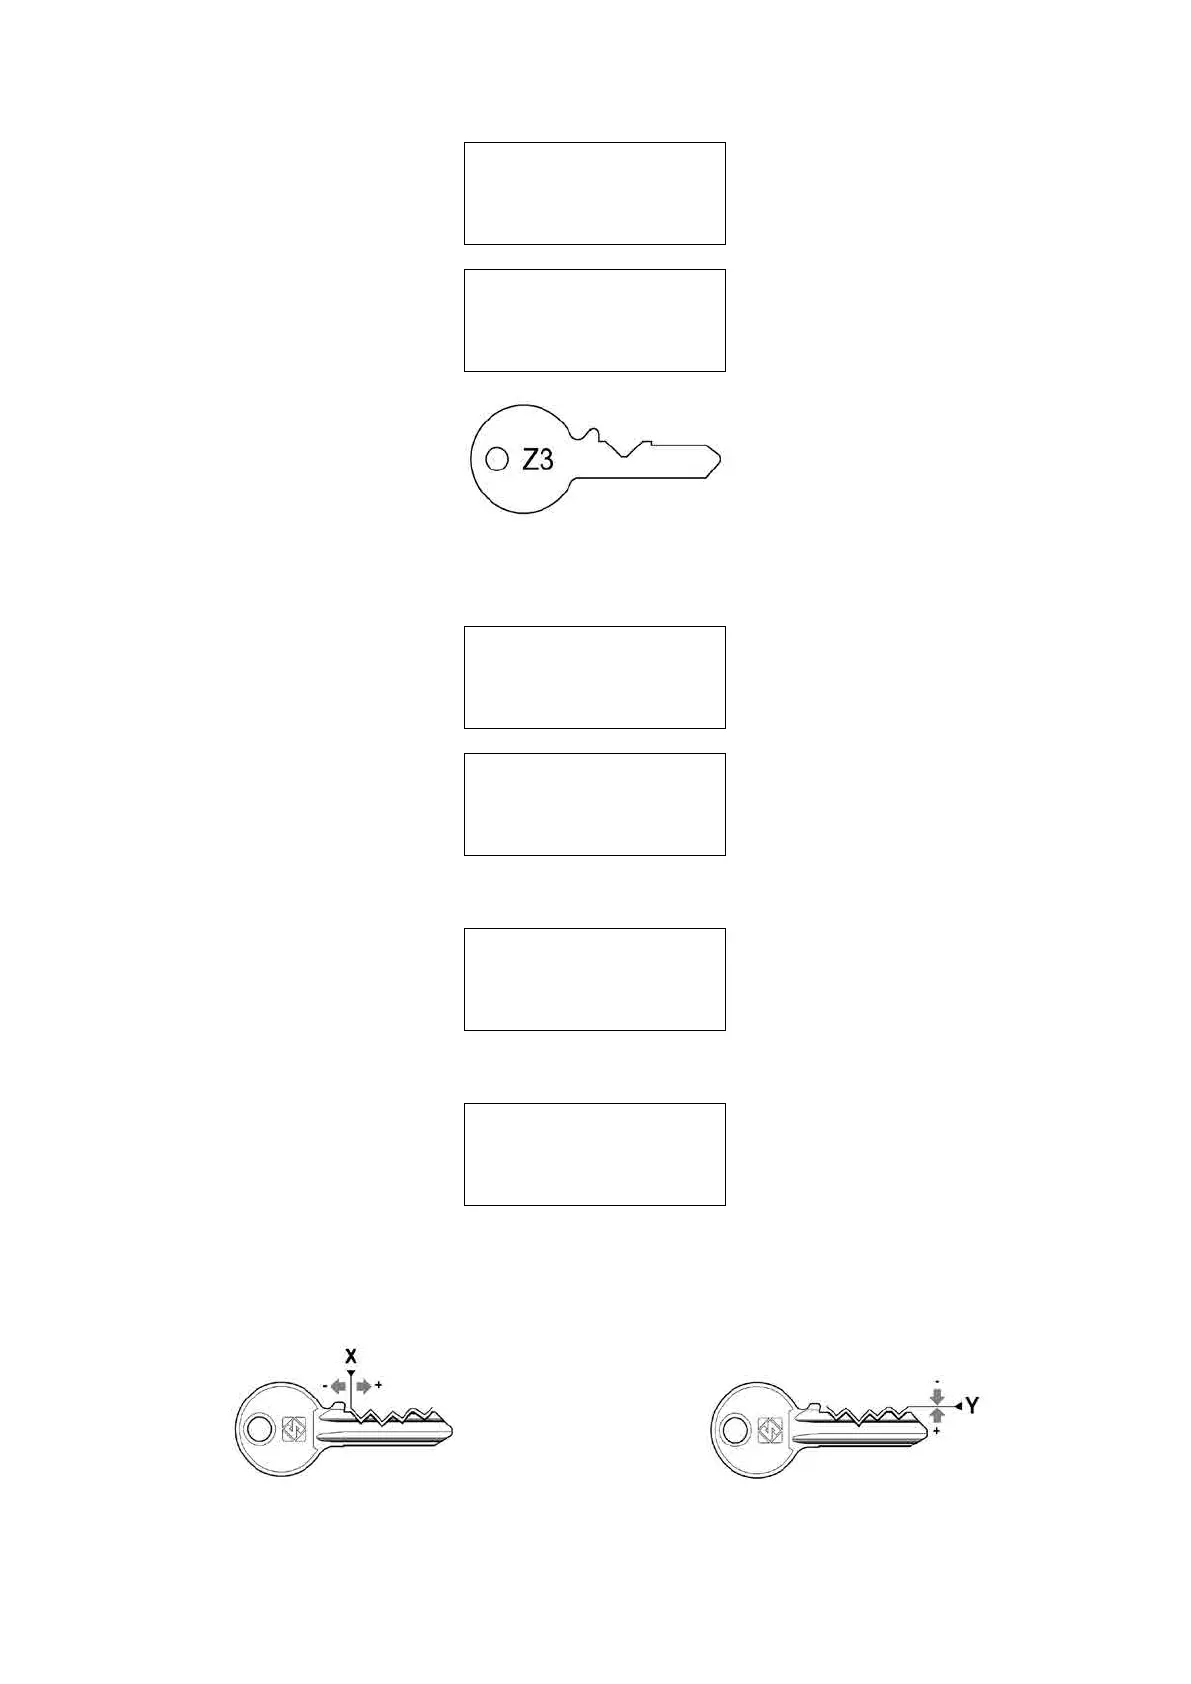
5.7.1.2-a MANUAL ADJUSTMENTS
Adjustments to X (spaces) and Y (depths) can be made manually.
Fig. 60 - SPACING ADJUSTMENT (X) Fig. 61 - DEPTH ADJUSTMENT (Y)
Operating Manual UC199
Copyright Silca 2012
48