28 Wave User Manual
Version 4
Alternatively, you can also press on a gate. After doing so, the gate will appear with
handles.
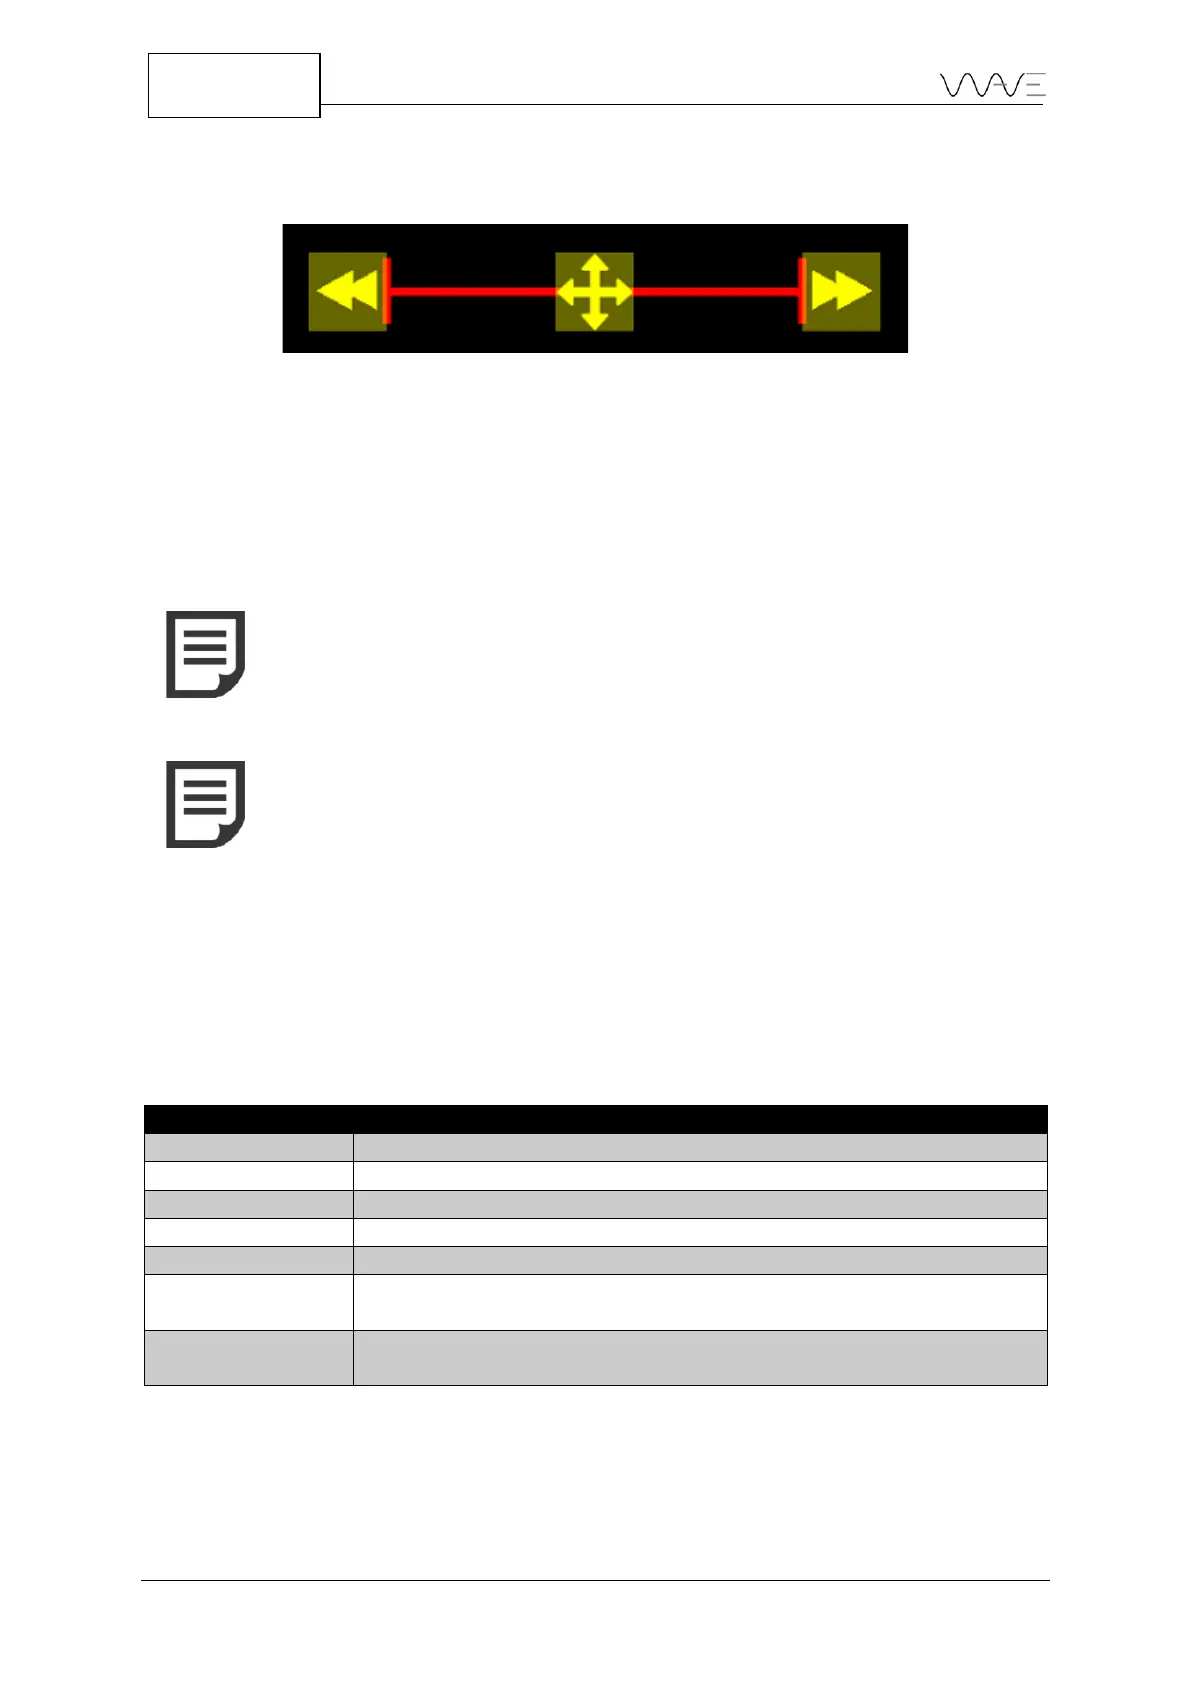
Figure 20 - Gate handles
The left arrow, when dragged left or right, will change the starting point of the gate and
its length. The right arrow will allow changing the gate length without changing the gate
starting point. Finally, the cross-arrow handle is used to move the gate with useful
constraints. Move up or down without changing the gate position, or move right and left,
without changing its level.
NOTE: When a gate is selected, the upper right corner of the A-Scan
view always shows the gate level in FSH percentage
NOTE: When moving a gate with your fingers, i.e. when you drag it,
the value of the gate level (FSH) is displayed live. This value is rounded
to the nearest 5%. Use the Gate Level parameter if you want to set a
gate to any specific level.
6.5.3 Setting a Gate on a Scan Plan View
When you are set to the Scan Plan view, you can still set the gates that are available. To
set a gate, you must go to the Gate menu (1, 2, 3 or 4) to have access to the desired gate.
While in the Gate menu, you can set the following parameters, as seen at Table 8.
Table 8 – Gate options
Unable or disable a gate (Yes or No)
It sets the starting point of a gate (in mm or µs).
It sets the width of a gate (in mm or inches).
It sets the level of the gate (in %FSH).
It sets the polarity of a gate (positive or negative).
It sets an echo-to-echo (E-E) or flank-to-flank (F-F) adaptive triggering
mode. Present in G2 and G4 only.
It prevents the current gate from triggering from previous gate. Present
in G2 and G4 only.