Chapter 5 Replacing Cold-Swappable FRUs 5-35
2. Lower the board into place and slide the board to the left to plug it into the front
I/O board.
3. Secure the board to the chassis with the screws.
4. Reinstall all three fans.
See Section 4.2.2, “Replacing a Fan” on page 4-4.
5. Perform the procedures described in Section 5.3, “Common Procedures for
Finishing Up” on page 5-41.
5.2.15 Removing the Front I/O Board
1. Perform the procedures described in Section 5.1, “Common Procedures for Parts
Replacement” on page 5-1.
2. Remove all three fans.
See Section 4.2.1, “Removing a Fan” on page 4-2.
3. Disengage the fan power board from the front I/O board
Step 3 and Step 4 in Section 5.2.13, “Removing the Fan Power Board” on page 5-34.
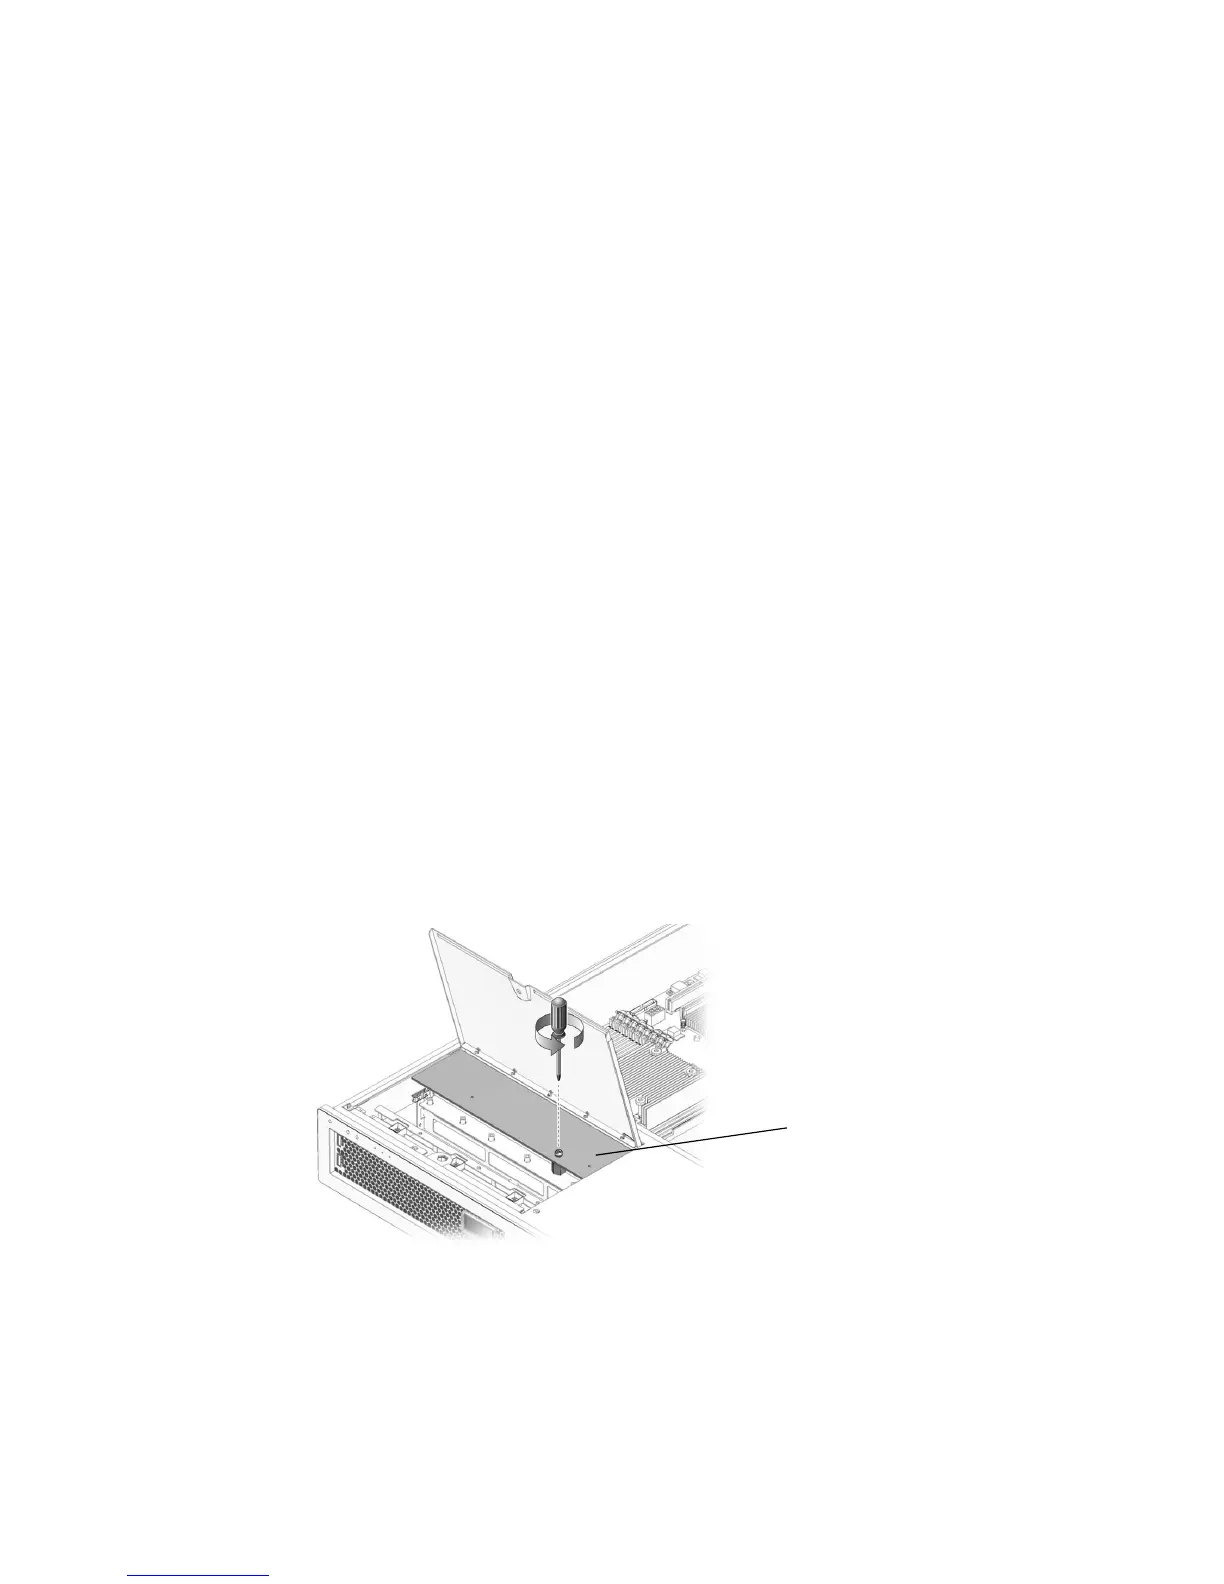
4. Remove the fan guard to gain access to the M3x6 flat-head screw that secures the
front I/O board to the chassis.
a. Remove the screw that secures the fan guard to the chassis.
FIGURE 5-23 Removing the Fan Guard
b. Remove the fan guard from the chassis.
5. Disconnect the front I/O board data cable.
Fan guard