5-36 Sun Fire T2000 Server Service Manual • July 2007
6. Remove the LED board. See Section 5.2.11, “Removing the LED Board” on
page 5-32.
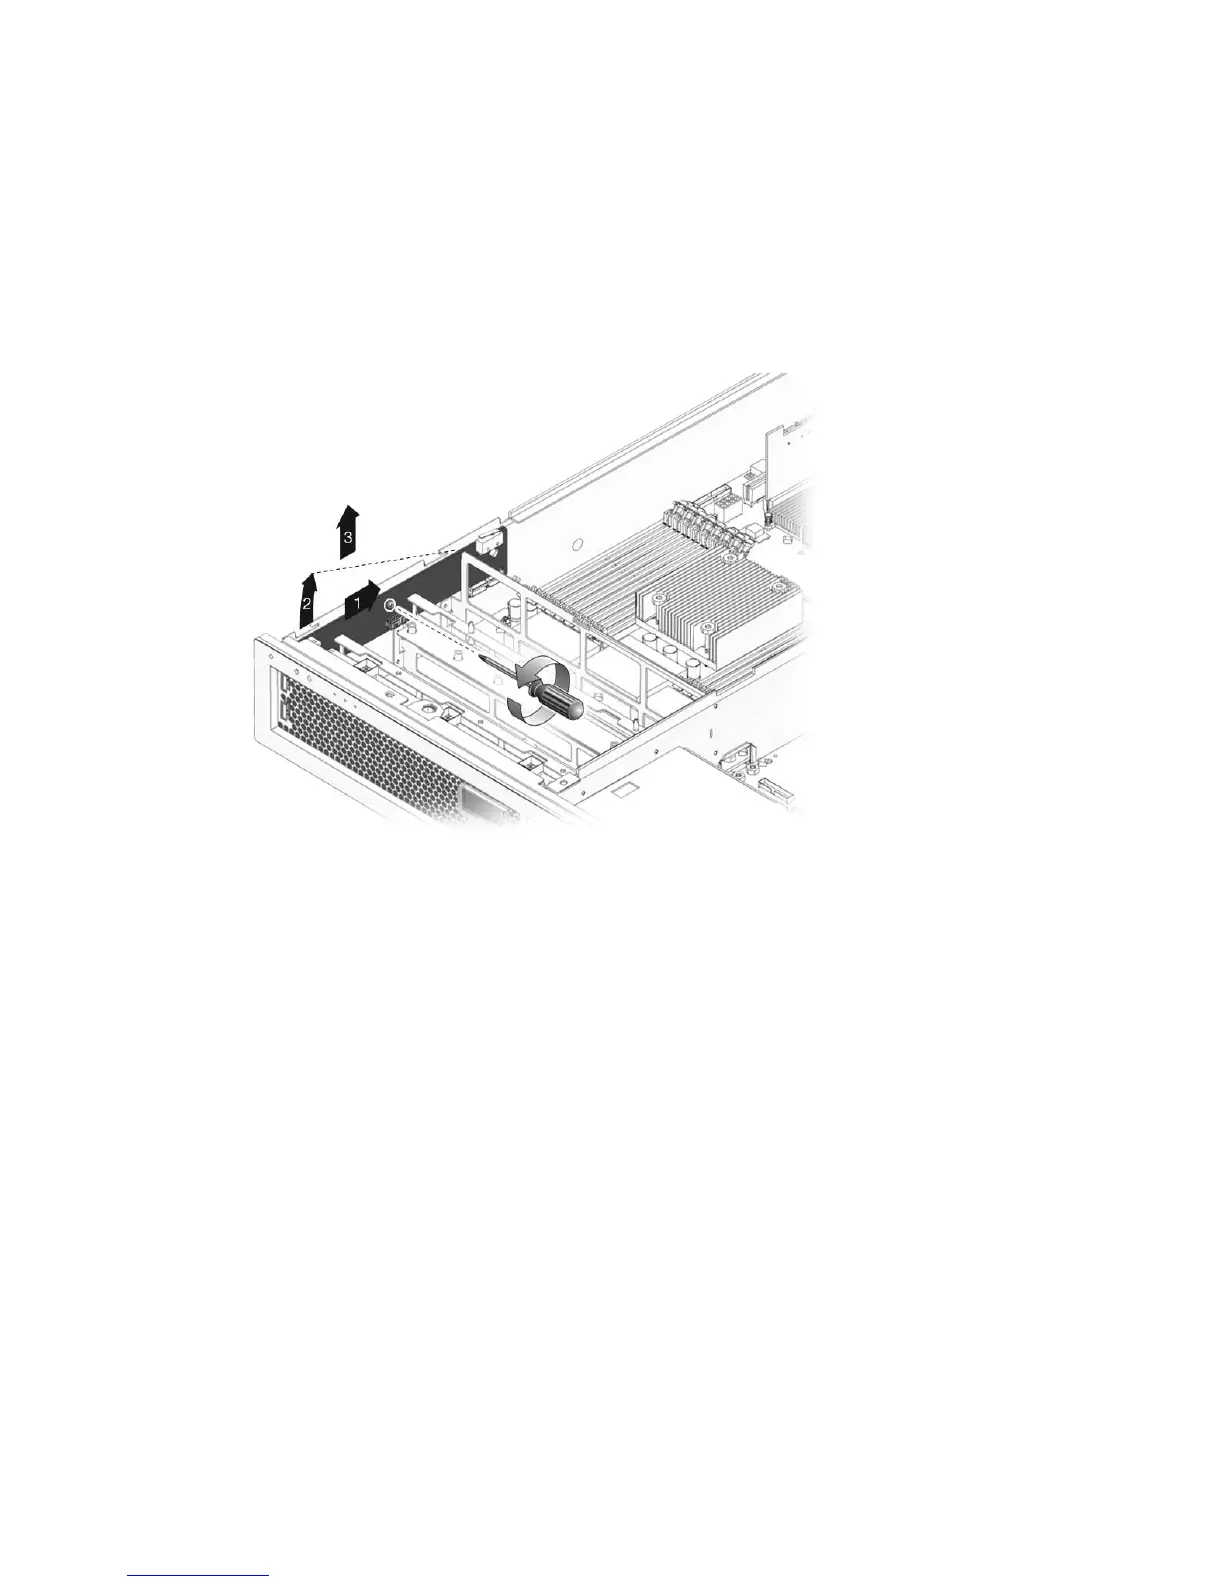
7. Remove the screw that secures the front I/O board to the chassis.
8. Slide the front I/O board back, tilt it up, clear the two mounting tabs in the front,
and lift the board straight out of the chassis (
FIGURE 5-24).
FIGURE 5-24 Removing the Front I/O Board
9. Place the front I/O board on an antistatic mat.
5.2.16 Replacing the Front I/O Board
1. Unpackage the front I/O board and place it on an antistatic mat.
2. Tip the front I/O board downwards and slightly forward, and push it into place,
aligning the board with the screw hole in the exterior wall of the chassis.
When the board is fully seated, both connectors on the USB ports are mounted flush
against the motherboard assembly.
3. Using the screw, secure the front I/O board to the chassis.
4. Reconnect the front I/O board data cable.
5. Reinstall the LED board.
See Section 5.2.12, “Replacing the LED Board” on page 5-33.