64
3 AUTOMATIC TRACKING / AUTOMATIC COLLIMATION
3.2 Automatic Collimation
The function enables the instrument to search and collimate automatically the center of the prism when
the telescopic is aimed at a prism roughly. (in the range of approx. ±5°)
Use this mode for the object which is stable.
•
You can select Fine or Course mode for the distance measurement in auto-collimation.
1
Collimate the target prism roughly using V/H
jog/shuttle.
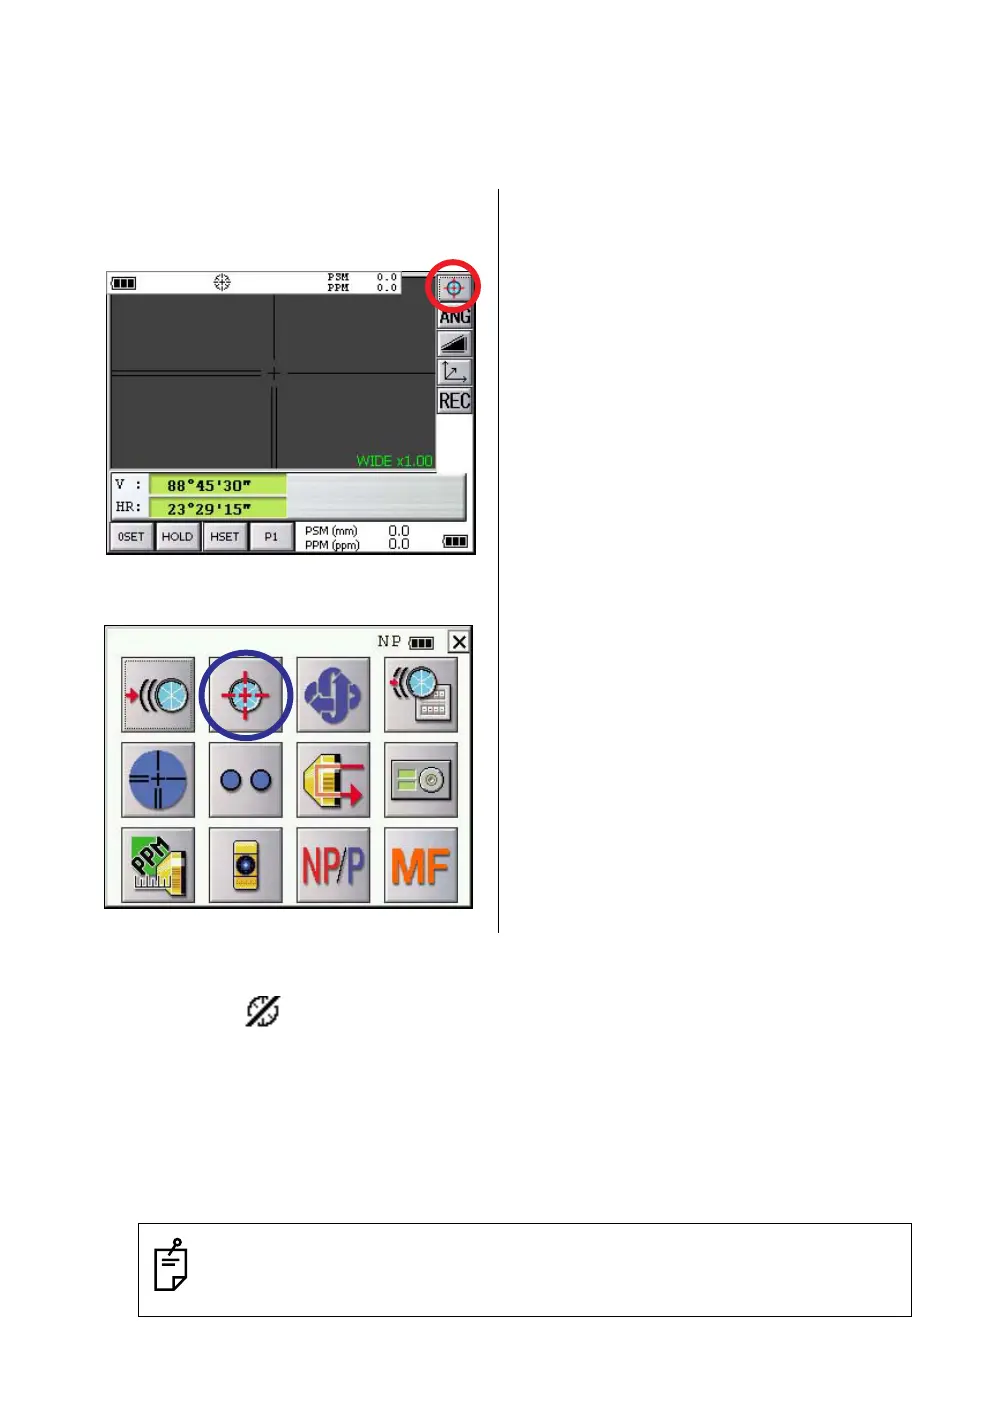
2
Press the Auto-collimating icon.
The automatic collimation mode is set. The
instrument searches the prism and, when it is
found, “ Pi ” is heard.
The automatic collimation is completed.
3
Choose measuring modes by pressing the
operation keys.
Measuring starts.
Sample: Horizontal distance measuring
•
It is possible to use the auto collimation during
the star key mode.
•
In case the instrument could not find the prism during auto-collimating, the instrument returns to normal
mode after displaying the mark as follows.
•
If any key is pressed during auto-collimating, the auto-collimating mode is ended and the instrument
returns to normal mode.
•
After auto-collimating is finished, the instrument does not track the prism even if the prism is moved.
•
The auto-collimating can not be done correctly in the time of shaking prism, or under bad weather
condition for example, when the heat shimmer is generated in a great degree or when visibility is poor.
The above caution mark will be displayed after 10 seconds and the auto-collimating will be finished.
•
Use the operation keys on the telescope eyepiece side for key operation. If you use the
operation keys on the objective lens side, an error will be displayed and auto-collimation
will not start.
 Loading...