Managing Address Book 101
5
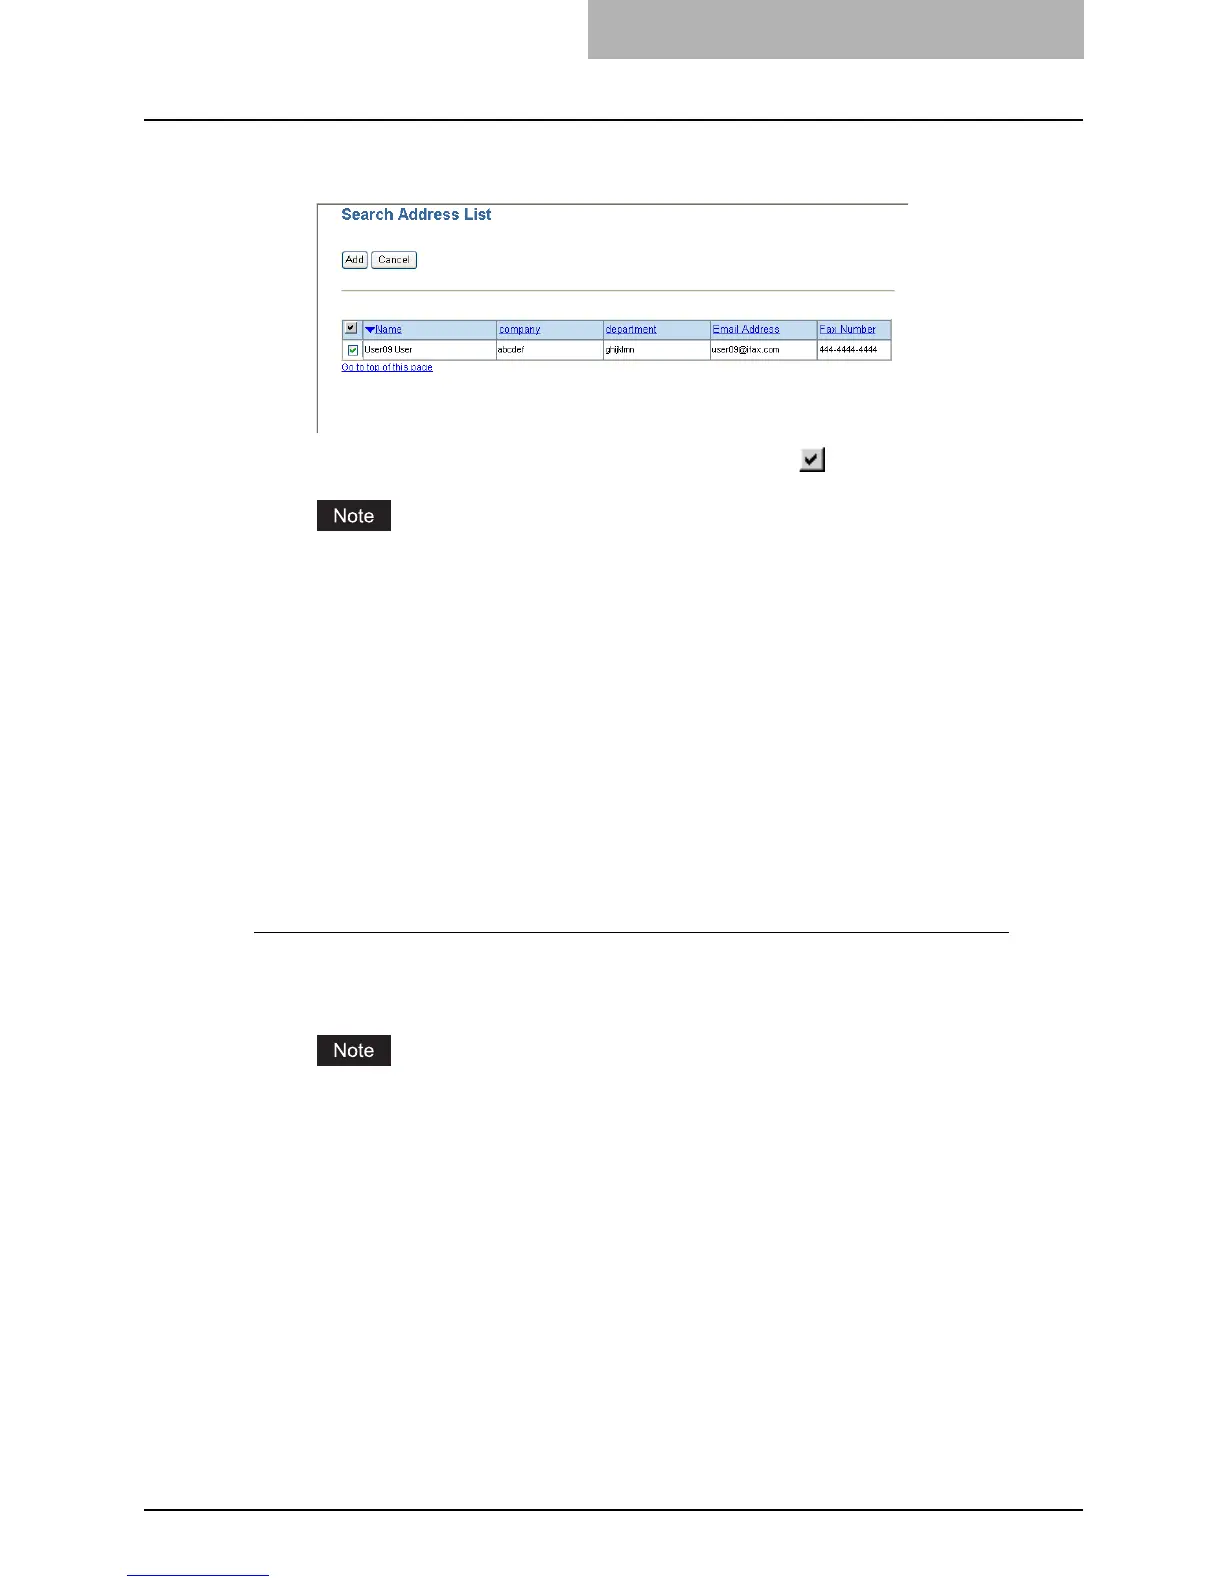
Check the boxes of contacts that you want to add to the Address
Book.
y You can select all users in the list by clicking on the button.
The value of "company" and "department" will depend on the settings determined by the
administrator.
6
Click [Add].
y Selected contacts are added in the Address Book.
Managing Groups in the Address Book
You can create groups that contain the multiple recipients. This enables you to specify the
groups for the destinations instead of specifying each recipient separately when operating Scan
to Email, or fax or Internet Fax transmission. You can also delete groups.
P.101 “Adding or editing a group”
P.103 “Deleting a group”
Adding or editing a group
1
Click the Registration tab and the Address Book menu.
y The Address Book menu page is displayed.
When the User Management Setting and Role Based Access Control are enabled, the
login page will be displayed. When the Role Based Access Control is enabled, only
users that has the privilege to operate the registration can login to the Registration tab
page.
2
Click the Group submenu.
y The Group submenu page is displayed.
 Loading...


