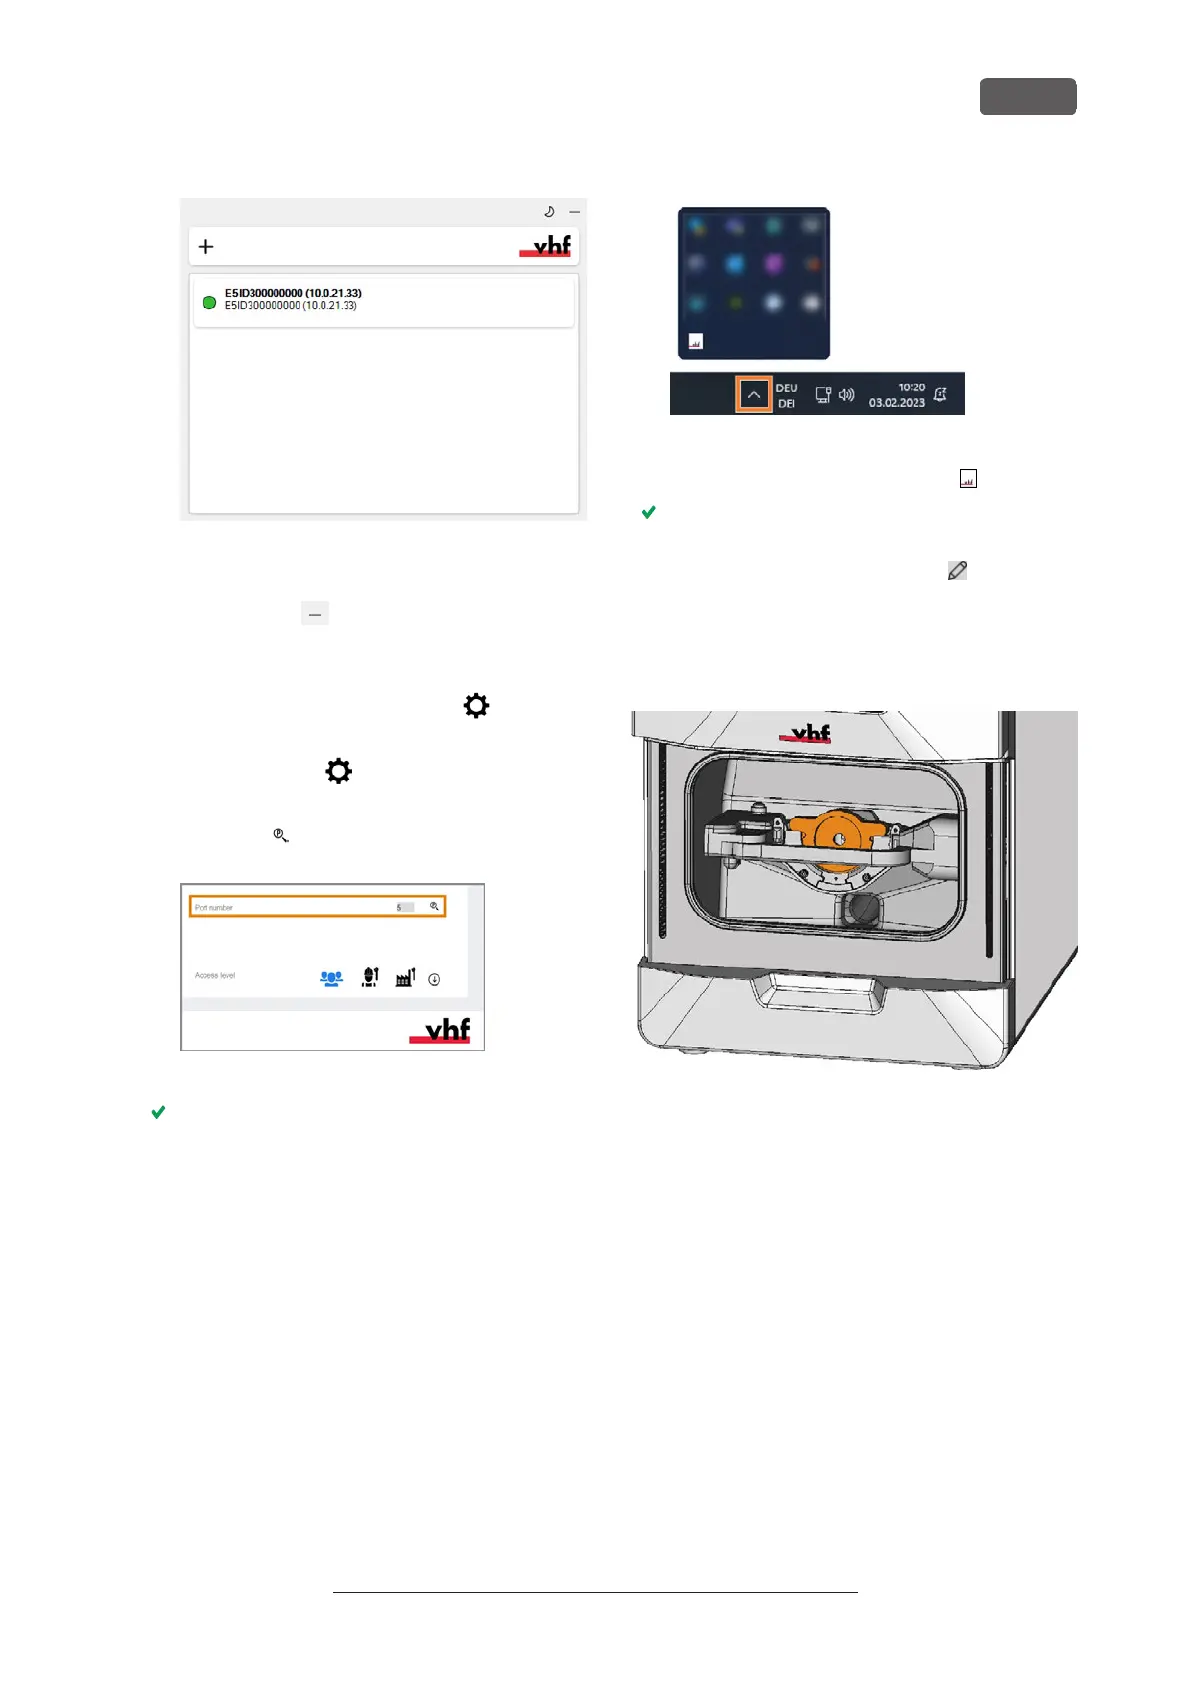
FIG. 26 A SUCCESSFUL CONNECTION
15. Minimize the CNC-Interface-Proxy window with the
following icon:
16. Start DENTALCNC.
17. Open the DENTALCNC Application settings with the
following icon in the main iconbar:
18. Open the General settings with the following icon in
the local iconbar:
19. Select the following icon next to the Port number
input field:
FIG. 27
If DENTALCNC is able to determine the port
number, the number displays in the Port number
input field. The machine references.
20. If the working chamber door was open during the
previous step, close it. If the machine does not refer-
ence as a result, quit DENTALCNC and restart the
application.
Checking the connection and changing the
connection settings
1. Open the task bar info area by clicking the up arrow
(highlighted in orange) on the right side of your
Windows task bar.
FIG. 28 EXAMPLE: RED DOT ON UNSUCCESSFUL CONNECTION
2. Select the CNC-Interface-Proxy icon:
The CNC-Interface-Proxy window displays.
3. Move the mouse pointer over the entry in the over-
view and select the following icon:
5.3.3 Removing the spindle lock
The spindle lock (marked orange) is located in the
blank holder.
FIG. 29
1. ⚠ CAUTION! Wear gloves.
2. Open the working chamber door.
3. Loosen the 2 fixing screws on the blank holder
without unscrewing them.
4. Remove the spindle lock from the blank holder.
Installation
EN 23
Original Operating Instructions: E5
Version: 4/27/2023