7.12 Exchanging the bellow
Recommendation: When exchanging the bellow
according to the table for wear and spare parts,
exchange the spindle unit at the same time.
In that case we recommend the following sequence:
1. Detach the bellow from the spindle unit.
2. Remove the spindle unit.
3. Remove the bellow.
4. Install the spare bellow and attach the spare
bellow frame.
5. Install the spare spindle unit.
6. Attach the spare bellow in the working
chamber.
Description steps 1, 3, 4, 6: This Help Article
Description steps 2, 5: Exchanging the spindle
unit – on page66
In this Help Article, some images have compon-
ents hidden for clarity.
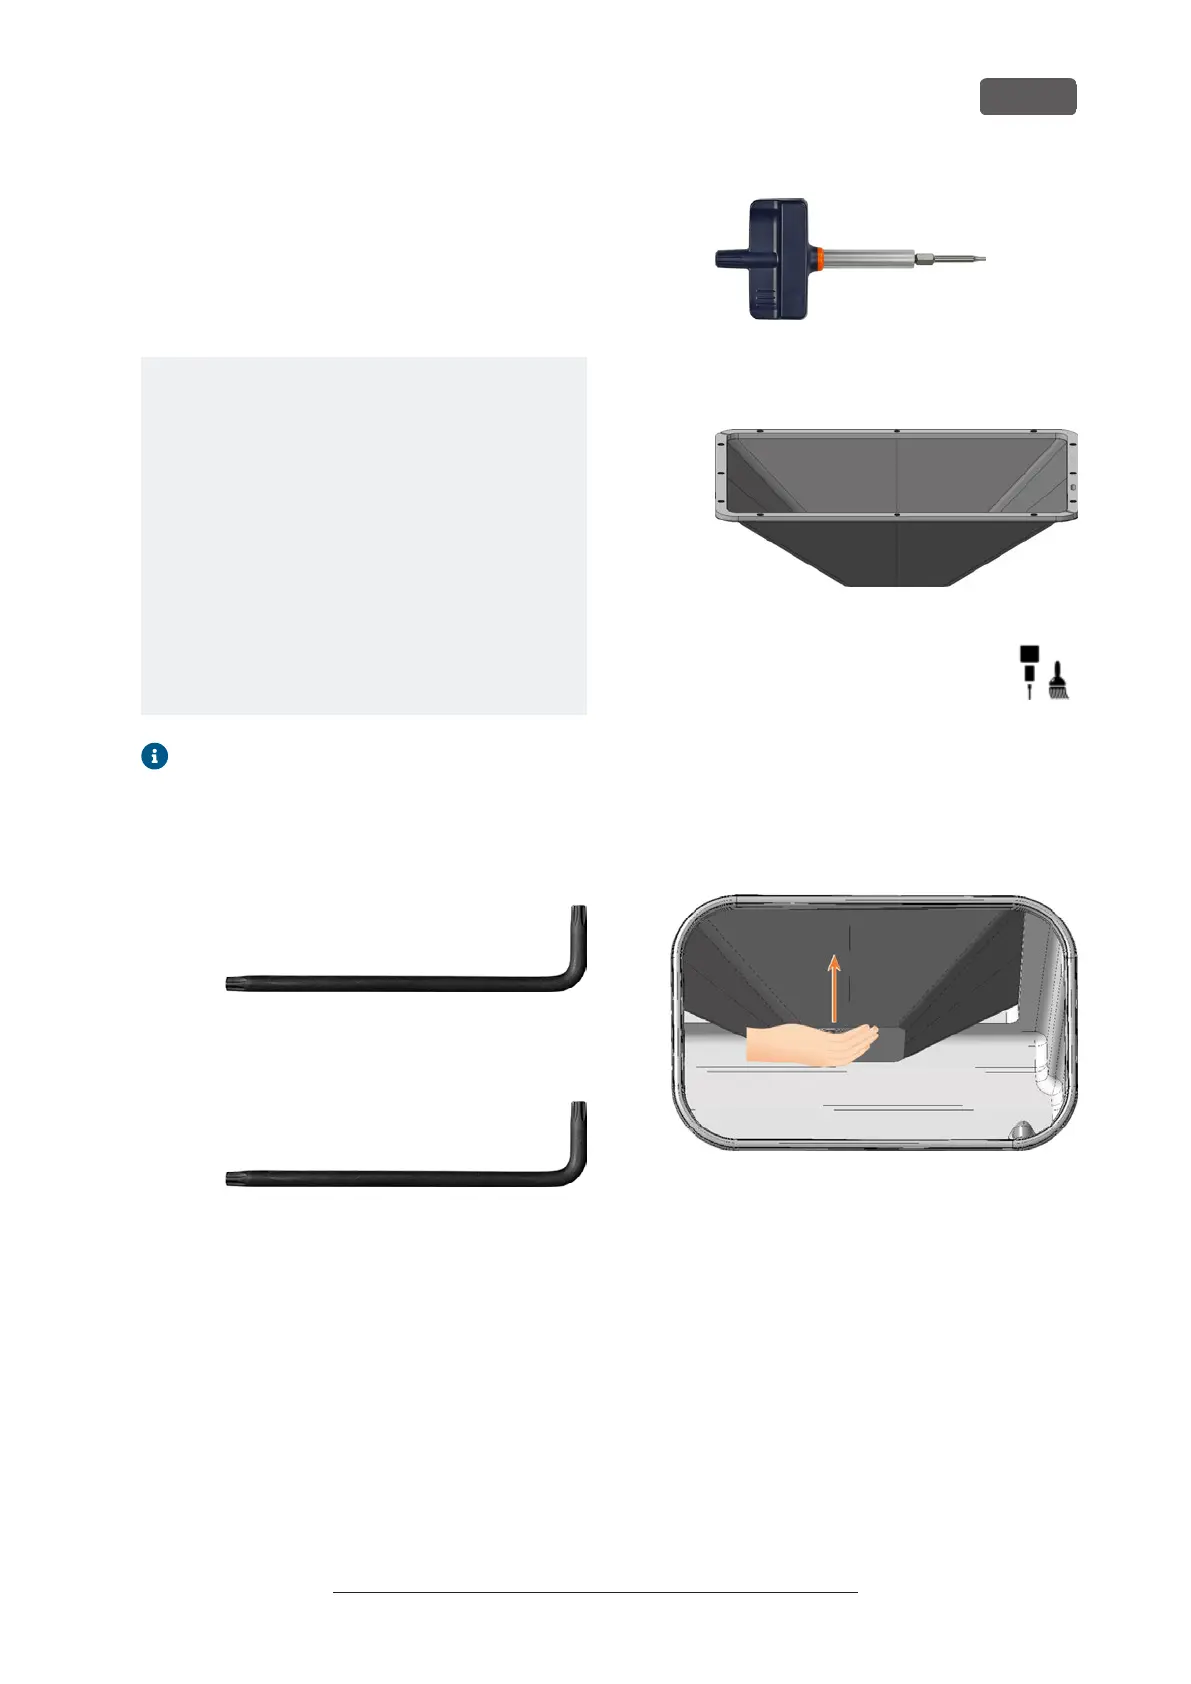
1. Have ready:
n
1x Angle screwdriver TX10
FIG. 133
n
1x Angle screwdriver TX25
FIG. 134
n
1x Torque screwdriver 1.5 Nm with TX20
bit
FIG. 135
n
1x Spare bellow
FIG. 136
2. Move the axes into the tool change pos-
ition by selecting the depicted icon in the
Machining view in DENTALCNC.
3. Close DENTALCNC.
4. Open the working chamber door.
5. Switch off the machine at the main power switch.
6. Carefully push the spindle unit upwards by hand
until it reaches the stop.
FIG. 137
7. Use the TX25 angle screwdriver and loosen the 6
screws (marked orange) that secure the mounting
washer to the bellow.
8. Pull the mounting washer downwards from the
bellow.
Maintenance
EN 59
Original Operating Instructions: E5
Version: 4/27/2023