7.18 Exchanging the fuser latches
and clamping blocks on the upper
service cover
If the top service cover no longer holds, exchange the
fuser latches and the clamping blocks if necessary.
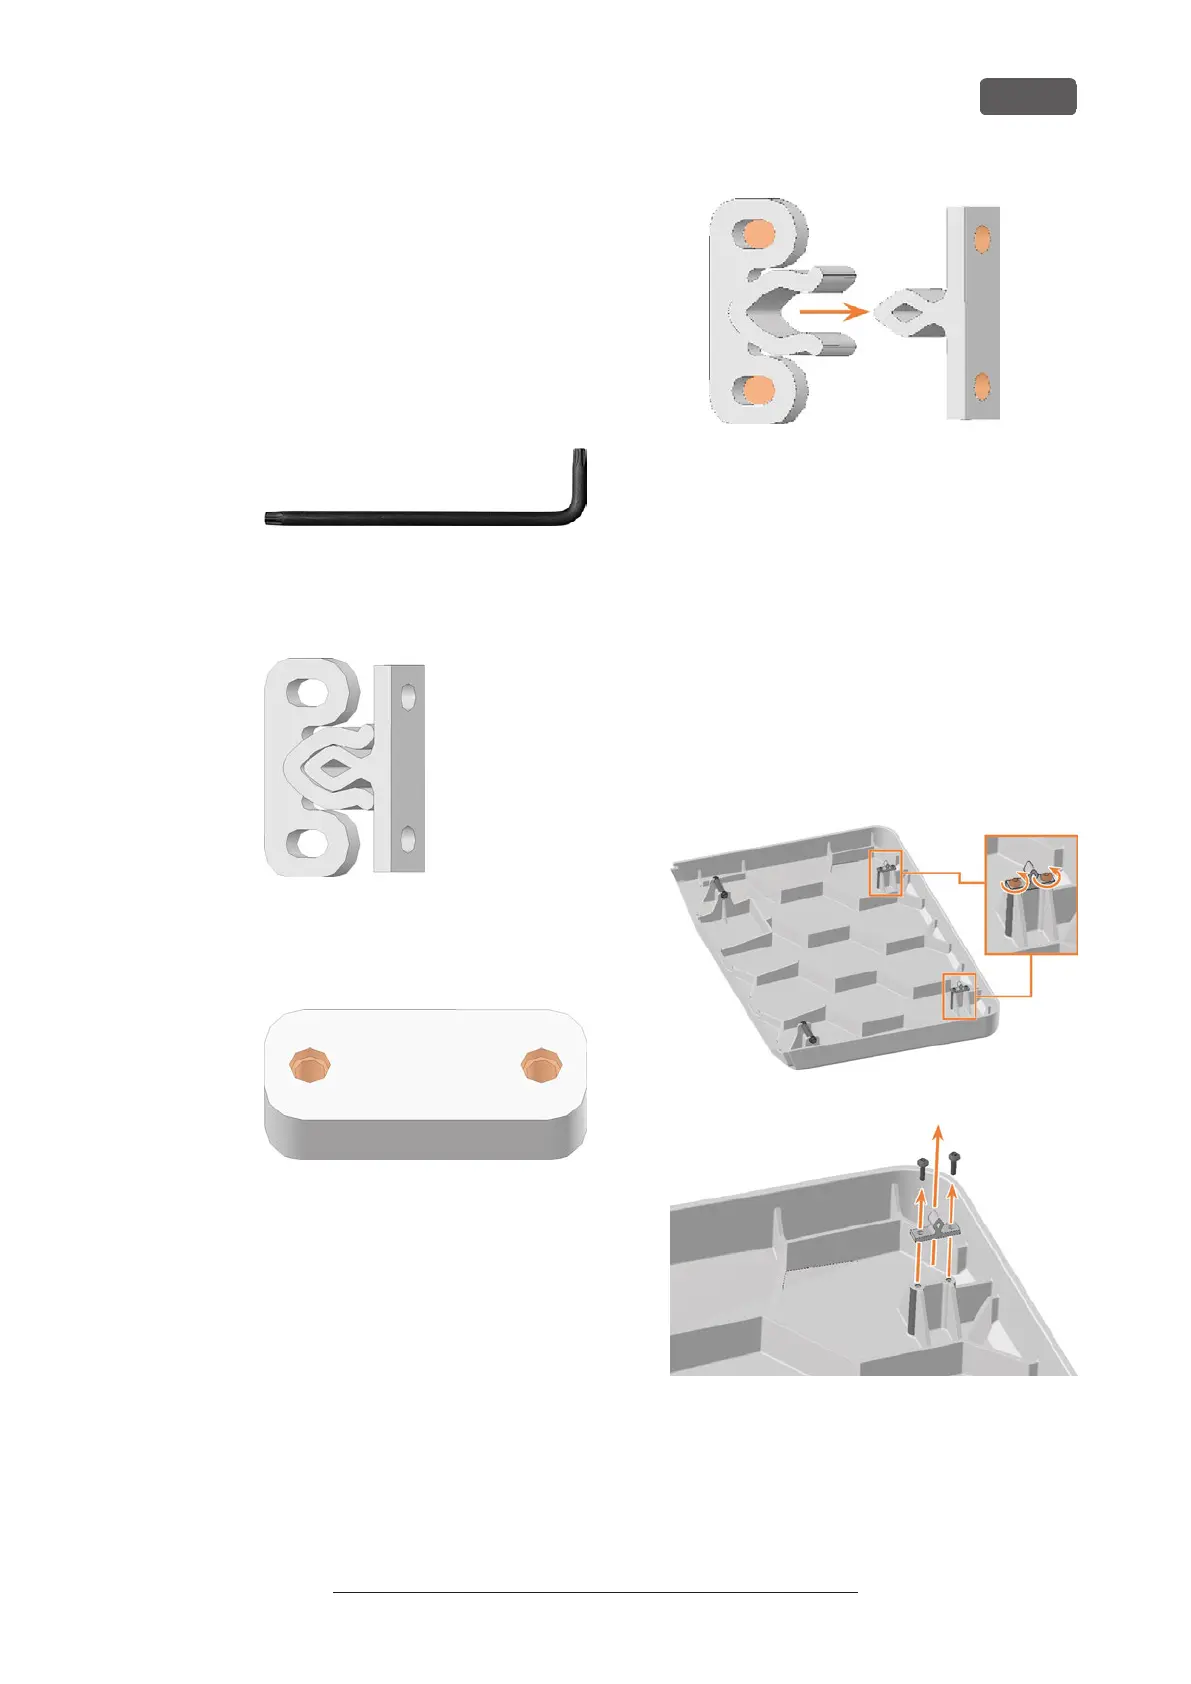
1. Have ready:
n
TX10 angle screwdriver
FIG. 218
n
Replacement fuser latch, number as
required, maximum 2
FIG. 219 LATCH COMBINED
n
Spare voltage blocks (optional),
number as required, maximum 2
FIG. 220 SCREW HOLES MARKED ORANGE
2. Separate the 2 components of the replace-
ment latch: Pull the plug (right) out of the
socket (left).
FIG. 221 SCREW HOLES MARKED ORANGE
3. Close the working chamber door.
4. Exit DENTALCNC.
5. Switch off the machine at the main power
switch.
1. Remove the upper service cover and safety cover.
Exchanging the spindle unit – on page66
2. Replace the connectors of the damaged fuser
latches on the service cover:
a. Loosen the 2 screws and remove the
connectors.
b. Screw on the spare connectors in the same
position.
FIG. 222
FIG. 223
3. Replace the sockets on the damaged fuser latches
on the safety cover:
Maintenance
EN 81
Original Operating Instructions: E5
Version: 4/27/2023