1125100 WPC 1000 User Manual
2-62 Installation
10. Slide the black plastic sleeve that came with the cable over and down the shield until you
reach the cable jacket (see Figure 2-39). About 1/4 in. of braided shield should be
exposed at the free end. Trim the sleeve if necessary. Shrink the sleeve around the shield,
using a heat gun or blow drier.
11. Slide the ring lug that came with the cable over the exposed shield and sleeve until the
shield is enclosed by the lug (see Figure 2-39). Crimp the lug and shield together, using a
crimping tool. Test the connection by gently pulling the lug and sleeve-encased shield in
opposite directions. The plastic sleeve covering the lug should enclose part of the sleeve
encasing the shield.
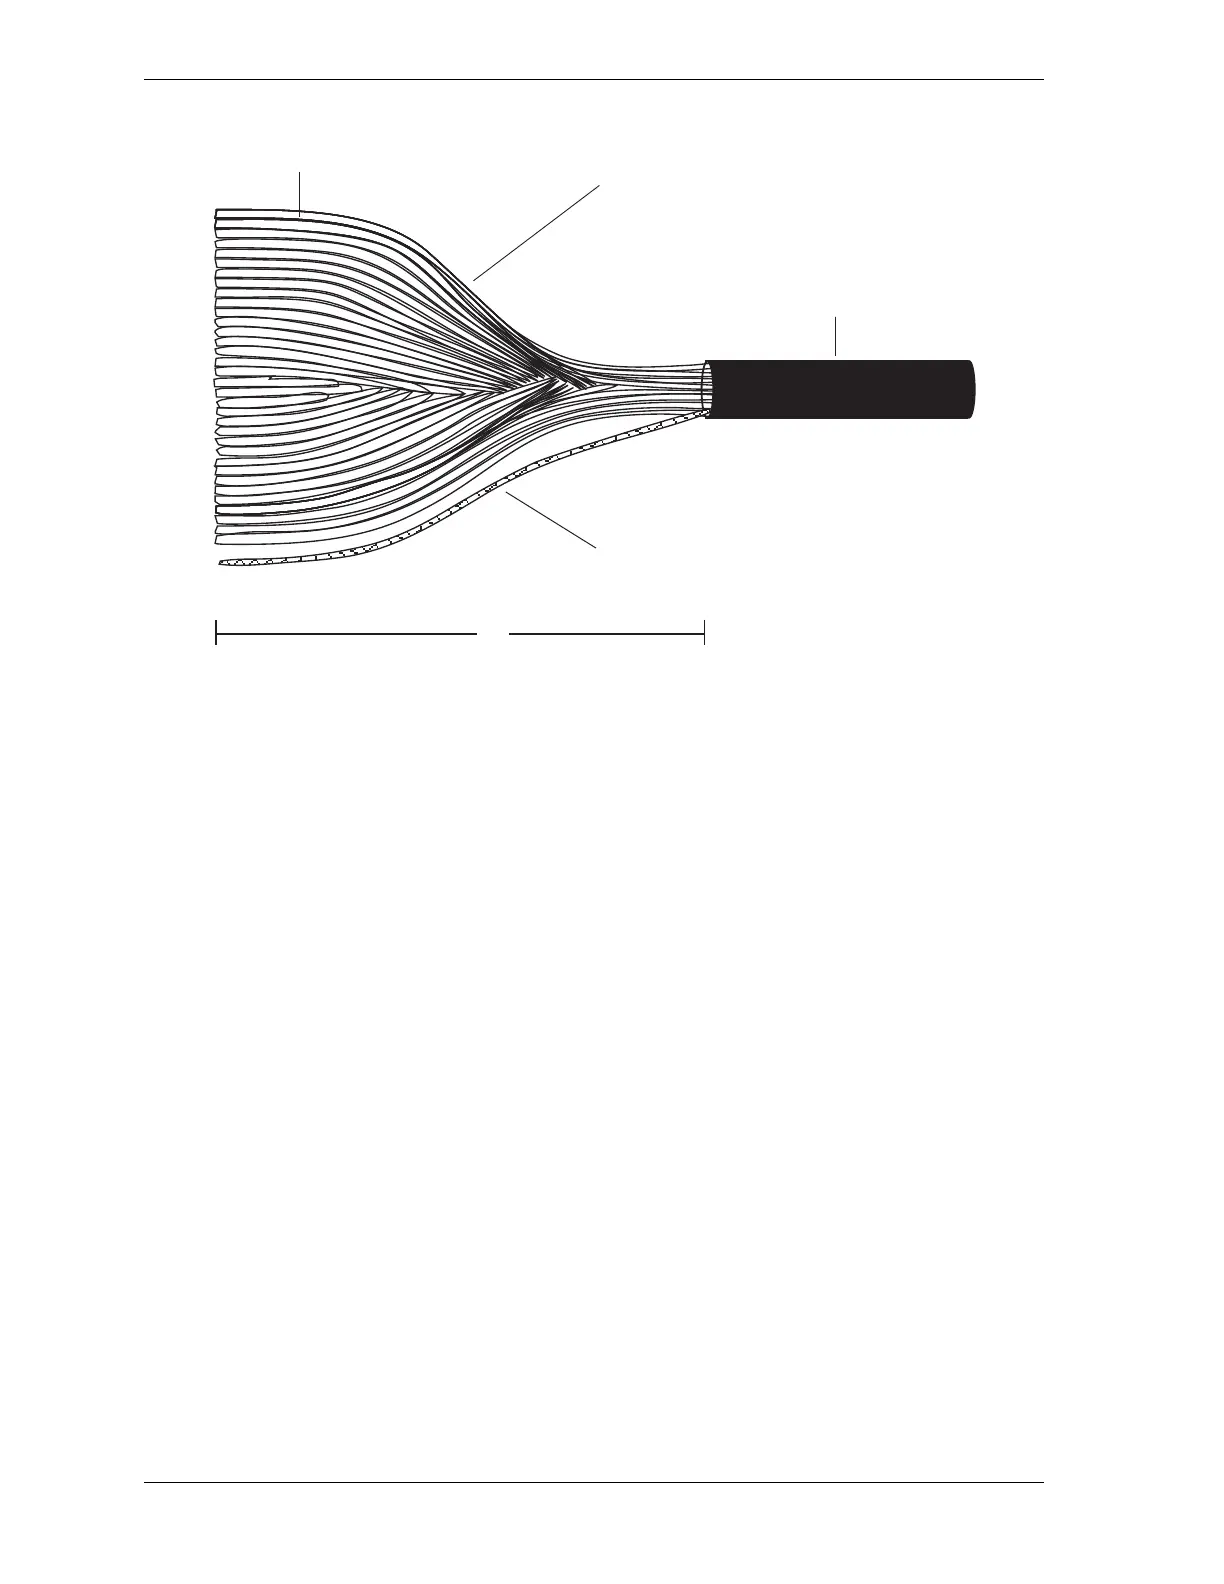
12. Spread the ribbon cable conductors apart so they lie flat. Note that one edge of the
exposed cable has a red wire.
13. Locate the three components of the extra connector–the strain relief, connector top, and
connector bottom–as shown in Figure 2-34.
14. Place the connector top, top down, on a flat surface with its recessed side facing the
display cable, as shown in Figure 2-41, page 2-63. Remove the tape from the adhesive on
its grooved bottom.
Figure 2-40. Display Cable Jacket with Gray Ribbon Cable and Shield Exposed
Red wire
Cable jacket
4
Ribbon cable
Braided shield

 Loading...