23
Genos2 Owner’s Manual
Starting Up
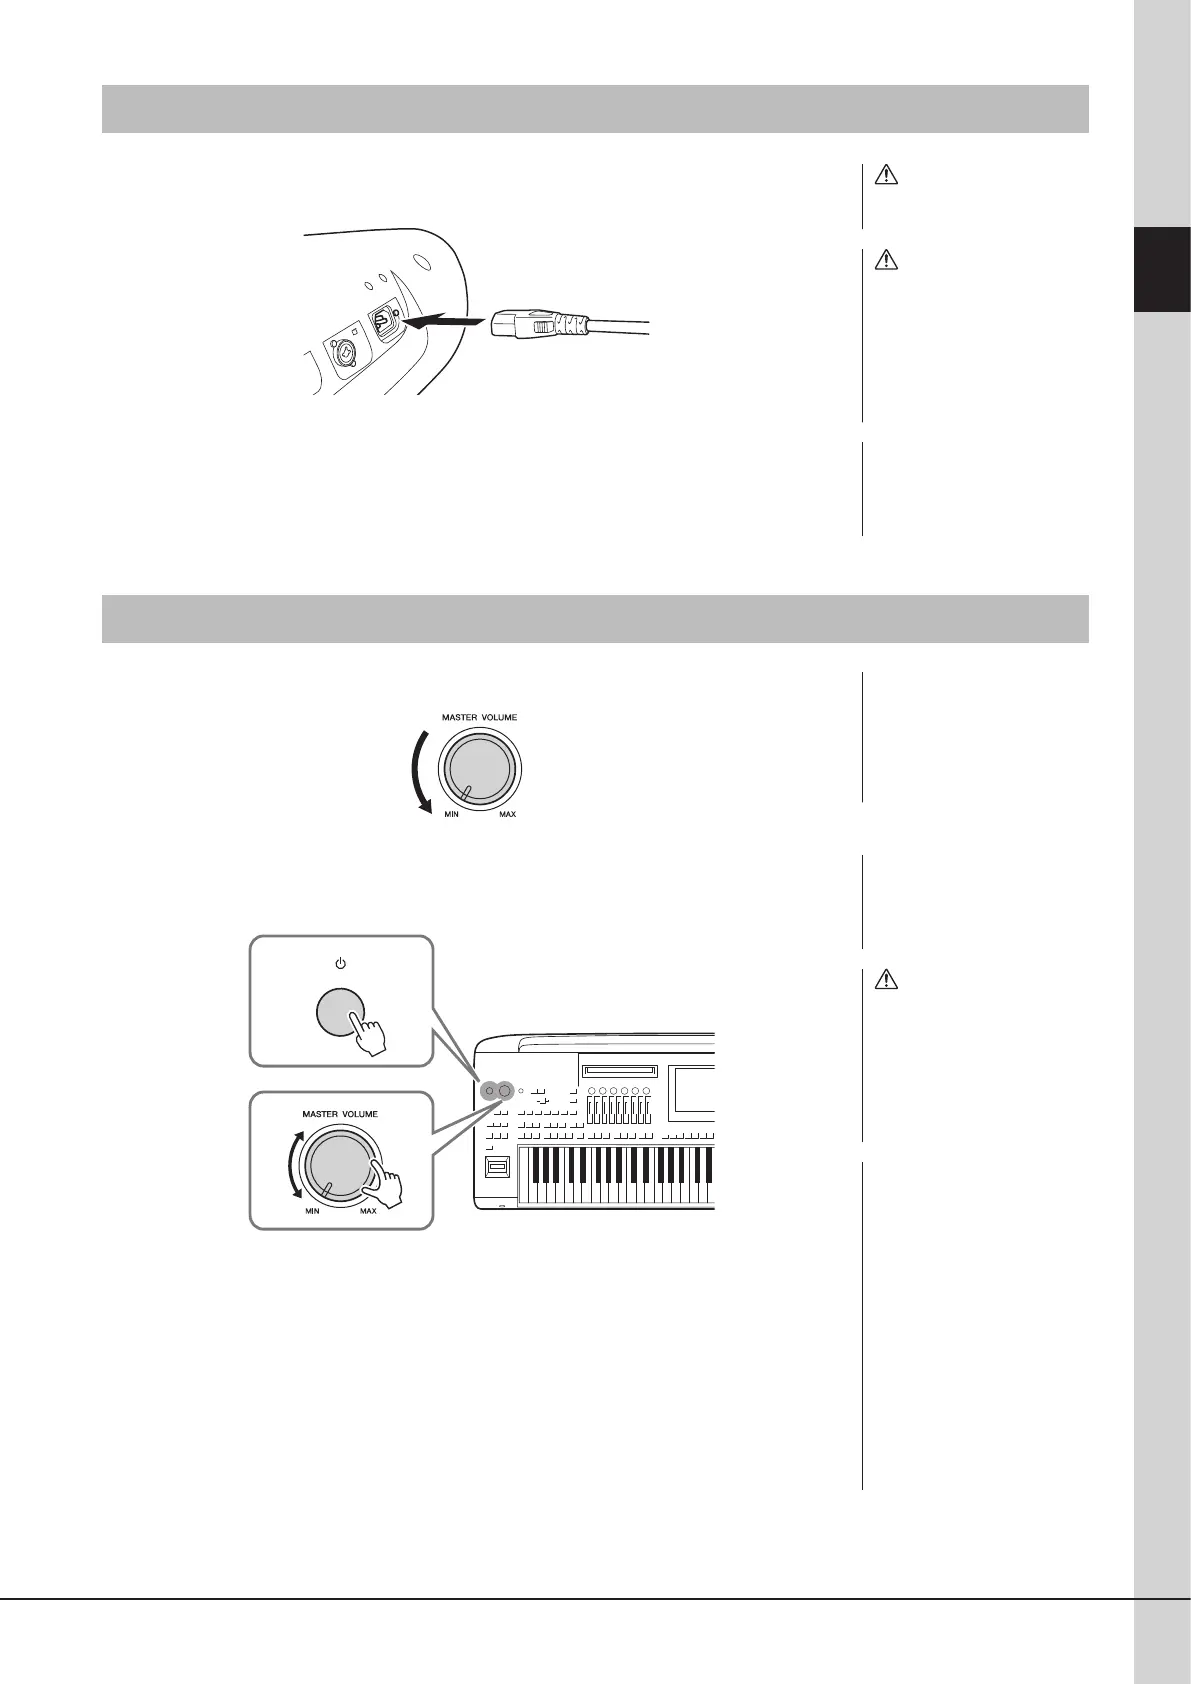
Power Supply
1
Connect the supplied power cord to the [AC IN] jack on the instrument’s
rear panel.
2 Connect the other end of the power cord to an AC outlet.
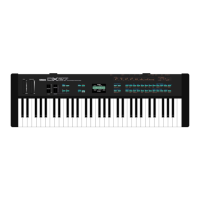
Turning the Power On/O
1
Turn down the [MASTER VOLUME] dial to “MIN.”
2 Press the [P] (Standby/On) switch to turn the power on.
The Home display (page30) appears. Adjust the volume as desired while playing the
keyboard.
3 After you nish using the instrument, turn o the power by pressing and
holding the [P] (Standby/On) switch for about a second.
NOTICE
Make sure to keep the number
of connected USB ash drives
to [USB TO DEVICE] terminals
one or less before turn on the
instrument. For details, refer to
page115.
WARNING
Use only the supplied power
cord.
CAUTION
When setting up the product,
make sure that the AC
outlet you are using is easily
accessible. If some trouble
or malfunction occurs,
immediately turn o the power
switch and disconnect the plug
from the outlet.
NOTE
When disconnecting the power
cord, rst turn o the power,
then follow this procedure in
reverse order.
NOTE
Until the Home display appears,
no operations can be carried
out, including power-o and
keyboard performance.
CAUTION
Even when the power switch
is turned o, electricity is still
owing to the product at the
minimum level. When you are
not using the product for a
long time, make sure to unplug
the power cord from the wall
AC outlet.
NOTICE
When recording or editing, or
while a message is displayed,
the power cannot be turned
o even if you press the [P]
(Standby/On) switch. If you
want to turn o the power,
press the [P] (Standby/On)
switch only after recording,
editing, or after the message
has disappeared. If you need to
force-quit the instrument, hold
down the [P] (Standby/On)
switch for longer than three
seconds. Note that the force-
quit operation might cause
data loss and damage to the
instrument.