Operating the XtraDrive Using XtraWare
¾ To open the Curve Shape window:
1. First specify the values of Master End, Slave End and Master Step, as
explained previously in sections
4.9.5.3 and 4.9.5.4.
2. Click in, or tab to, the Curve Shape field.
3. Click the
icon that is displayed in the Curve Shape field.
The Curve Shape dialog box is displayed.
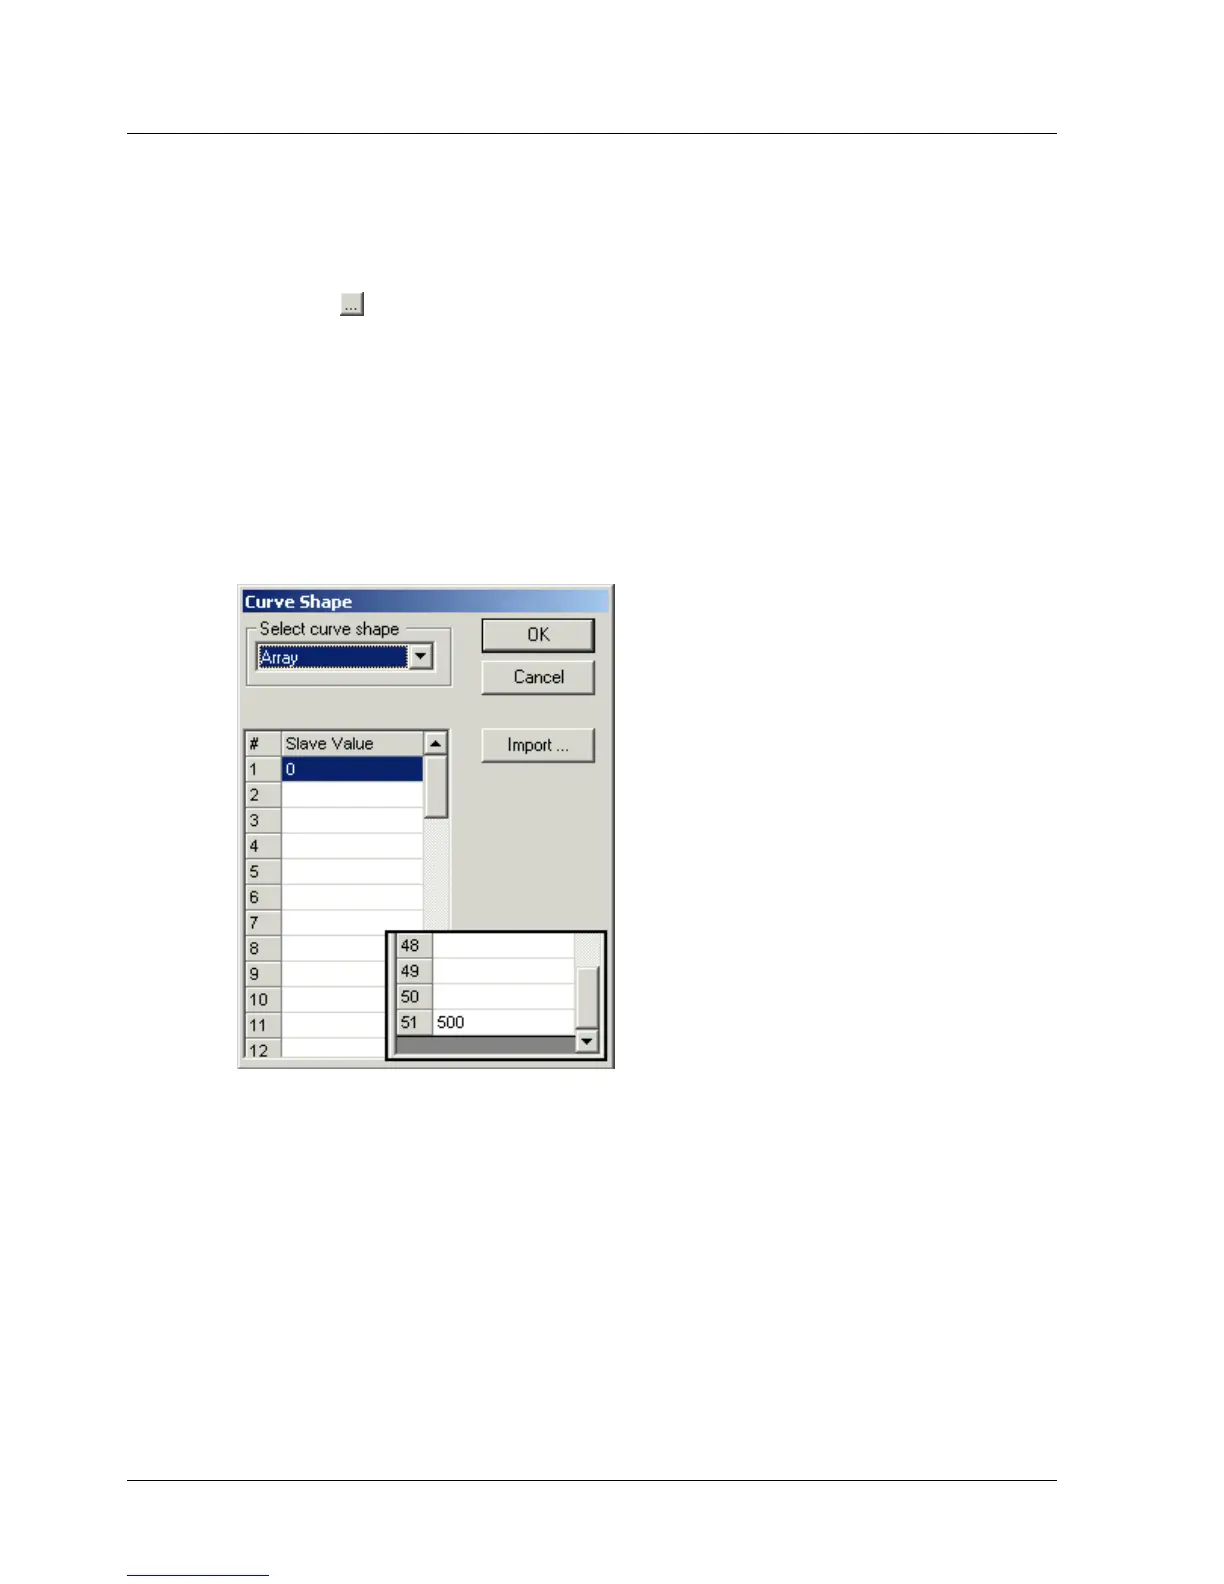
4. Select Array from the Curve Shape window.
A table is displayed in the Curve Shape window. Each row corresponds
to one point in the segment. For the example shown above, a table with
51 rows will be displayed. The slave values for the first and last points
are entered automatically, based on the Slave Start and Slave End
values specified. Only the slave values need be entered – the master
values are calculated automatically, based on the end points and the
master step value.
Figure 37: Example of Curve Shape Window with Array Table
Entering the values directly into the table
¾ To enter the values into the Curve Shape table:
1. Enter the values in the Slave Value column. Note that the first and last
values are entered for you, according to the values you assigned to
Slave Start and Slave End.
2. Click OK.
The Curve Shape window is closed. Array will be displayed in the Curve
Shape column of the Position Setting table.
54 XtraWare User Manual
 Loading...